Category — Craft
easy paper-snowflake craft
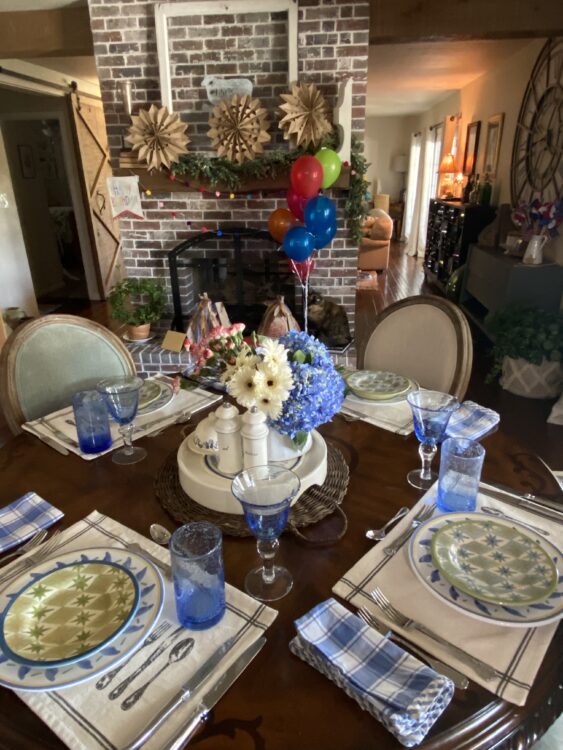
I honestly can’t recall the last time I posted a craft. You may recall that I used to host craft parties at my home each spring and fall from 2012 – 2014. My last party was nearly six years ago on October 12, 2014. How does that much time go by so quickly? I decided to get crafty for my son, Connor’s, birthday dinner and make some paper snowflakes out of brown paper lunch bags.
I had purchased a huge package of the lunch sacks at Smart & Final to use at Chanté and Cody’s wedding, but that project was abandoned, leaving me with 250 paper bags. I knew that they would come in handy one of these days!
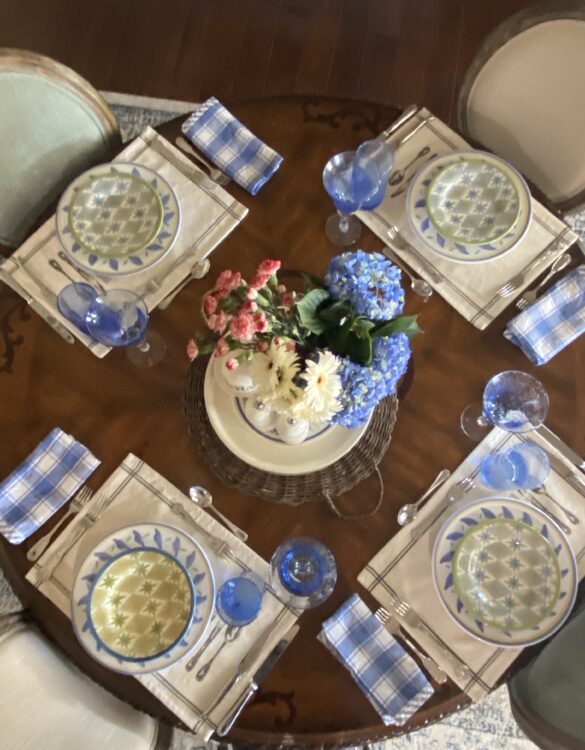
This was the tablescape for Connor’s intimate family Birthday Dinner. Recipes in the coming days.
[Read more →]


May 28, 2020 No Comments
homemade no-sew masks
After weeks of watching a few people in grocery stores with masks on and thinking to myself, “Come now people, settle down,” we are now being told to wear cloth face masks while in public. Who feels stupid now? Yeah, this girl! Imagine me rolling my eyes while shaking my head slowing back and forth. I know that “those in charge” didn’t want to create a run on masks like the run on toilet paper, but they could have told us to use homemade cloth masks from the get-go. So much I could say here but I’m going to keep my thoughts to myself.
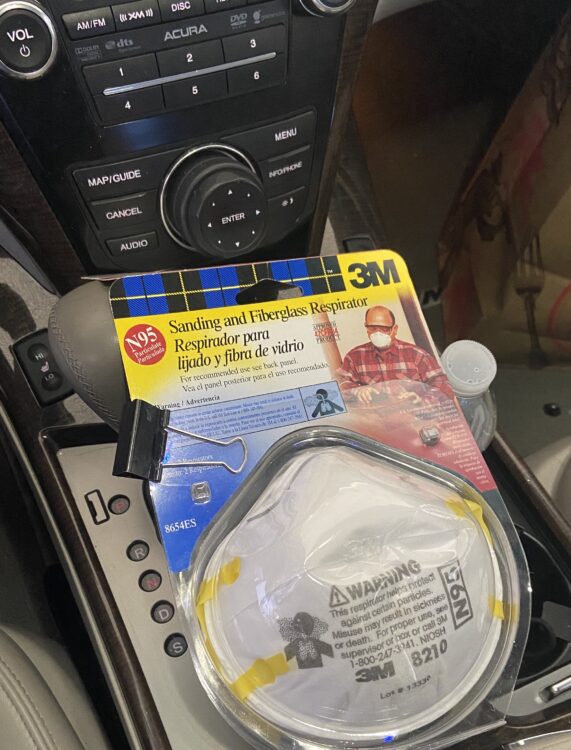
I did find two 3-packs of N95 masks in my big 3-day garage cleanout that I unknowingly have had there for more than a year. When I bought a table saw for Harmony Boards, I guess I purchased the masks too. Although I never opened the packages. That is pretty much how I operate; buy something on a recommendation and then fail to use it. It paid off this time, I was able to drop them off at my local fire station, giving them to the people on the front lines who actually need them. I had no idea that the masks sold at the hardware store were N95’s.
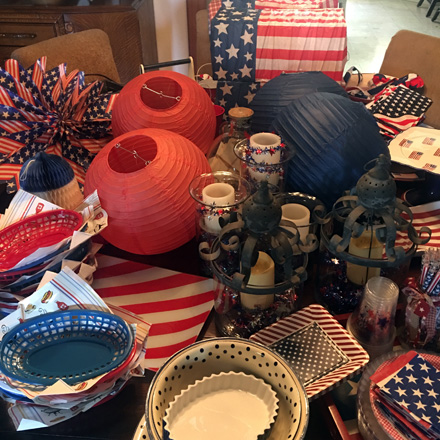
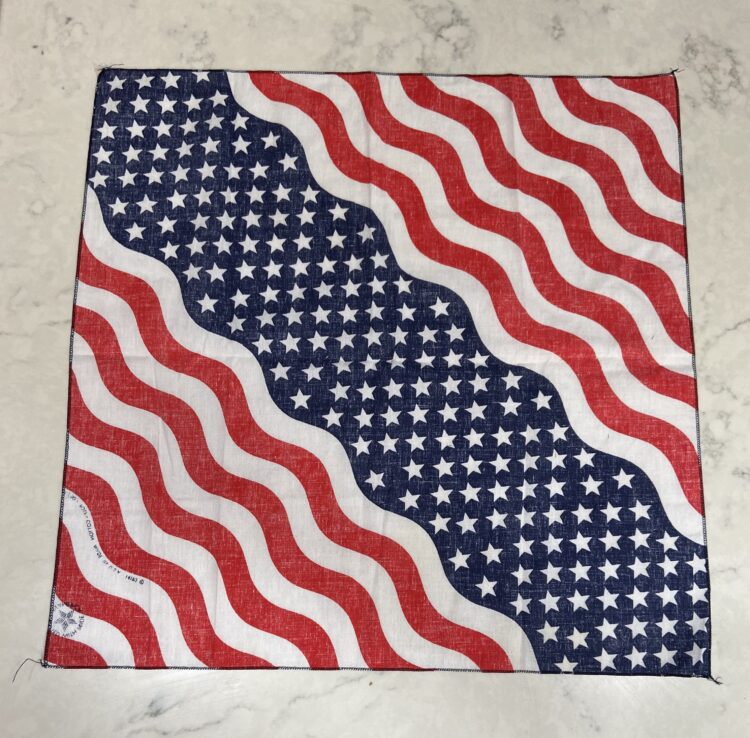
Back to the cloth masks. For decades, we had an annual 4th of July Pool BBQ Party. I knew that in the stash of RWB decor I owned at least 50 stars and stripes bandannas. You can see a small stack of them in the top right corner of the photo above. And I knew that they were buried in my second holiday shed. Yes, I have two holiday sheds. (Please don’t judge, I’m feeling more fragile than usual.) The large shed holds Halloween, Thanksgiving and Christmas and the smaller shed houses St. Patrick’s Day, Mardi Gras, Easter, Cinco de Mayo, 4th of July and miscellaneous large scale entertaining items, such as chafing dishes, extra-large baskets and galvanized buckets along with seasonal outdoor pillows, etc.
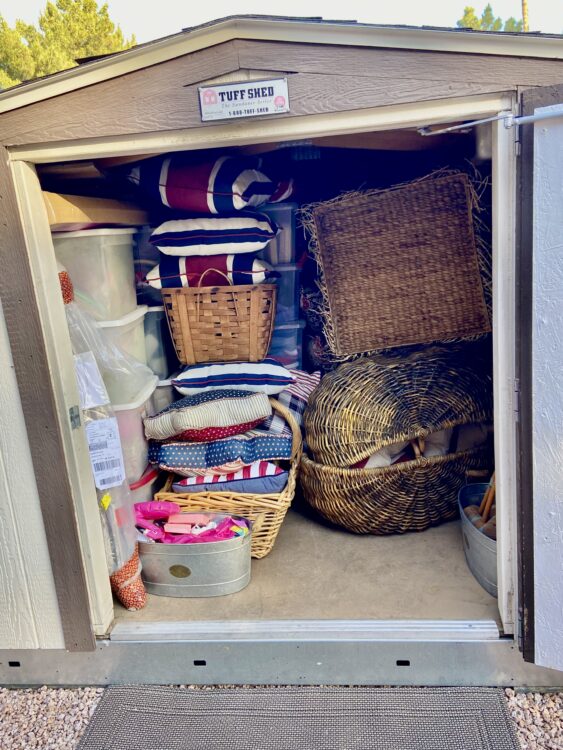
Saturday, I cleaned out that shed and found the bandannas. Victory is Mine! (Fragility is swiftly errased, so judge as you please.)
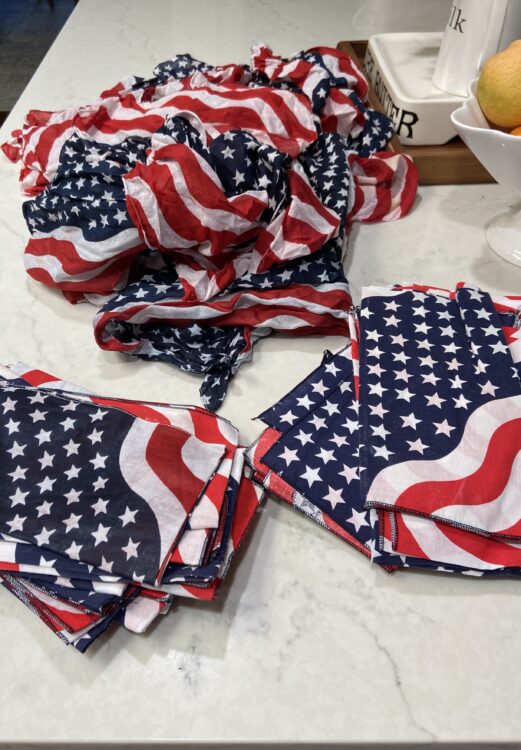
I ran them through the washing machine and started making homemade cloth masks for family and friends.
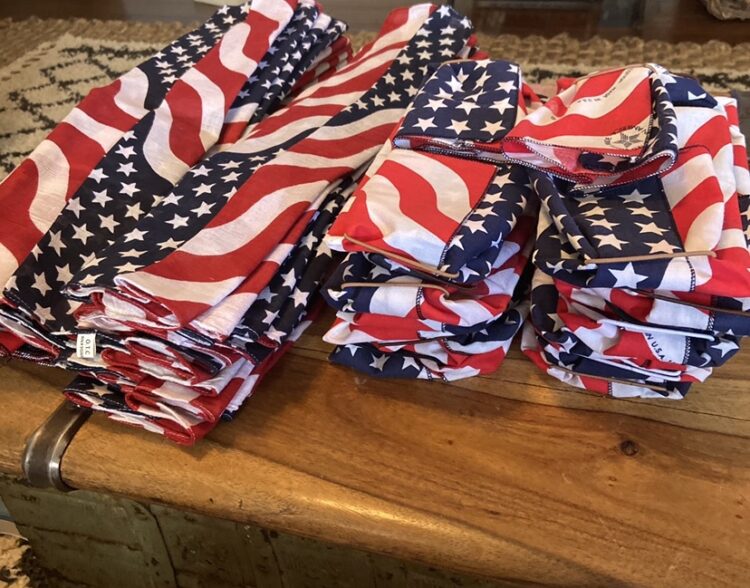
I ran out of hair ties but I was able to assemble 20 masks while I wait for my Amazon hair tie delivery. (Update: I checked on the Amazon order after writing this post and the new ship date was 4/29. Canceled that order and went to Target and found ties there. So I’m back in business.)
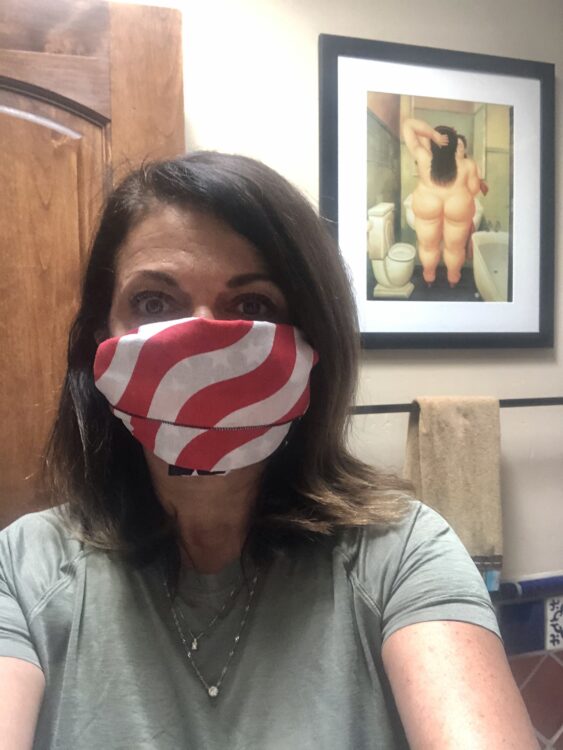
Here is one way to make a homemade cloth mask (there are many out there, especially if you know how to sew – I do not!):
For each mask you’ll need:
- 1 bandanna (A bandanna or piece of breathable cloth that is around 21-inches-square works best.)
- 2 hair ties
- First, wash bandanna(s) and then be sure to wash each time you return home after using.
- Wash those hands. “Happy Birthday to you…”
- Lay the fabric on a clean disinfected surface.
April 6, 2020 No Comments
2 for the price of 1
This year we get two holidays for the price of one on April 1st.
I suppose April Fool’s Day isn’t a true holiday, especially when compared to the importance and holiness of Easter, but I’m going to give you cute ways to celebrate both anyhow.
Today is a fun and messy, yet clean, way to color Easter eggs, and tomorrow a couple of fun Easter-themed April Fool’s jokes to play on family and friends.
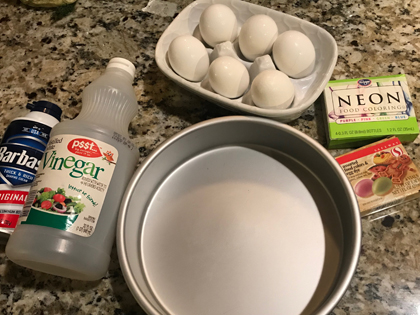
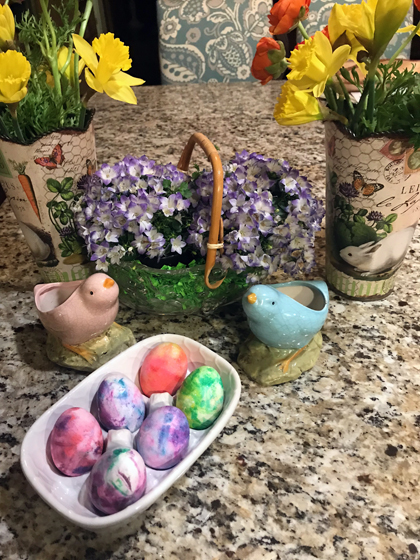
Shaving Cream-Dyed Easter Eggs
- Hard-cooked eggs
- White vinegar
- White shaving cream
- Food coloring
- Lots of paper towels
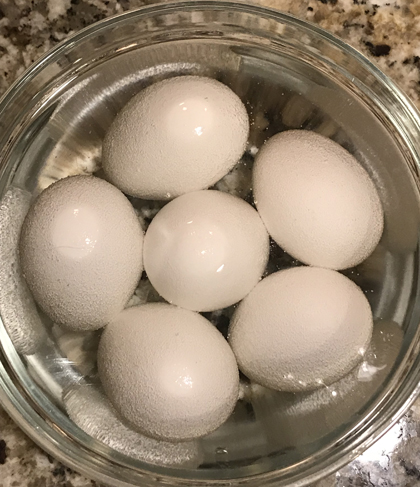
Place the eggs in a bowl and pour in enough white vinegar to cover. Let sit for 3 to 4 minutes and then remove eggs from the vinegar and set aside. Soaking the cooked eggs in vinegar before dying gives you more vibrant colors. The vinegar may then be poured back into the bottle and used again, no reason to waste it.
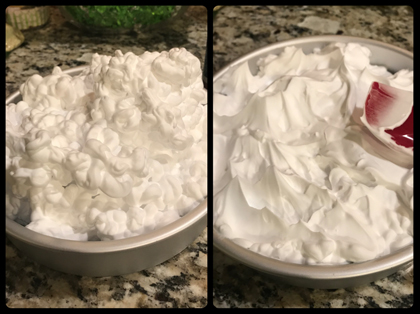
Spray the shaving cream into a cake pan or onto a rimmed baking sheet or baking dish. Use a spoon or spatula to press down the shaking cream to make it smooth and dense.
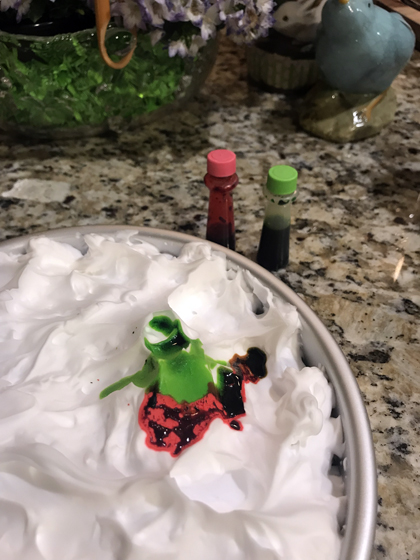
Add 4 or 5 drops of two different colors of food coloring, of your choice, to a small area of the pan.
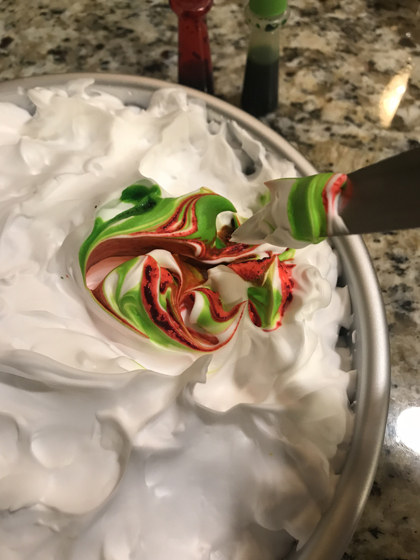
Then run the tip of a paring knife or a toothpick through the two colors to “marble” the colors together.
March 24, 2018 No Comments
Halloween Pumpkin ideas
I saw two cute pumpkins on social media and I just had to do them both.
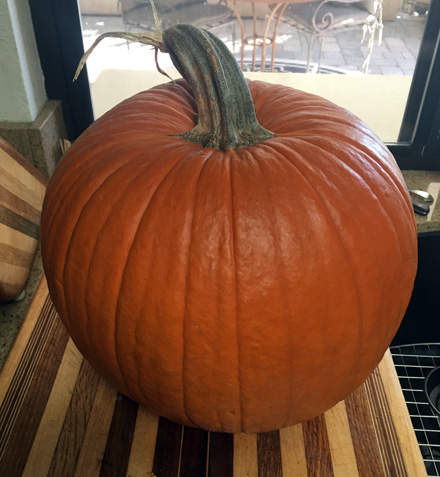
For each project, you need to get yourself a nice big pumpkin.
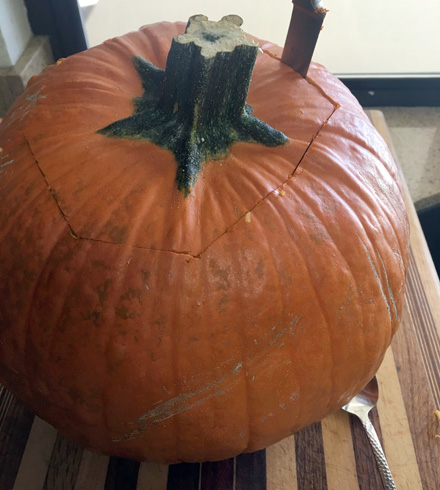
Cut out the tops.

And pull out all those seeds.
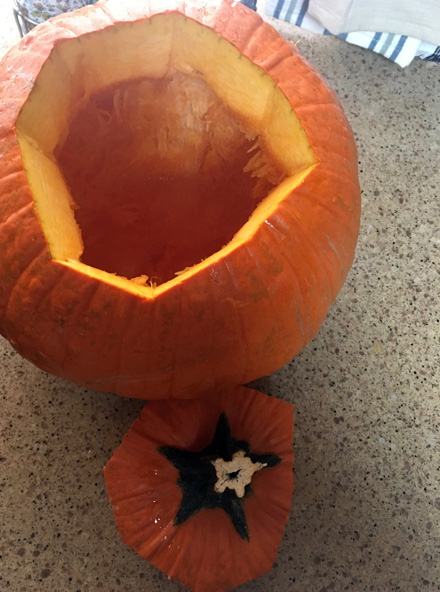
Once they’re all cleaned out, you’re ready to go.

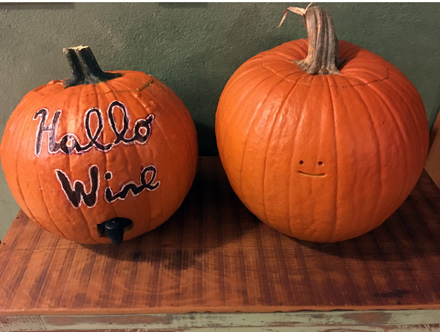
The first is the Lazy Man’s Jack-O-Lantern. My friend, Bridget, posted it on Facebook and it is right up my alley!
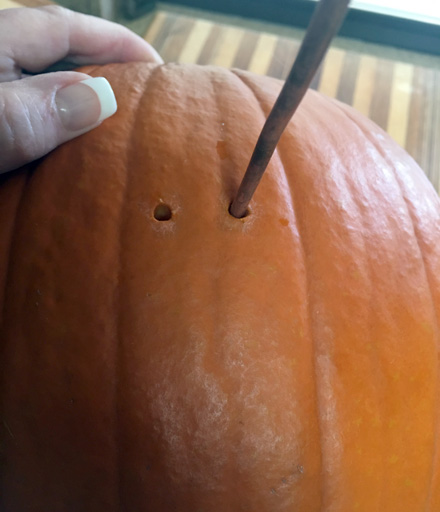
I always struggle with deciding what sort of face I want to make. With this, there’s no thinking involved. Just use a skewer to poke out two little eyes.
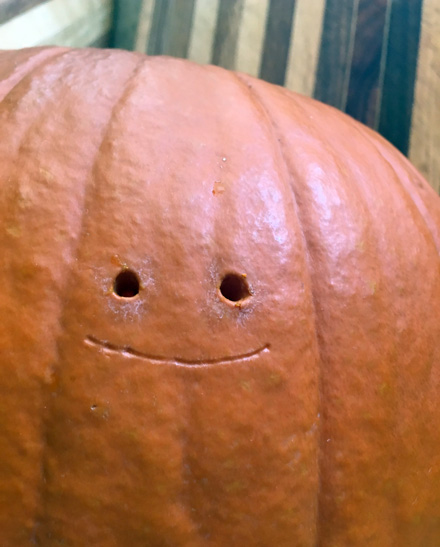
Use the same skewer to score out a mouth…
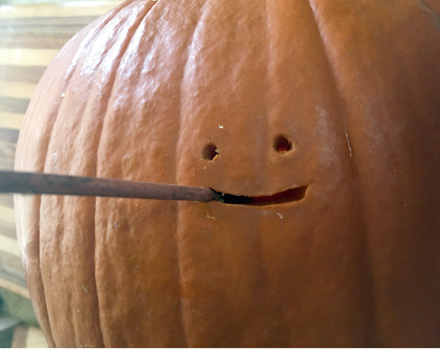
…going deeper and deeper until you’re cutting it out. And that’s all there is to it. I think it’s adorable.
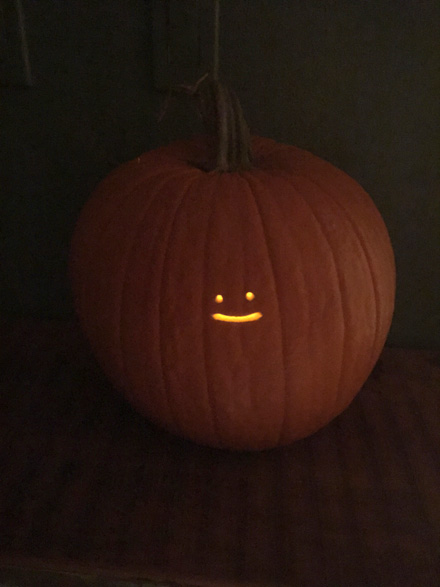
You gotta admit – he’s pretty cute when he’s lit up.
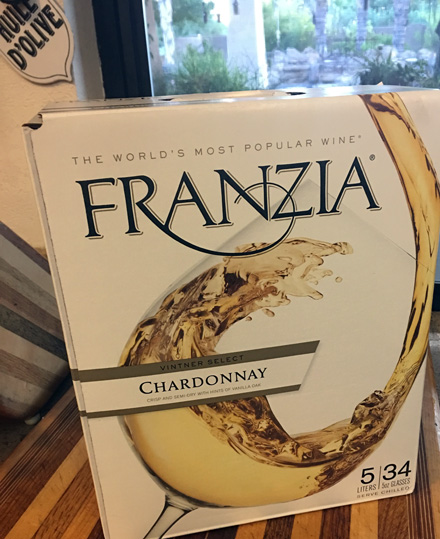
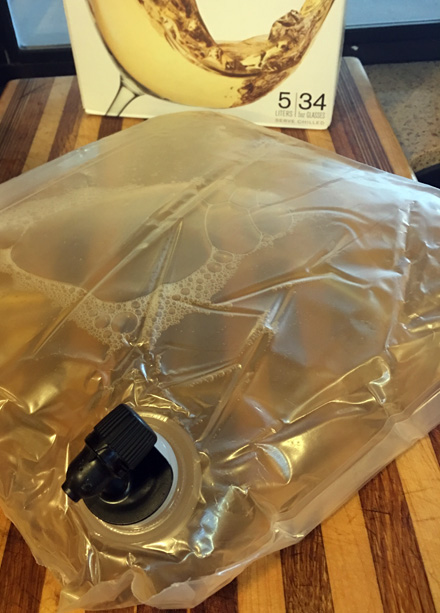
I found cool pumpkin #2 on the HGTV Instagram page. You’ll need your cleaned-out pumpkin, a box of wine, and some permanent markers for this one.
October 30, 2016 4 Comments
Happy 7th Blogiversary to me!
Incredible! This blog is 7 years old! Last year, on the 6th Blogiversary, I was on a “wedding break” so I missed that celebration. That means that this year we need to go all out!

As such, there will be Seven Individual Prizes and One Super Cool Grand Prize.
Before I explain how to enter and what exactly it is that you can win – a little history.
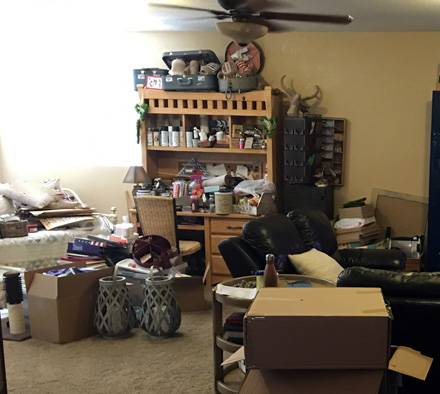
Two and a half years ago, I posted THIS… all about how I cleaned out and reclaimed a large part of the kids’ playroom upstairs as my new craft room. At the time, Connor still lived here, so about half of the room had his stuff in it. Three months after the reclamation, Marissa and Jeff got engaged.

Slowly but surely the room became the dump-room for all things bridal shower, wedding, and after-wedding brunch related. In other words, I trashed it.
August 16, 2016 16 Comments
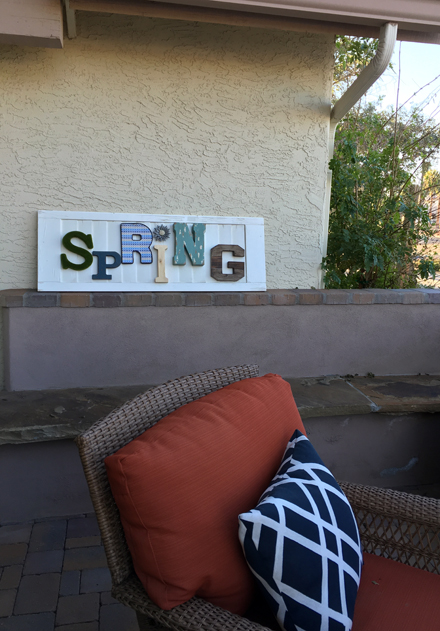
spring menu and repurposing shutters
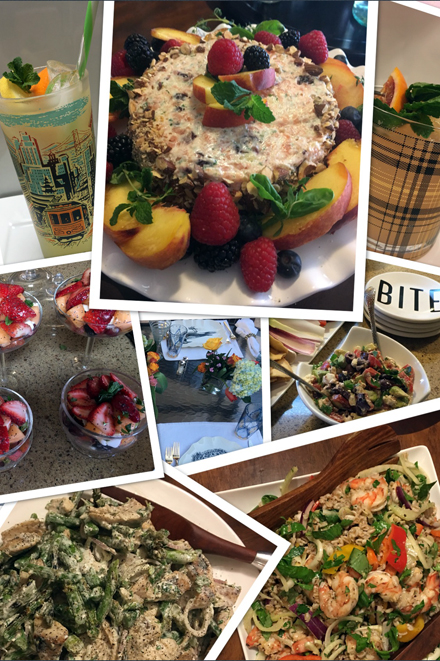
Today I have the links for the Spring Reunion Dinner in one place for easy access and ideas for repurposing shutters, including the super simple Spring Shutter sign I made.
Spring Reunion Menu
- Fresh Fruit – Smoked Salmon Spread
- Pumped Up Hummus
- Lori’s Honey Paloma Cocktail
- Jonathan’s Bourbon Lemonade
- Layered Fruit and Mozzarella Salad
- Grilled Chicken and Asparagus with Creamy Goat Cheese
- Grilled Shrimp, Vegetable, and Farro Salad
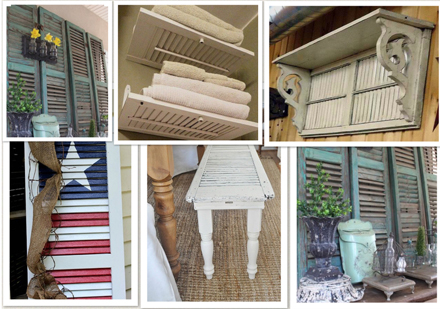
There are so many fabulous projects and crafts that can be done with old discarded shutters. I’ve pinned dozens of ideas on Pinterest. Here is a direct LINK to my “Shutters” board.
March 9, 2016 1 Comment
you warm my heart <3
All y’all sure know how to make a girl feel good! *I can use that fabulous Texas phrase because I have a daughter who lives in Austin, y’all.
Between the lovely and welcoming comments left here on the blog, the comments and “likes” on Facebook, the personal texts, phone calls, and emails – well, I feel the love and it makes me, even more, energized to be back. Thank you!
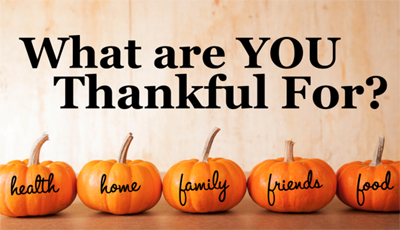
So … Thanksgiving is less than a week away and …
November 20, 2015 3 Comments
success and failure
What should I share first? The good or the bad? I think we’ll start with the bad/ugly, that way we’ll end on a good/pretty note.
Even the bad craft starts out pretty…

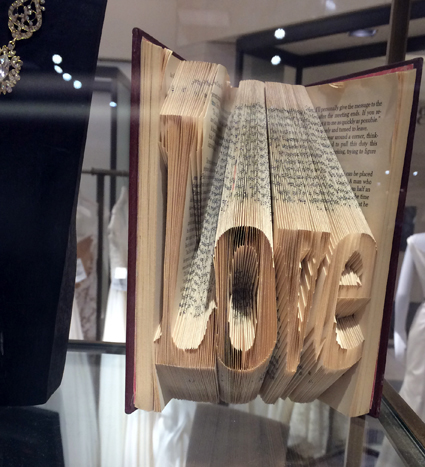
I spotted these adorable folded book art pieces in the San Francisco Nordstrom’s Wedding Suite, while dress shopping with Marissa and Kaley, back in November.
I knew that I wanted to make one for Marissa, so when the theme was set for the shower, this was a no-brainer.
I went online to find out how but since I could not find any step-by-step instructions, I had to wing it.
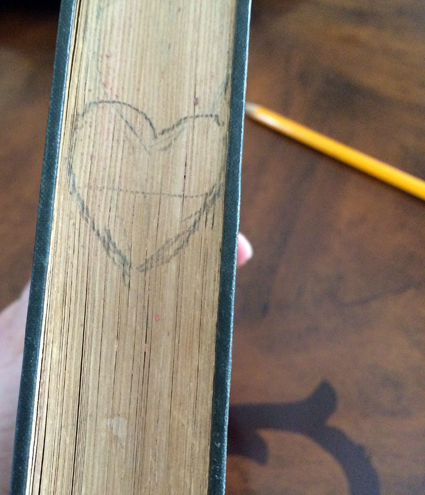
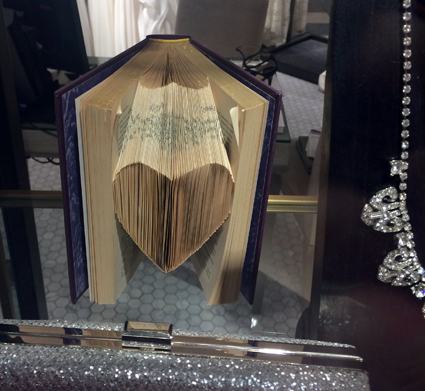
I found a cool vintage hardback book and decided to go with the easiest design, a heart.
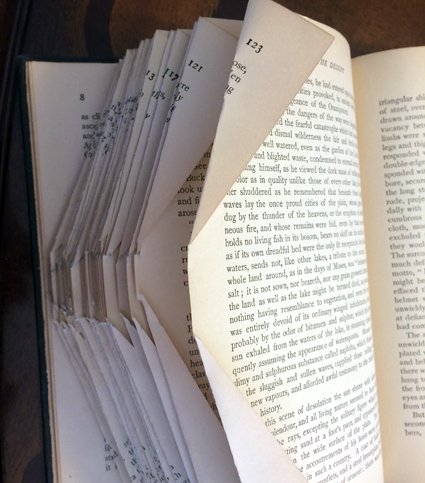
As I folded back the pages, it quickly became evident that this is harder than it looks. Plus, the book I chose was too vintage, the pages were delicate and would tear as I folded.
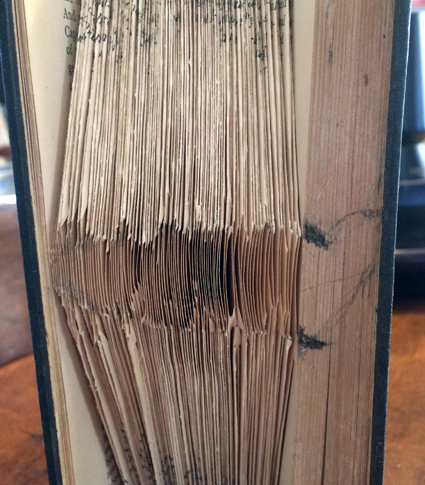
Stupidly, I kept at it far too long. It was very clear that this was not working, long before I threw in the towel.
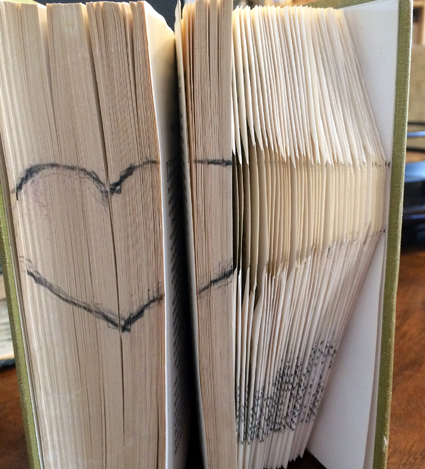
I grabbed another, not-so-vintage thicker book, and started over.
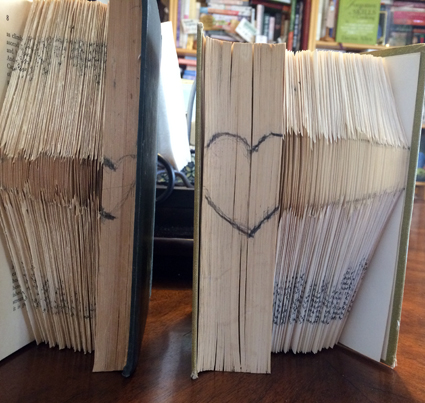
Then, for obvious reasons, I gave up! My gut feeling is that there must be math involved in this project. No wonder it was too difficult for me … I do not “do” math!
I still wanted Marissa to have a book like this, even if not in time for the shower. So, I have purchased one from a professional folded-book artist HERE. I am not going to share which book, since I haven’t given it to her yet, but rest assured, it is pretty!
I had much better results with this next project:
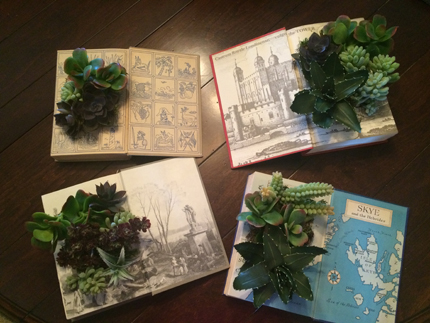
My favorite craft/decor item for Marissa’s bridal shower was these succulent book planters! Of course, I found the idea on Pinterest!
May 15, 2015 2 Comments
more book-page crafts and decor
Sloane and I got together on Sunday afternoons for several weeks before Marissa’s bridal shower to make crafts. It was a fun reason to get together for sister-bonding time.
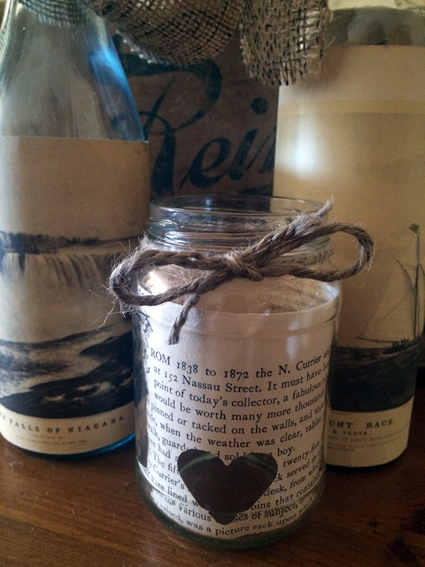
We wrapped wine bottles with pages from a large Currier and Ives picture book that I found at Sweet Salvage a couple of years ago. A heart punch was used on the book pages that were used for the inside of small canning jars.
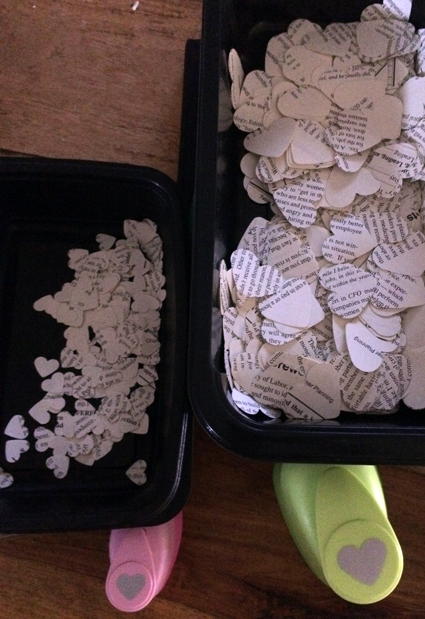
The same punches were used to make book-page heart confetti.
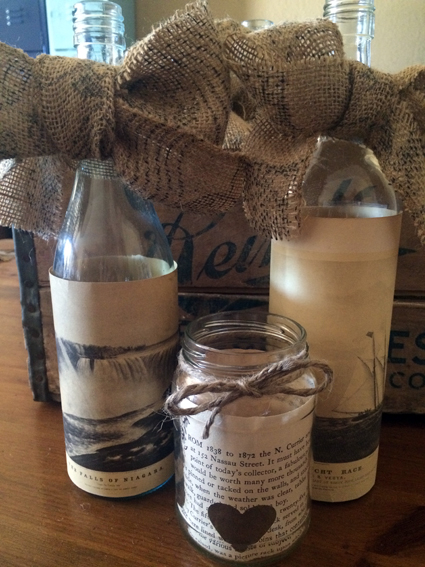
The bottles were topped off with large burlap bows.
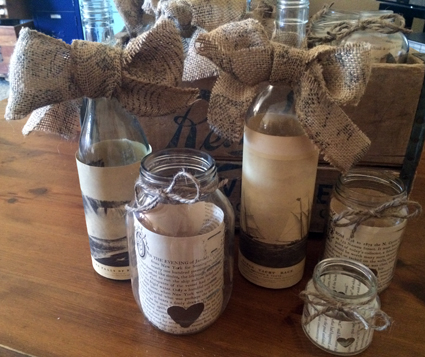
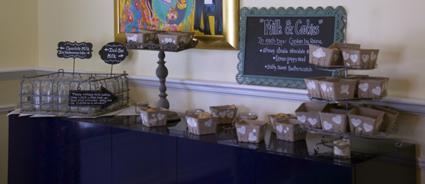
While the jars were trimmed with twine. The wine bottles held miniature pink and white roses and the jars were lit up with battery-operated votives. They were then scattered around the buffet, lunch table, bar, and dessert credenza.
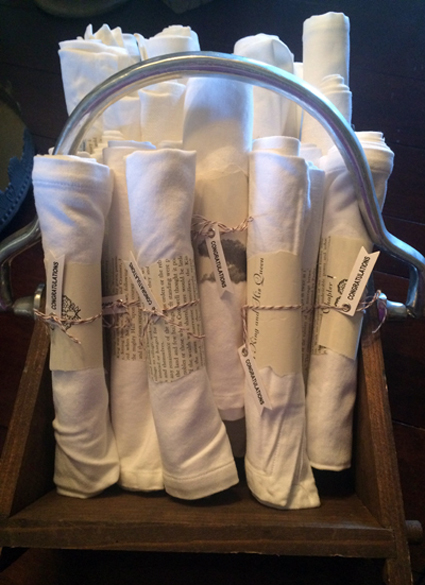
We rolled and wrapped white cloth napkins with torn book pages, tied with baker’s twine and embellished with tiny “congratulations” flags.
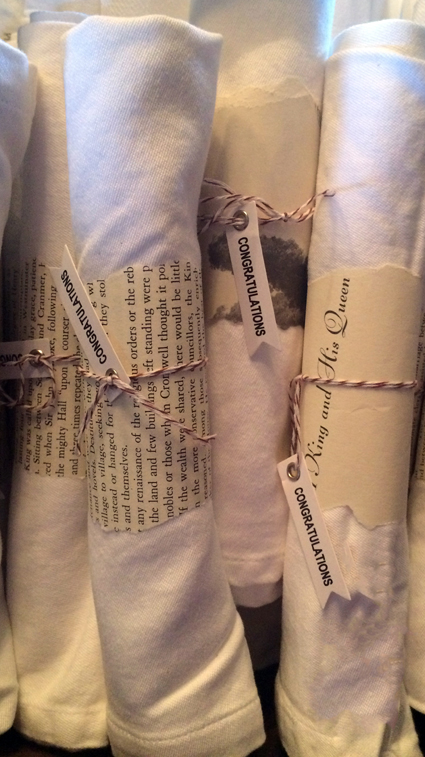
One of the few details that slipped through the cracks that busy morning was making sure that Marissa’s place-setting received the napkin that said “A King and His Queen.” It makes me wonder if the guest who had that napkin noticed and thought anything about it.
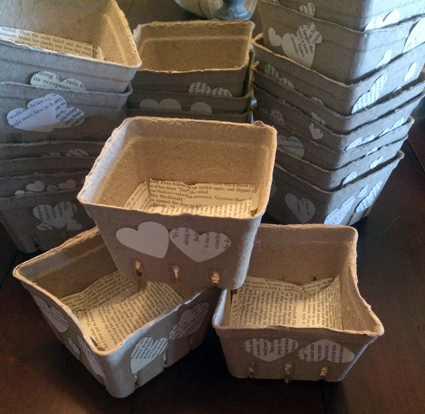
A few weeks after Valentine’s Day, I was in Micheal’s (I spend a lot of time at Micheal’s and Hobby Lobby!) and found these simple berry baskets on clearance. I scooped them up without an idea in mind about what I would do with them. Once Sloane and I decided on the “Milk & Cookies” dessert idea … they found their purpose. We lined the inside with book pages and decorated the outside with our heart confetti.
We used stencils, book pages, and a couple of burlap flag banners from Hobby Lobby to make these.
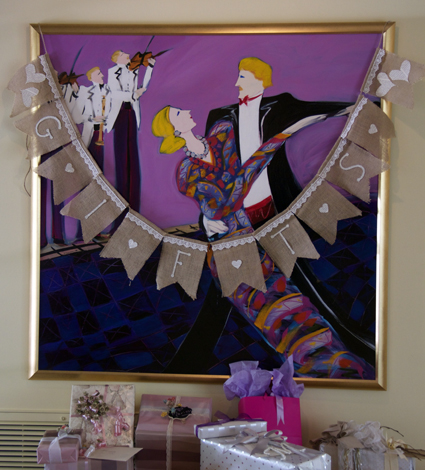
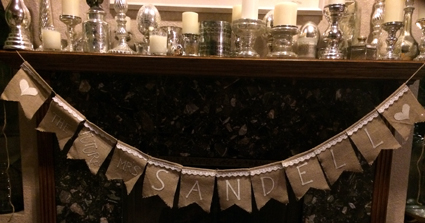
It took some time to come up with just how to fit “The Future Mrs. Sandell” on a banner with only twelve flags!
May 14, 2015 1 Comment
invites and table runner
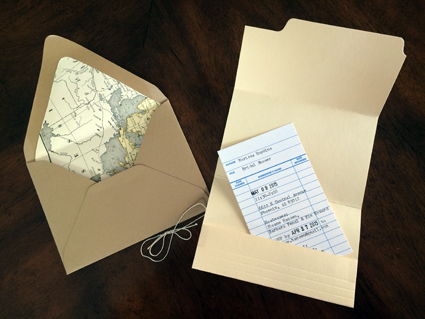
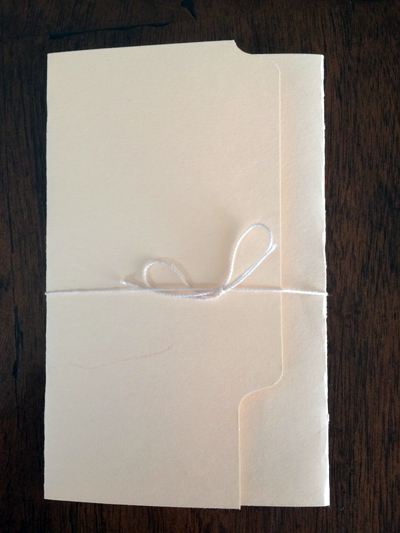
As I mentioned yesterday, I used the invites to set the theme for Marissa’s Literary Bridal Shower.
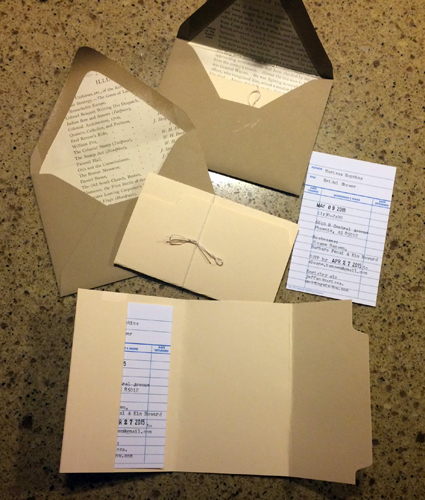
I found them HERE on Etsy. The creator of the invites, Kendra, was an absolute joy to work with.
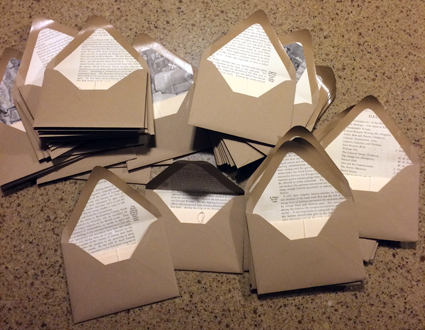
When I told Kendra that I wanted book-page lined envelopes, she said, ‘No problem.”
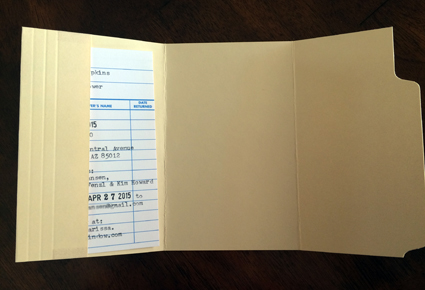
After she sent me the proof of the layout, I asked if she could you a date-stamp instead of the typewriter for the two dates on the invite. She did not hesitate.
Once they arrived and I began addressing and stuffing them, I discovered that she accidentally sent five less than I ordered. I let her know and she cranked them out and I had them in my hands a couple of days later.
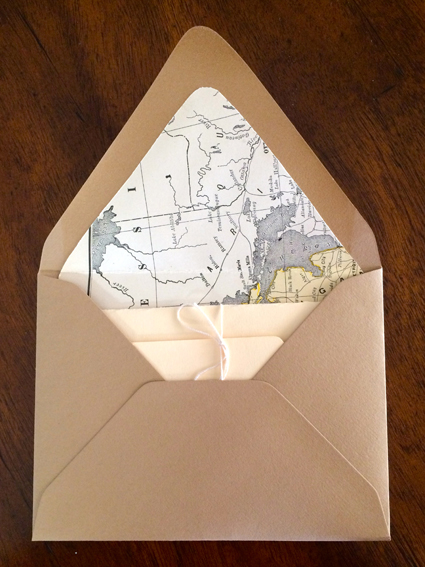
Did I mention that each invite was handmade, one at a time, on a 1970s typewriter? So cool! I love Etsy!
May 13, 2015 2 Comments