
Category — Holiday
got to have bacon!
Even when the centerpiece of your Easter brunch is a spiral-cut ham – that does not mean you can’t throw in a little bacon too!
The original Southern Living recipe called for a cast-iron skillet. Since my cast-iron skillet was in a storage cupboard in the garage that was blocked by a bunch of boxes and folding chairs, I used a large heavy skillet instead.
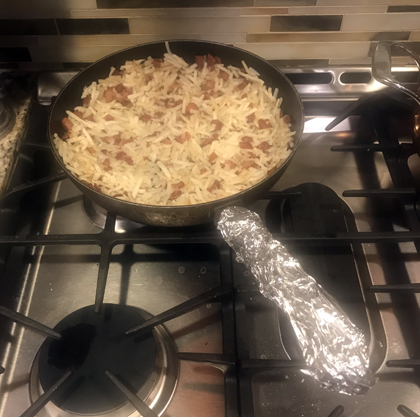
I’ve mentioned this tip before, but it’s worth repeating. If you have a pot or pan that needs to go in the oven that does not have an oven-safe handle, or even if you’re not quite sure if it is oven-safe or not. You can still use that pan. Just double wrap the handle in heavy-duty foil (or wrap 4 times with standard foil) and just like magic, you have an oven-safe pan.
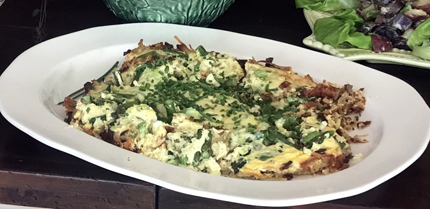
Hash Brown-Asparagus-Bacon Quiché
- 6 slices thick-cut bacon, cut into 1/2-inch pieces
- 8 ounces fresh asparagus, cut into 2-inch pieces
- 4 cups frozen shredded hash browns (about 12 ounces)
- 1 ½ teaspoons salt, divided
- 3/4 teaspoon freshly ground black pepper, divided
- 6 large eggs
- 1 cup half-and-half
- 1 cup shredded Gruyère cheese (about 4 ounces)
- 2 tablespoons Dijon mustard
- 1/4 cup sliced green onions
- Fresh minced chives, for garnish
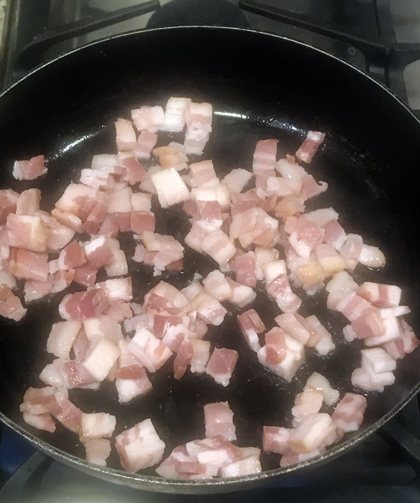
Preheat oven to 375 degrees. Cook bacon in a 10-inch cast-iron skillet or another oven-safe heavy skillet over medium until browned and almost crisp, but still tender, about 6 minutes. Transfer bacon to a plate lined with paper towels. Reserve drippings in skillet, and let cool slightly.
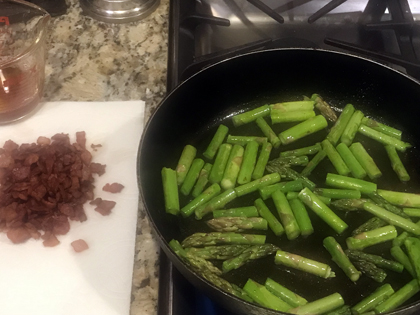
Add asparagus to skillet, and cook over medium-high, stirring often, until lightly browned and just beginning to soften, about 3 minutes. Using a slotted spoon, transfer asparagus to a medium bowl.
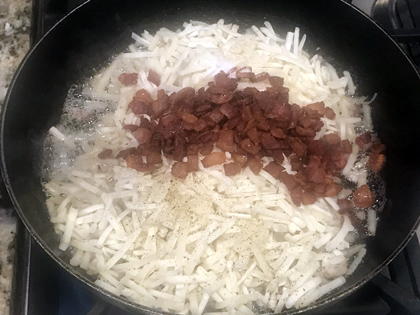
Add hash browns, bacon, 1/2 teaspoon of the salt, and 1/4 teaspoon of the pepper to hot drippings in skillet over medium-high; stir to combine.


April 10, 2018 1 Comment
Easter brunch (or any brunch) cocktail
This was our Easter cocktail. For the non-drinkers, I made up a batch of the citrus mix, sans the brandy, and added flavored La Croix sparkling water instead of Prosecco.
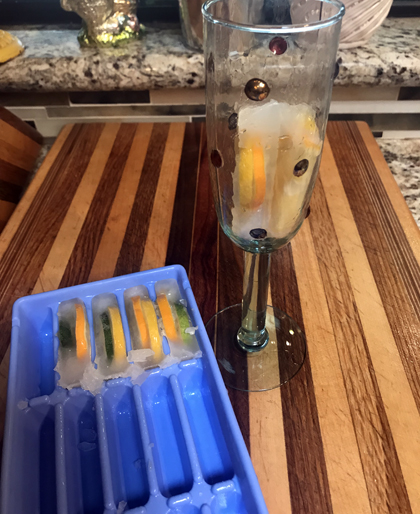
The lemonade ice cubes make the drink so festive. Since I have this long ice-cube tray to work with, I served the cocktail in champagne glasses. If I was using a standard tray, I’d have used wine glasses instead.

Sparkling Citrus Brunch Cocktail
Ice Cubes
- 1 lemon, thinly sliced
- 1 lime, thinly sliced
- 1 orange, thinly sliced
- 1 to 2 cups prepared lemonade
Cocktail
- 1 ½ cups fresh orange juice
- 1 cup fresh Ruby Red grapefruit juice
- 1 (750-milliliter) bottle Prosecco, chilled
- 1/4 cup (2 ounces) brandy
- 3 tablespoons fresh lemon juice
- 3 tablespoons fresh lime juice
- Citrus slices for garnish
April 9, 2018 2 Comments
two butters, a mayo and a spread
It sounds like the start of a joke. “Two kinds of butter, a mayo, and a spread walk into a bar…”
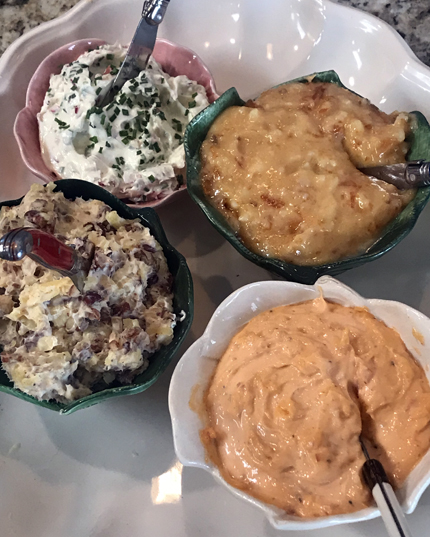
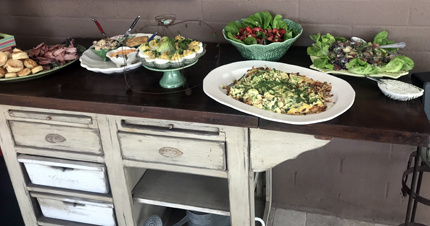
But this is no joke, these are what I served with my biscuits and ham at our Easter brunch. My entire Easter menu was inspired by the Easter menu featured in this year’s Southern Living Magazine. Although, I made several changes in recipes and menu choices to fit my taste. For instance, their menu featured Creole Mayo, I am a fan of Sriracha Mayo, so that is what I made. More Easter brunch recipes will follow in the coming days, for today, let’s look at these four.
I took a poll at brunch and asked for everyone’s favorites. The radish-chive butter won hands down. The second favorite was the other butter, made with orange marmalade and apricot preserves. The final two were tied for third. All four make for a perfect ham and biscuit sandwich.
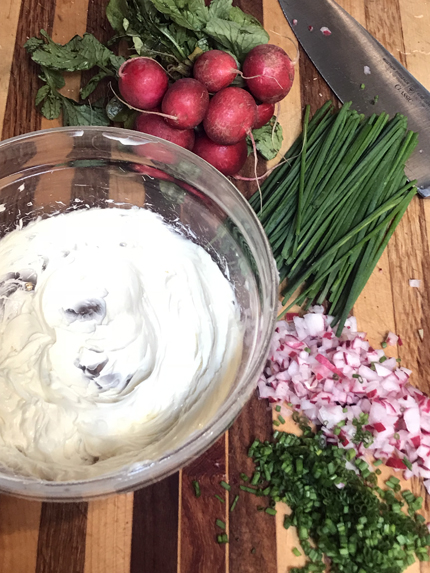
Radish and Chive Butter
- 1/2 cup salted butter, softened
- 1/4 teaspoon salt
- 3 tablespoons finely chopped radishes
- 2 tablespoons chopped fresh chives, plus more for garnish
Beat salted butter and salt with an electric mixer on high speed until light and fluffy, 3 to 4 minutes.
Gently stir in finely chopped radishes and chopped fresh chives. Scrape compound butter into a serving bowl, and sprinkle with more chives. Cover and chill until ready to serve.
April 3, 2018 1 Comment
Easter-themed April Fool’s pranks
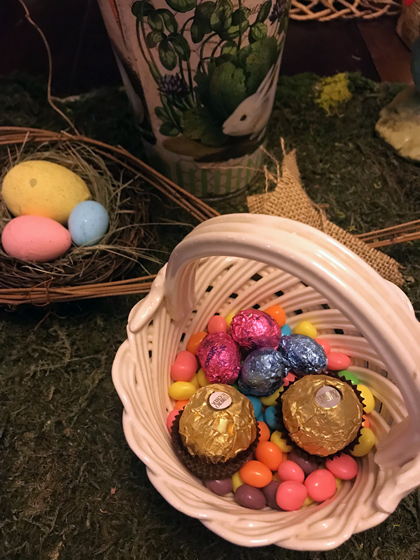
You have a week to pull off these two pranks. It only took me about 15 minutes to “make” my fruit and vegetable Easter chocolates. I can’t wait to see the reactions!
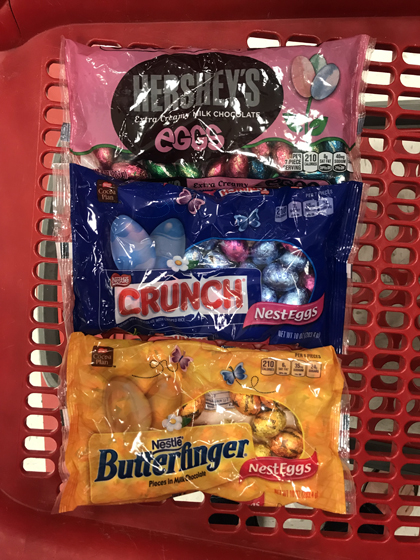
I went to Target to shop for the foil-covered chocolate eggs. After carefully examining what was available, I decided on the Nestle Crunch Nest Eggs over the traditional Hershey’s Eggs because they were slightly larger. You see, you’ll be swapping out the chocolate eggs for grapes, so a similar size is a necessity. The Nestle Butterfinger Nest Eggs were a perfect size too, but the foil isn’t as pretty or “Eastery” – yes that’s a word!
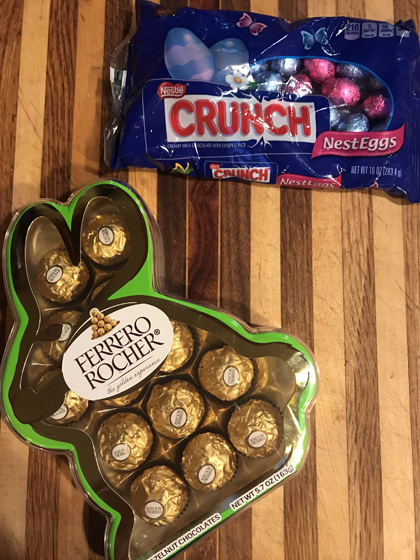
April Fool’s Fruit and Vegetable Easter Chocolates
- Nestle Crunch Nest Eggs
- grapes
- Ferrero Rocher Chocolates
- Brussels sprouts
- a bit of patience
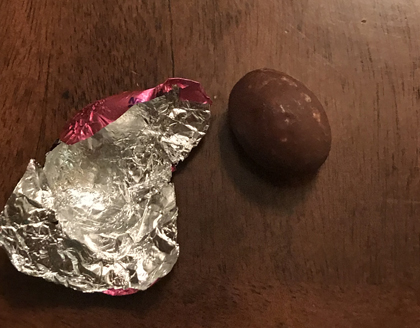
Very carefully and slowly loosen the foil on a Crunch Chocolate Egg. On the first one I attempted, I made the mistake of completely opening up the foil. Don’t do that! It is too hard to fold it back together nicely.
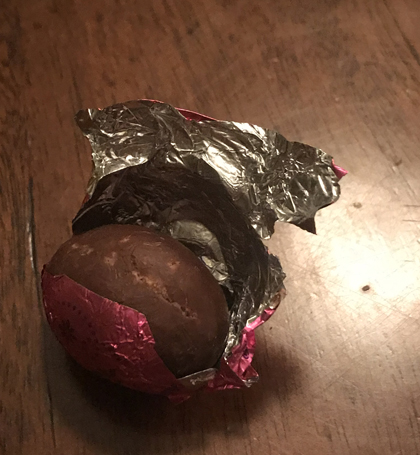
Instead, open the foil just enough to remove the chocolate egg.

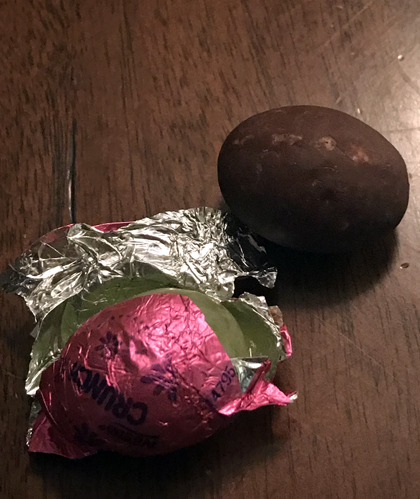
When choosing your grape, go a little smaller, rather than larger or the exact same size. I used the grape on the left.
March 25, 2018 6 Comments
2 for the price of 1
This year we get two holidays for the price of one on April 1st.
I suppose April Fool’s Day isn’t a true holiday, especially when compared to the importance and holiness of Easter, but I’m going to give you cute ways to celebrate both anyhow.
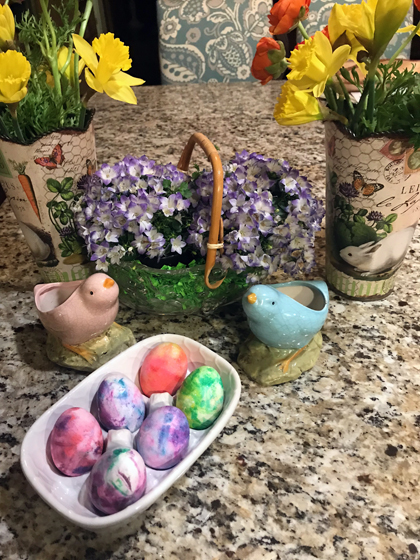
Today is a fun and messy, yet clean, way to color Easter eggs, and tomorrow a couple of fun Easter-themed April Fool’s jokes to play on family and friends.
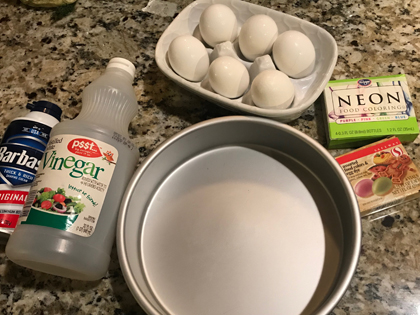
Shaving Cream-Dyed Easter Eggs
- Hard-cooked eggs
- White vinegar
- White shaving cream
- Food coloring
- Lots of paper towels
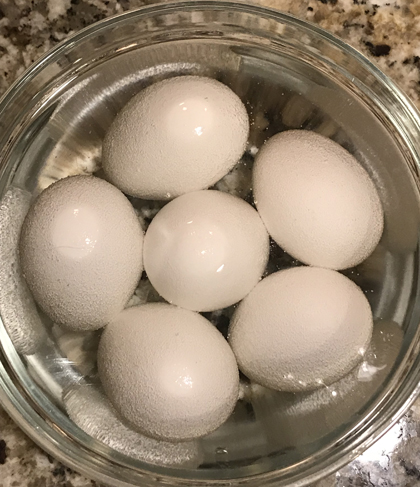
Place the eggs in a bowl and pour in enough white vinegar to cover. Let sit for 3 to 4 minutes and then remove eggs from the vinegar and set aside. Soaking the cooked eggs in vinegar before dying gives you more vibrant colors. The vinegar may then be poured back into the bottle and used again, no reason to waste it.
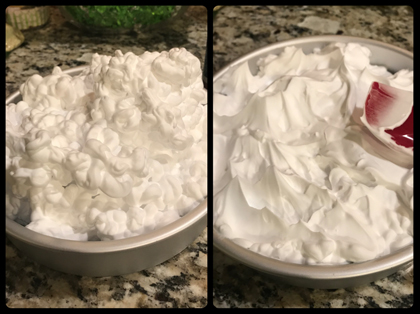
Spray the shaving cream into a cake pan or onto a rimmed baking sheet or baking dish. Use a spoon or spatula to press down the shaking cream to make it smooth and dense.
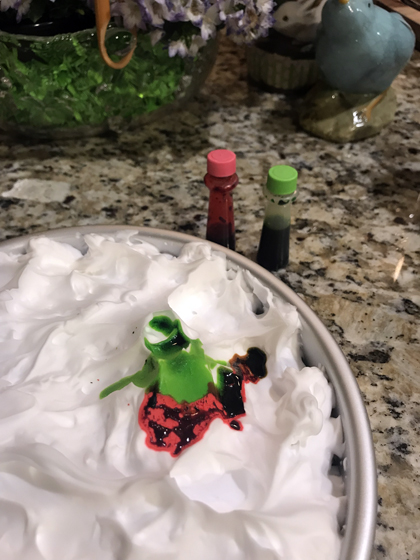
Add 4 or 5 drops of two different colors of food coloring, of your choice, to a small area of the pan.
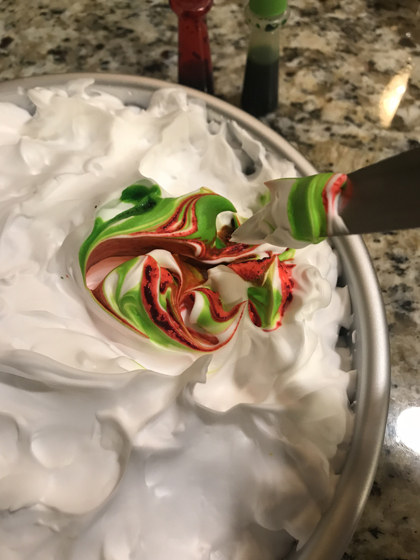
Then run the tip of a paring knife or a toothpick through the two colors to “marble” the colors together.
March 24, 2018 No Comments
caprese flag
Everyone loves caprese salad, or at least everyone I know love it!
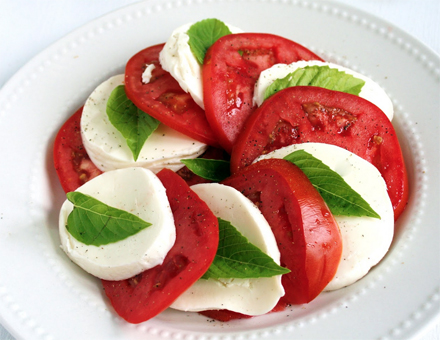
There are many variations of Insalata Caprese, but the classic Italian salad consists of layers of ripe tomato slices, sliced mozzarella, and basil leaves that are seasoned with olive oil, salt, and pepper, and sometimes drizzled with balsamic vinegar. It is made to represent the colors of the Italian flag.
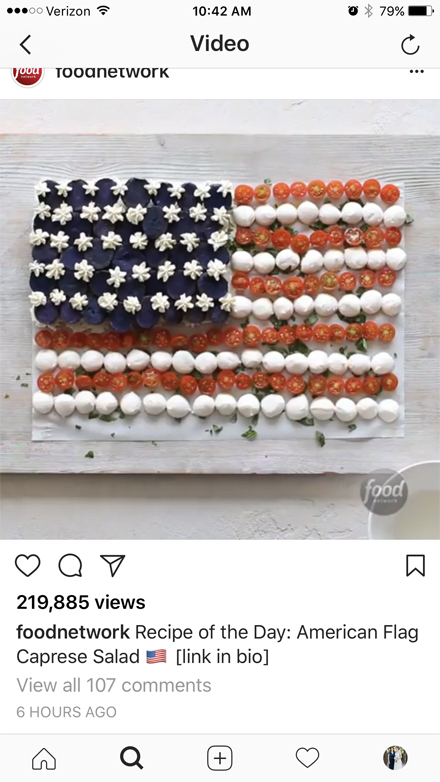
I have made it as an hors d’oeuvre before, but this time I assembled it to resemble our American flag for a 4th of July appetizer. I wish I could take credit for coming up with the easy idea on my own, instead, I saw a video on the Food Network Instagram page on the morning of the 4th. I immediately jumped in my car and headed to Trader Joe’s to pick up the ingredients. This was too clever and yummy to NOT make!
July 11, 2017 1 Comment
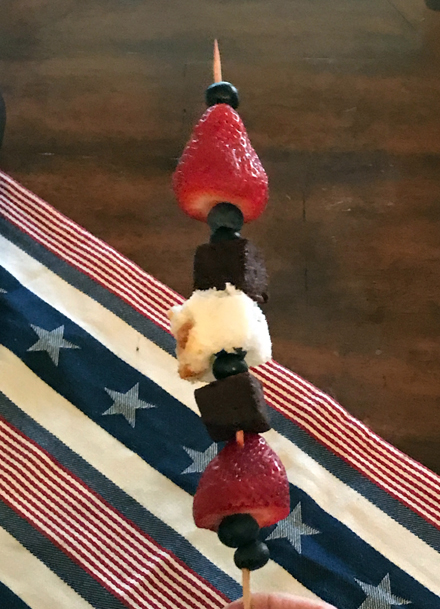
Patriotic Kabobs
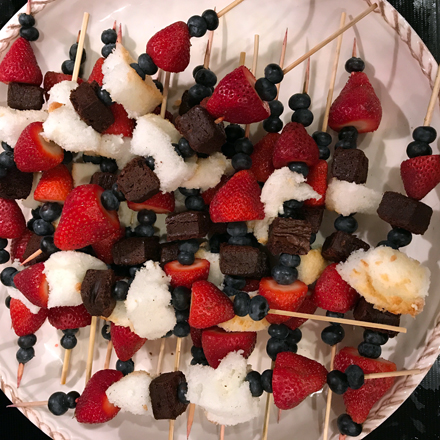
Independence Day has come and gone, but there are plenty more patriot holidays between now and July 4, 2018. Labor Day is only eight weeks from today. Columbus Day is a month after that and before you know it, Veterans Day is upon us! The point is, don’t wait a year to make these fun and easy dessert kabobs.
I whipped a few of these up for the grilling tips segment I did last week and then made them again the next day for a 4th of July party I was invited to. Technically, I may have invited myself. But I tried to make the hosts feel it was worth it by bringing these kabobs along with an awesome flag appetizer, the recipe for which I will post tomorrow.
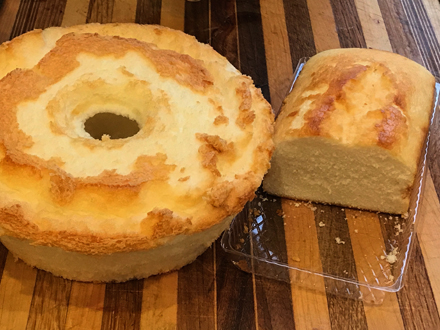
When I made the kabobs for television, I used pound cake. I quickly discovered that pound cake is not the best choice. Angel food cake works better, so that is what I used on the 4th. The pound cake is too dense and has a tendency to break apart when skewered. The angel food cake is light and fluffy and stays in place. Large marshmallows would be a great choice too.
I’m not providing you with any quantities here. I made as many as I could until I ran out of one of the ingredients. The first thing I ran out of was strawberries, then I was done.
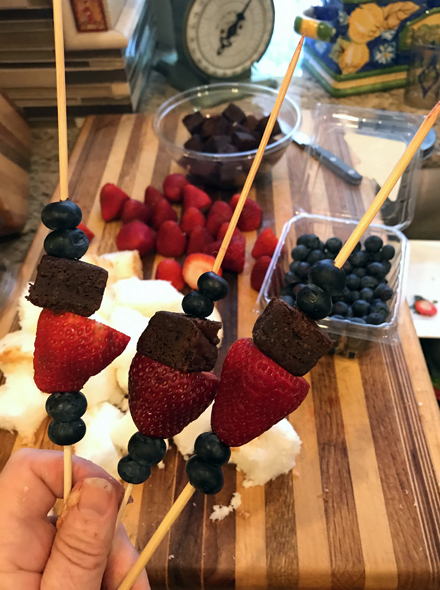
After making four or five, it was getting tedious, so I decided to make three at once. I held three skewers in my left hand and added the ingredients with my right. I was done in no time.
July 10, 2017 2 Comments
Happy 4th of July!

I hope you and yours are having a festive and fun 4th! I’ll be spending mine with Steve, Tram and Fam. Holidays are always more fun spent with toddlers, especially Zak & Zoey! Above is a cute picture taken earlier this week during their Staycation at the Scottsdale Princess. Adorable!
Yesterday was a whirlwind for me. I was at an appointment when Tram called and asked if I’d be willing and able to do a “grilling tips” segment on 12News at 4:00. Mind you, the call came in at about 11:00, I still had more than 90 minutes left at my appointment, but I can’t say no to her. I was making mental notes of what tips I wanted to give and what I needed to shop for, prep, and pick up at home before I headed to the station in downtown Phoenix.
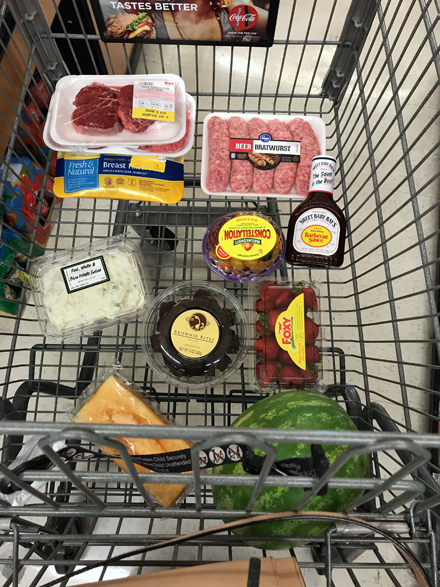
Straight from the appointment, I went to the grocery store to buy meat, fish, buns, veggies, fruit, a cherry pie, brownies, angel food cake, ice, etc. Then I raced home to load up the ice chests, prep some of the food, and pull out what little 4th of July decorations I have – that isn’t boxed up and in storage.
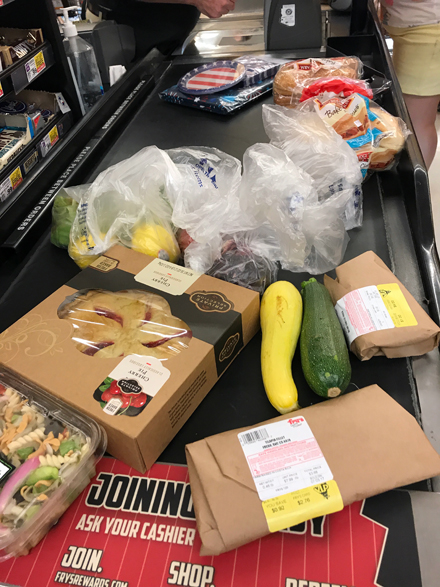
I changed my clothes and put on fresh make-up, which was basically useless since the segment was to be filmed outside on the 12News patio and it was 107 degrees out, so the make-up would be melting off my face while I was unloading and setting up anyhow. I packed it all up and drove well above the speed limit (not unusual) to get to the station by 3:00.

Here are the two carts of stuff I schlepped down there.

July 4, 2017 6 Comments
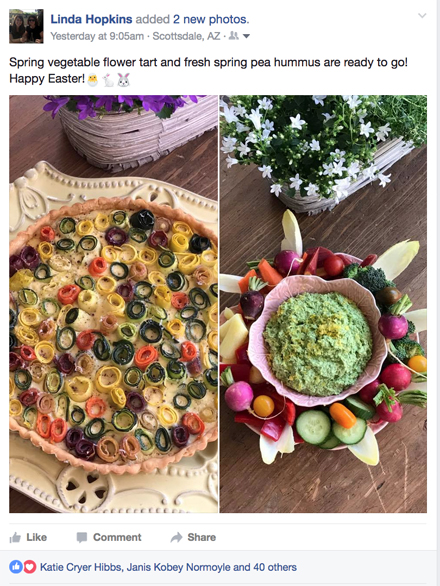
Easter appetizer

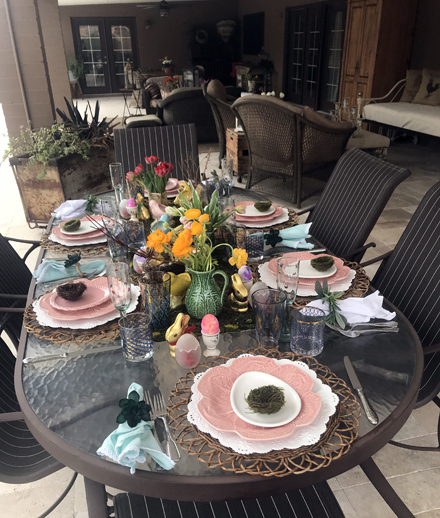
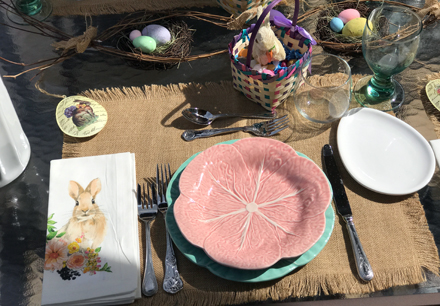
I may have gone a little overboard with the flowers this Easter.
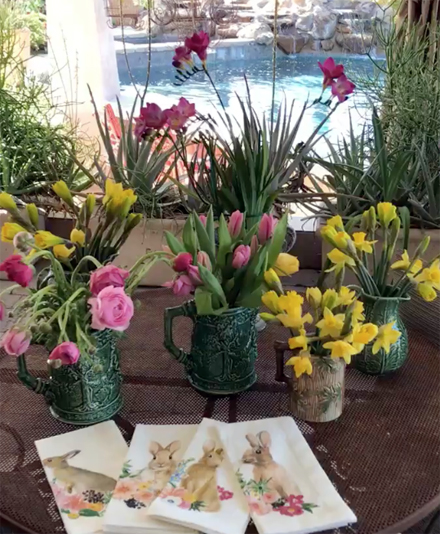
It’s hard not to. Tulips. Daffodils. Freesia. Hydrangea. Gerber Daisy. Ranunculus. It’s impossible to pick just one, or two for that matter!

The funny thing is that I didn’t use one of them on my Easter tablescape. They were all too fragrant and floral scents often interfere with the food.
But they were enjoyed throughout the rest of the house.
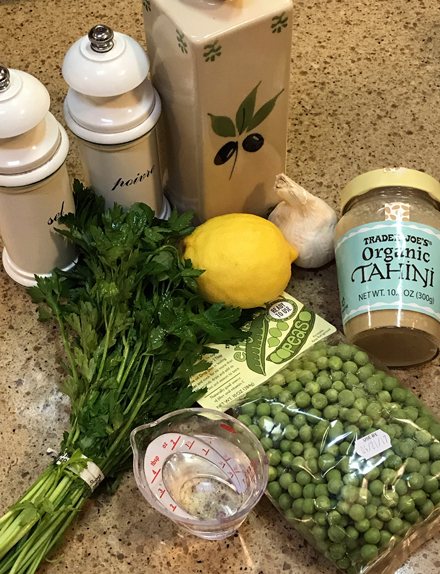
All of the flowers came from Trader Joe’s, along with the fresh English spring peas that I used to make this appetizer.
April 19, 2017 1 Comment
trial and challenges
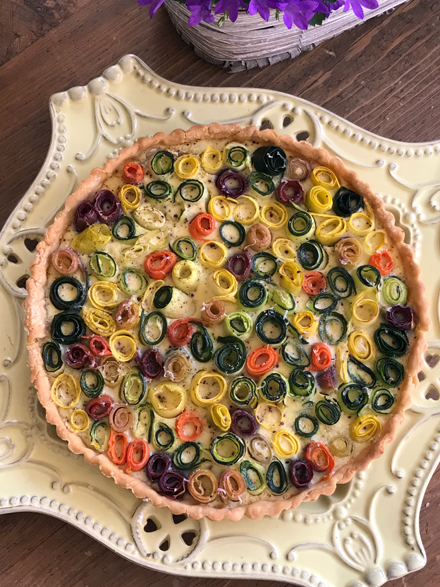
This is the extraordinarily lovely vegetable tart I made for our Easter brunch. I saw it on one of Martha Stewart’s social media pages several weeks ago and fell in love. I have to admit, I did run into a few challenges making it though.
I don’t think I’ve mentioned this here yet, but my house is on the market. I packed up boxes full of household items and accessories back in January to make it “show-ready” before we listed it.
My garage has stacks upon stacks and row after row of boxes filled with items from every room in the house. When potential buyers look at your house, they open closets and cupboards, so those had to be pared down too.
I tried to be careful about what I packed away, but inevitably, I have times when what I need is somewhere unreachable in the garage. In the case of this tart, it was the mandolin and the pie weights I needed but were out of reach. It’s frustrating, but luckily, I was able to adapt.
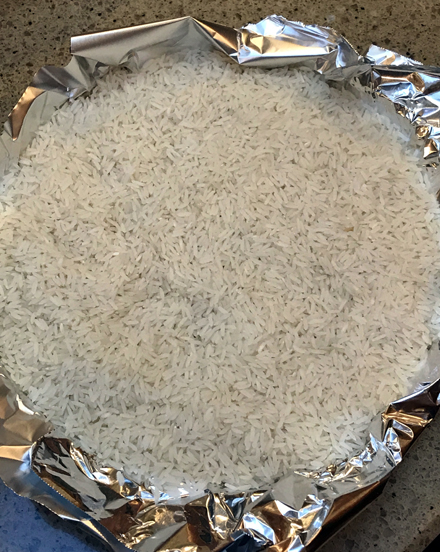
Instead of my mandolin, I used a vegetable peeler for the vegetables and instead of professional pie weights for the blind baking of the tart shell, I went old school and used rice (dry beans work well too).
I’m going to be 100% honest here and tell you that this recipe is A WHOLE LOT of work! To be doubly honest, I’m not sure that it was worth it, I didn’t find it flavorful enough. That being said, please don’t let those statements stop you from reading on! There is a solution to at least half of that proclamation!
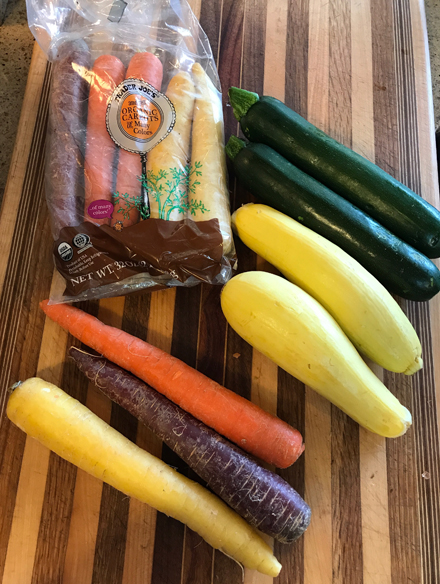
I did modify the original recipe a bit; I added nutmeg to the filling and sprinkled Parmesan on top. I also found that the squash did not need to be blanched, only the carrots needed that treatment to roll easily. And I was lucky and found extra fancy tri-colored carrots at Trader Joe’s. They added vibrant extra pops of color.
Everyone enjoyed the tart and thought it was quite good, but for all the time and effort, I didn’t think it was good enough.
Before we ate it, I posted a photo of it on my Facebook page. My friend, Sue, left a comment saying, “My daughter posted the recipe for the tart to my timeline earlier this week for us to make! You’ll have to let us know how it tastes!!“
After I tasted it, I went back to reply to Sue with my thoughts, but before I did, I checked out her timeline and found that the recipe her daughter posted was not the same recipe as the Martha Stewart recipe that I used. After reading over Sue’s recipe, I can say that I will make the tart again, but next time I’ll be using the recipe posted on her page, it sounds so much more flavorful! Instead of only eggs, cream, and Parmesan for the filling and pie dough for the crust, hers added ricotta, mozzarella, and oregano for the filling and used puff pastry for the crust. YUM! Here is the link for that recipe.
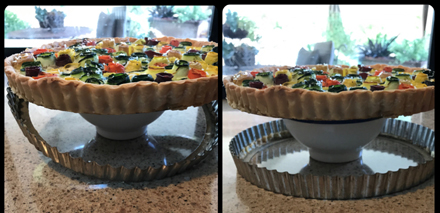
Oh, and if you’ve ever had difficulty removing the rim from a tart pan and wondered if there is a trick to it… there is! Set the baked tart on a bowl and let the rim just fall right off. Easy as pie.
There is one fact that is not contested – this is one gorgeous tart!
April 18, 2017 4 Comments