
#tbt
My life is spiraling out of control, out of my control. Others are currently pulling the strings. As a result I have nothing new to blog about so today I’m giving you a Throwback Thursday.
Today is a special day for my longtime friend… who also was a bridesmaid in my wedding some 28 years ago …. today is her birthday.
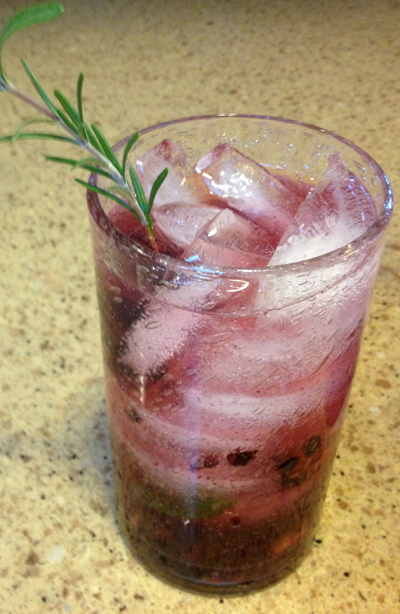
The two cocktails and appetizer in THIS POST are what I served when we had Birthday Girl Karen and her husband, Bob, over for dinner last year about this time.


February 27, 2014 1 Comment
Friday Q & A
Wow, this week went fast! I can’t believe it’s Friday already.
Once again, I shall be answering one of Lori’s questions. Lori put forth several when I asked you to pose questions to me. This is one that I didn’t expect to be getting to quite so soon. But the week flew by so fast, that I wasn’t ready to answer the tougher questions she asked… here we go:
Are you going to unveil your plan for your “playroom” when you figure it out?!?
Yes, Lori, it’s not only figured out.. it’s all done. Well, not completely done… but done for now.
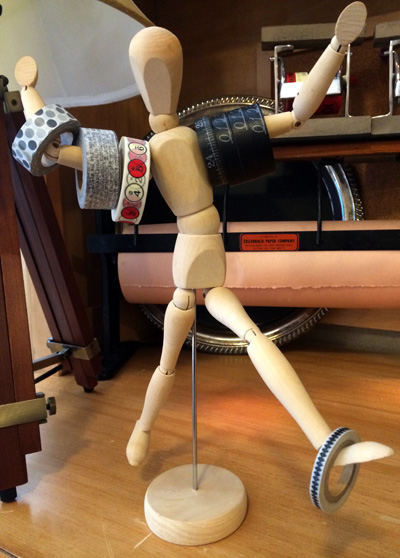
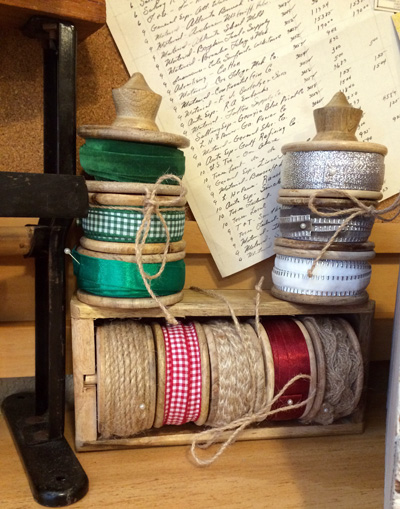
I desperately needed a space to store and organize all my craft supplies in one central location. I have so many crafting supplies, it felt like they were coming out my ears! Everywhere I turned, there was some sort of craft. From the rolls of washi tapes to paints and stickers, it was everywhere. It’s been stuffed in several places throughout the house; the garage, my closet, in the buffets in the dining room, the master bedroom sitting room, in the kids’ rooms (under their beds – without their knowledge), and even in the backyard patio area.
As I mentioned in a post earlier this month, I’ve reclaimed a portion of a large room upstairs that we’ve always called “the playroom.” The playroom has always had a television, couch, and computer desk. In the early years, it had a dozen shelves along with two of the walls. Those shelves housed Marissa’s extensive collections of Disney figurines and Connor’s huge collection of Star Wars action figures. The shelves came down and the toys went up into the attic, years ago. There were also about a half-dozen tall white cupboards, in the early days, that held school craft and art materials, games, videos, and toys… those too are long gone.

More recently the room has been an extra bedroom, with a trundle daybed, and also sadly became sort of a junk room. When your kids are college age, they accumulate dorm/apartment furniture and when they finish college, that stuff has to get dumped somewhere… this room became our “somewhere.”

Currently, the room is divided into three distinct areas – the television lounge area … also known as Connor’s lair.
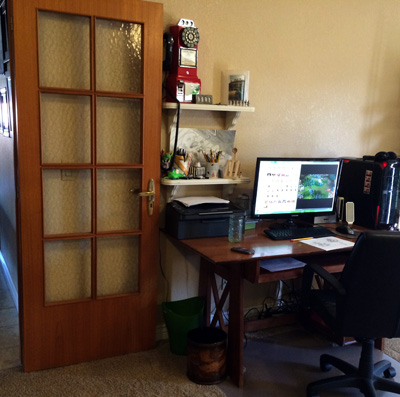
… Connor’s computer desk area …
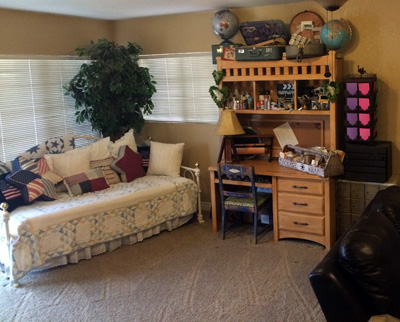
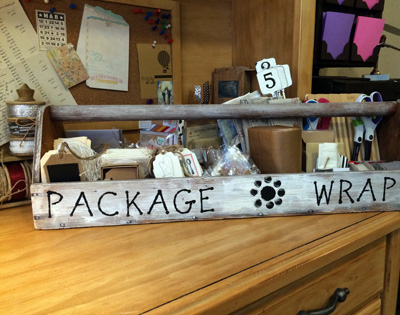
… and my craft area, which still has the daybed included in it. Here are some of the details and close-ups.
February 21, 2014 4 Comments
pasta and beef
A week ago yesterday, our neighbors, Allison and Ian, had a new baby girl. She joins two sisters, ages 2 and 3. Since Allison obviously has her hands full (to say the least!) another neighbor, Kim, organized a sign-up for us to pitch in and bring dinners to the family for the next couple weeks.

Kim used a great online tool called Signup Genius. I’d never heard of it before, but I guess it’s all the rage with mom’s of school age kids. I am so out of the loop! It really is genius though!
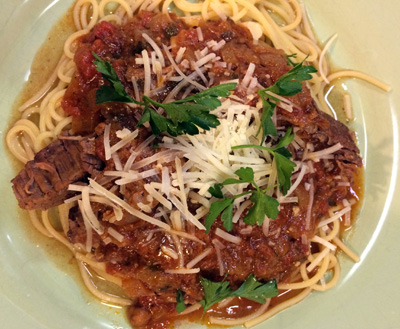
Anyhow, I made a double batch of this dish yesterday afternoon. My three guys really enjoyed it for dinner last night. Hopefully Ian, Allison and their girls will enjoy it just as much tonight.
February 17, 2014 1 Comment
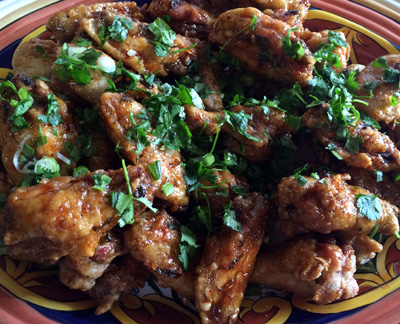
Homemade San Tung “Dry-Fried” Chicken Wings
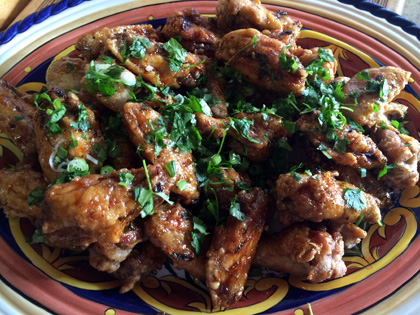
San Tung is that restaurant in San Francisco that Marissa and I have to eat at the night I arrive in San Francisco each and every time I visit her. It serves the famous “dry-fried” chicken wings that we crave and love.
I desperately wanted to make them for the family on Super Bowl Sunday.
After much online research and some trial and error, I have the recipe for you to make at home!
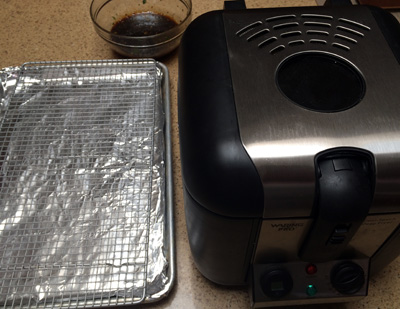
You’re going to need a large pot, Dutch oven, or preferably a deep fryer. If using a pot, you’ll also need a candy thermometer. Plus, you’ll need a couple of big bowls, wire racks, paper towels, and a baking sheet.
If you’re like me, you like your wings cut into two pieces, the drumette, and the wing.
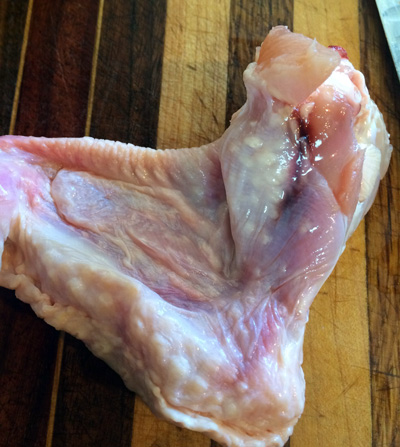
When cutting the wings in half, just cut through the skin, then bend the wing so you see where the joint is and cut right through the joint.
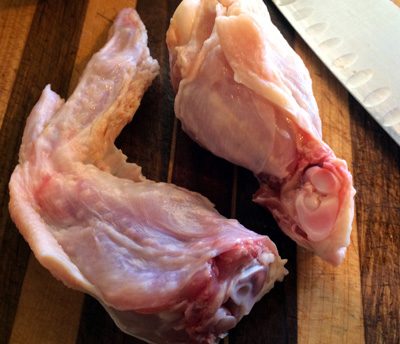
It’s easy once you find the joint and don’t try cutting through the bone. Then cut off the wing tip, there is a joint there too.
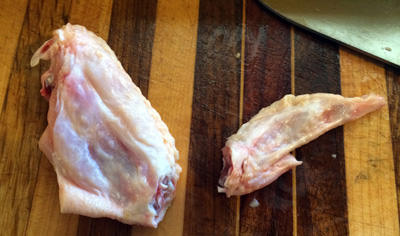
Save and freeze the tips for the next time you make chicken stock.
This recipe makes about 60 wings (30 wings cut in half) and it takes over an hour and a half to fry them all – twice. The recipe can easily be cut in half.
OK, let’s get started…
Homemade San Tung “Dry-Fried” Chicken Wings
Sweet and Spicy Sticky Sauce
1 bunch green onions, minced (green and white parts)
1 small bunch cilantro, minced
1/2 cup soy sauce
1 1/2 cups honey or agave nectar
3/4 cup water
1 head garlic, peeled and minced
3 tablespoons rice vinegar
2 tablespoons Szechuan chili sauce
Wings
8 pounds chicken wings
Salt and freshly ground black pepper
10 cups canola oil
2 cups cornstarch, divided
1 1/2 cups water
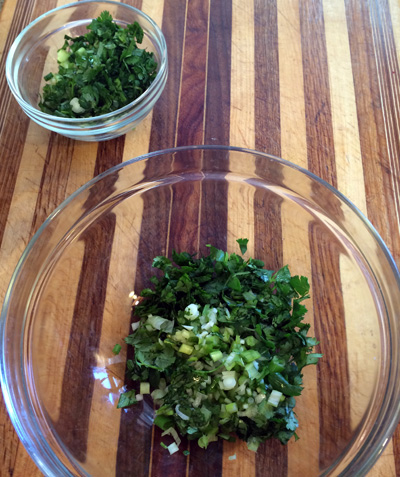
Sauce: Mix together the green onions and cilantro. Divide in half, place half in a small bowl, cover, and refrigerate.
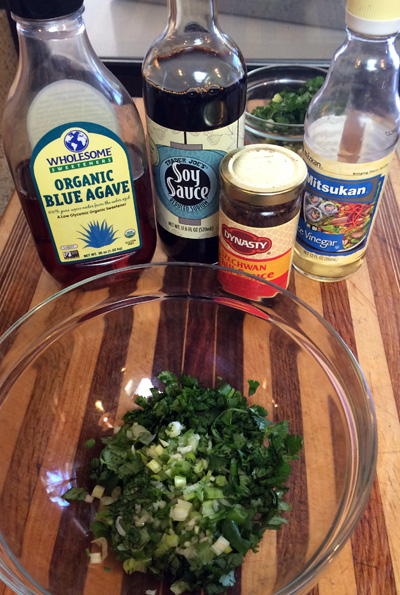
Place the other half in a large bowl and…
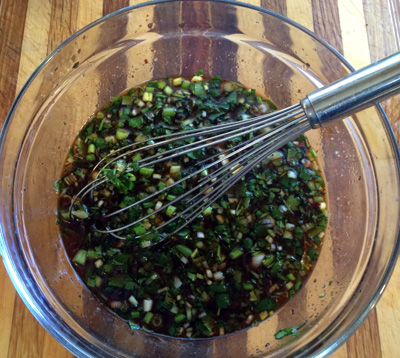
…whisk in the remaining sauce ingredients.
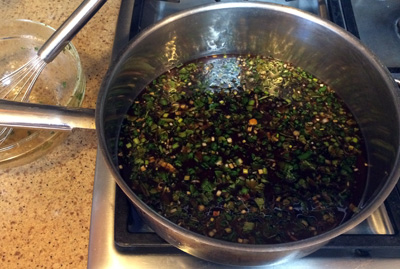
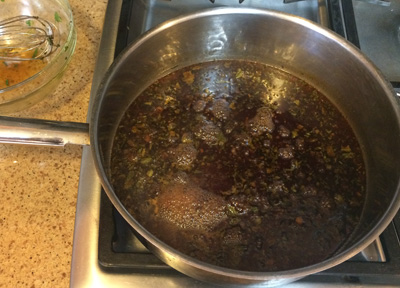
Pour the sauce into a large skillet and simmer for 10 minutes until thickened.
February 3, 2014 24 Comments
stuffed sweet potato skins
On Sunday, Dave and I went to a second baby shower for Tram. She’s having twins after all, so she should have a minimum of two showers! This was a couples shower that her best friends threw for her. It was at the home of Chef Michael Cairns and his wife, Dar. Michael is the Executive Chef at the Montelucia Resort and Spa.
So yes, naturally the food was outstanding! As was the decor, the company, and the relaxed casual vibe on an absolutely perfect and beautiful Sunday afternoon.
Everything was delicious but the two standouts for me were a delicious and ultra-creative quinoa bar that we started with. And a pureed sweet potato side dish that Chef Michael served.
After eating that addicting sweet potato dish, I was craving sweet potatoes on Monday and I could not shake it. That is how this recipe was born… out of a craving. As we all know, pregnant women are not the only people who get them!
Connor and I thought the heat from the chipotle peppers were perfect. Dave thought it was a bit much. If you’re heat-sensitive, cut the amount of chipotle in half. Or start with half as much, taste, and then decide if you want to add more.

Chipotle-Chicken Stuffed Sweet Potato Skins
3 medium sweet potatoes
1/4 cup olive oil
2 tablespoons fresh lime juice
1 large garlic clove, peeled and minced
1 teaspoon dried oregano
1 teaspoon ground cumin
1 teaspoon chipotle chili powder
3 chipotle peppers in adobo sauce, minced
Salt and freshly ground pepper
2 cups fresh baby spinach leaves
2 cups shredded rotisserie chicken
1 cup grated sharp cheddar cheese
Greek yogurt, for garnish
Fresh chopped cilantro, for garnish
January 28, 2014 2 Comments
enter and exit
It makes me a bit sad to be entering my last post about Tram’s baby shower. Albeit, five consecutive posts about one party is a lot, I’ve really loved sharing it with all of you and reliving it for myself.

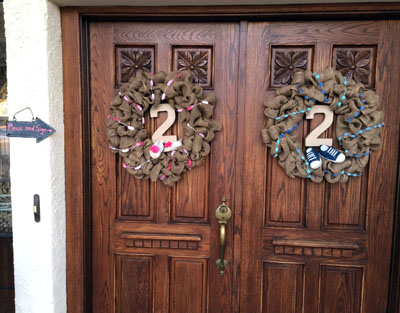
I’ll start with the beginning, what the guests saw as they entered…
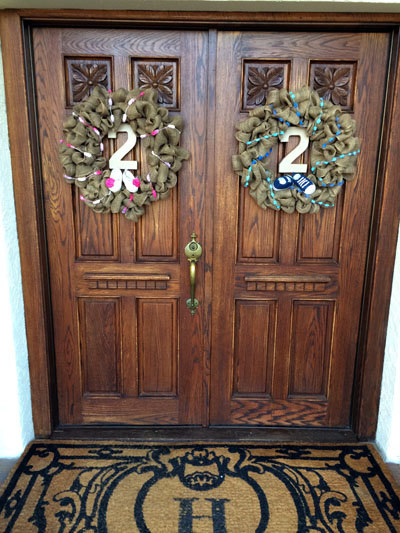
… the front doors and the burlap wreaths that I made especially for the shower. I had purchased a couple of springtime wreaths at Home Goods last year, but they were all nasty and faded before the end of summer, so into the trash they went. Once I took down the Christmas wreaths this year, I had nothing to replace them with.
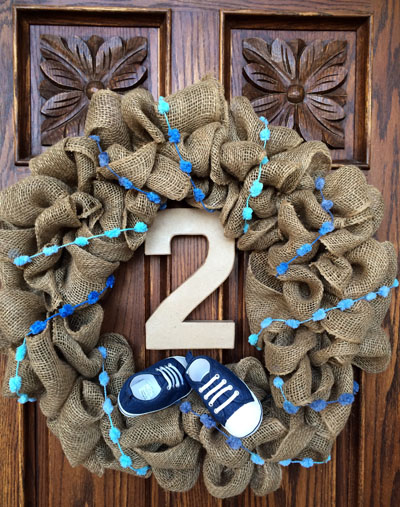
I had pinned THIS tutorial on how to make burlap wreaths on Pinterest and decided, “no time like the present” to get it done! Oh my goodness, it could not have been easier! I whipped them both out in about 20 minutes. Seriously, ten minutes each! Follow the tutorial and you can make some of your own. By the way, I used an 18-inch wreath form. I will be adding some sort of spring/summer embellishments in the near future.
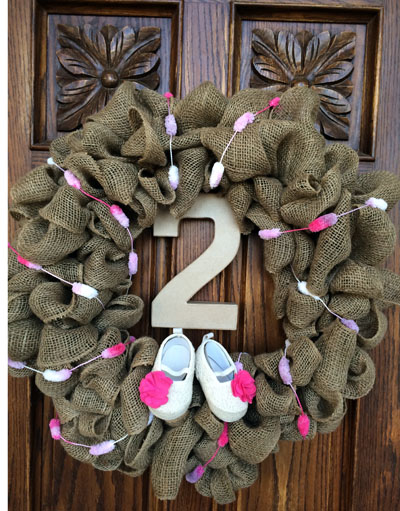
I found the yarn and number twos at Hobby Lobby and the baby shoes at, Micheal’s, of all places! I used clear adhesive dots to adhere the shoes to the burlap and the twos to the doors. Of course, the shoes went home with Tram.
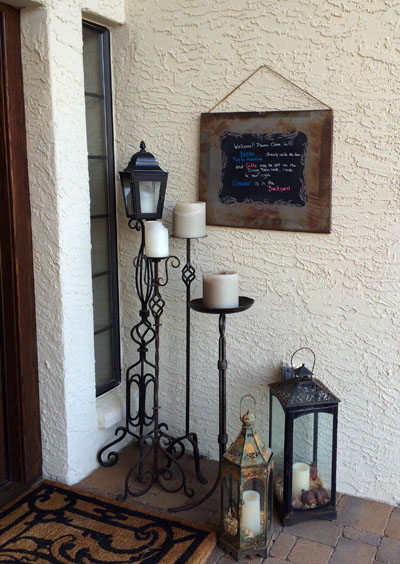
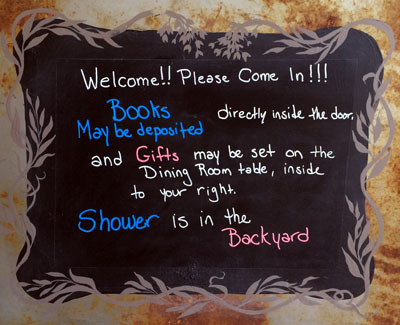
To the right of the door was a chalkboard sign (of course!) telling guests what to do and where to go. Some people are so darn bossy!
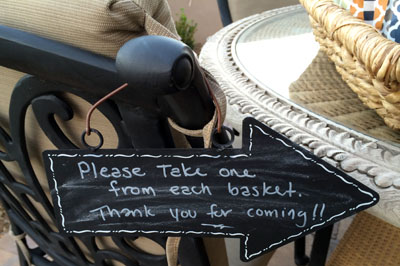
About an hour and a half into the shower, Peggy set the Party Favors out in the same front courtyard so the guests could easily snag them on their way out.
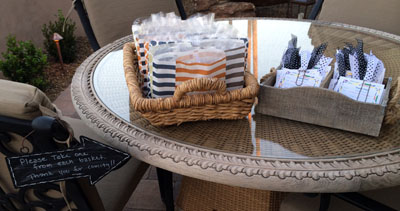
You have to know by now that there was another chalkboard sign, with instructions. This is a school theme, after all!
January 17, 2014 2 Comments
the baby shower recipes
Many of the guests at Tram’s Baby Shower had expressed interest in the recipes for the brunch food I served. In fact, Tram commented that yesterday’s post was a “Cliffhanger” since so many of her friends were hoping for the recipes and I said that the recipes would be coming tomorrow.
That actually made me laugh. A Cliffhanger? Me?
No, I just have so much to share about the shower that I have to break it up into a week’s worth of posts. So, today I shall give you all the recipes!
It sounds more daunting than it actually is because all but one of the recipes have already been posted here on the blog. See, no Cliffhanger to be had. Most of them, I made exactly as previously written and a couple of the others – have a few tweaks. Let’s get to it!
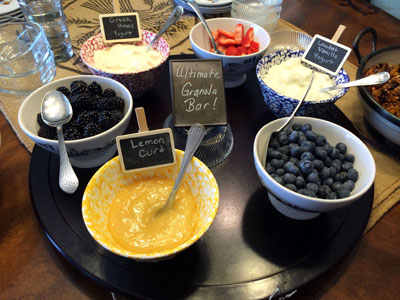
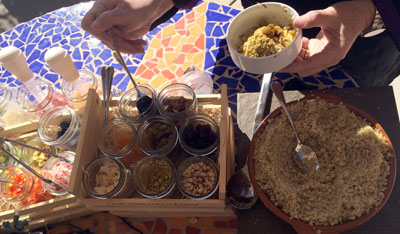
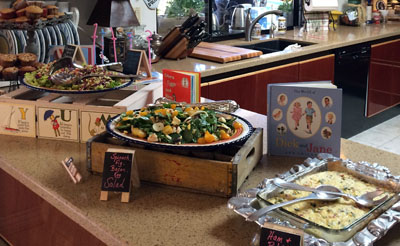
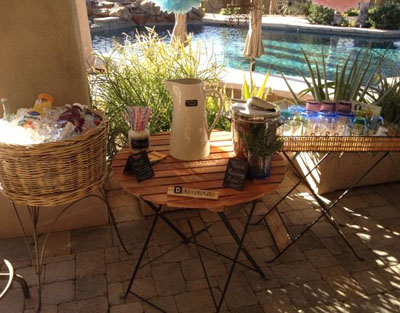
First up, The Granola Bar.
I made a double batch of my Glinda’s Wickedly Delicious Granola. It is my take on a recipe from my friend and colleague, Gwen Ashley Walters.
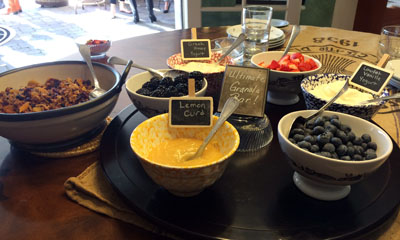
To accompany the granola, there were bowls of fresh blackberries, blueberries, and strawberries, plus lemon curd, low-fat vanilla yogurt, and, my favorite store-bought yogurt of all time, Greek Gods brand Honey yogurt.

January 14, 2014 4 Comments
I’m back… with baby shower details
… after nearly a week off, I’m back to share all the glorious details of Tram’s babies (twins) shower with you. In all honesty, I don’t know where to begin.
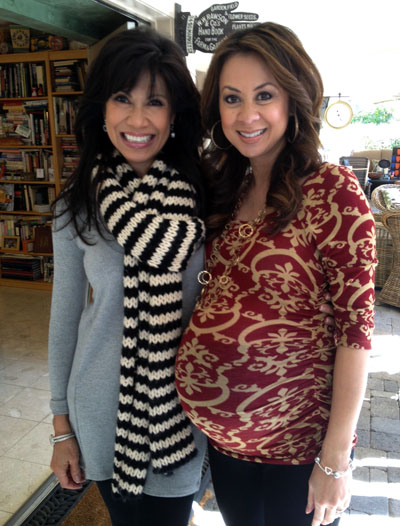
I don’t know if I should start by thanking Tram for being the most appreciative and gracious guest-of-honor, EVER! (I love this photo of Tram with her friend and colleague, Lin Sue. It so beautifully shows off her ever-growing baby bump on her tiny frame!)
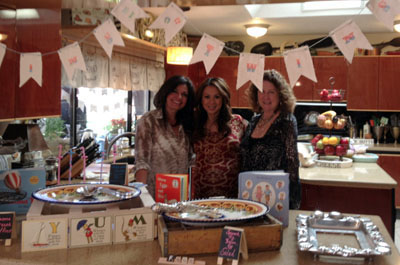
Or by thanking Peggy for being the best friend and assistant party setter-upper and co-hostess that a girl could ever deserve, hope, wish, or dream of having!
Or maybe I, tell you all about the theme and show you a bunch of photos from the perfectly perfect day.
Let’s start there – at the beginning. This is how it went down.
Tram and Steve came over to our house before going out to dinner with the supposed reason of seeing our new back patio. The true purpose was to tell us that they were expecting… TWINS! How exciting is that?!
The very second after Tram told me she was expecting twins, I said, “I have to throw you a baby shower!”
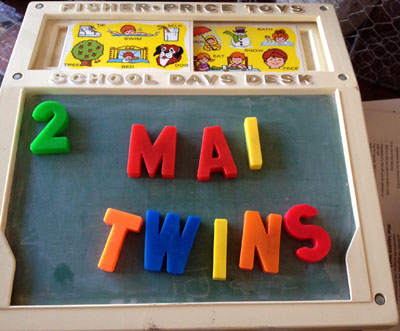
I first went to Pinterest and started a new board for the shower. The theme was solidified in October when I found this vintage Fisher-Price toddler desk at Sweet Salvage.

Theme:
- School
- Books
- Vintage Toys, flashcards, and blocks
- ABC
- 123
- Chalkboards
- Pink & Blue
- Globes, Rulers, & Crayons
- …and the Number 2
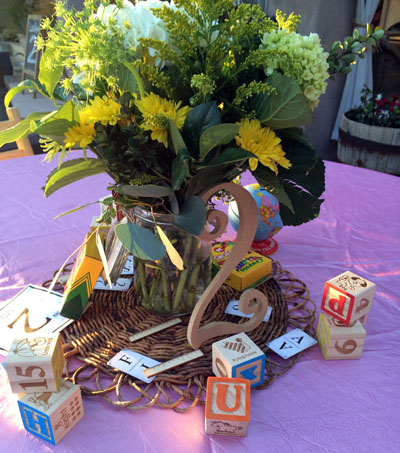
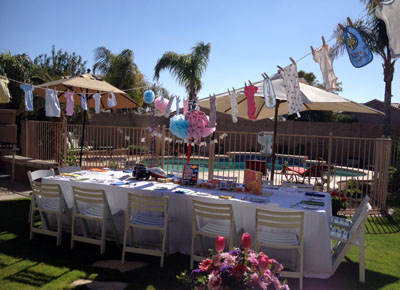
One of four centerpieces … at a table for 10.
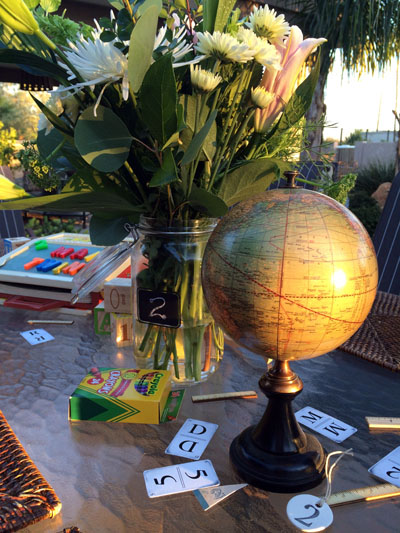
Table for eight.
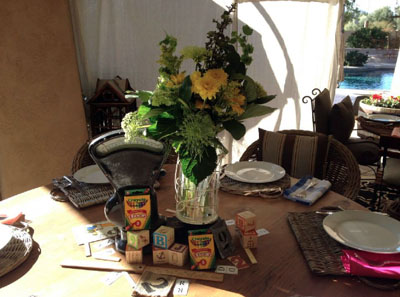
Table for six.
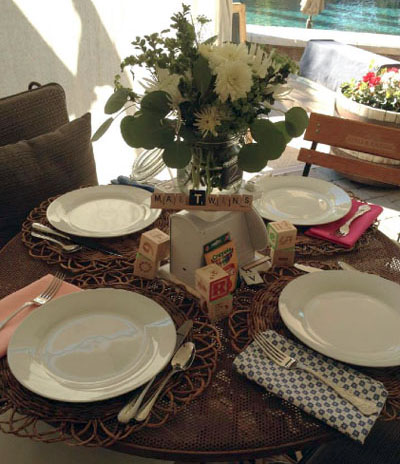
An intimate table for four.
January 13, 2014 5 Comments
Frame & Bell Wreath
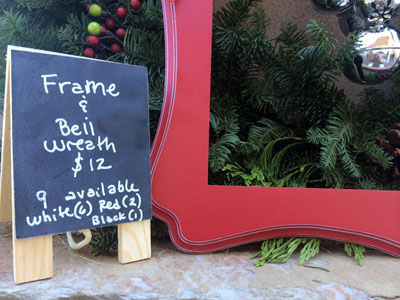
As usual, I found all the craft ideas for the 2013 Christmas Craft Party on Pinterest. This is a craft I really wanted to do but wasn’t able to finalize until 2 days before the party.
The problem was finding reasonably priced frames. Even with 50% off at Hobby Lobby and Micheal’s, the best I could find was around $19, and that was just for the frame. I’d still need to add in the cost for the bells, ribbon, and twine.

I was about to give up when I decided to give Micheal’s one more look-see. I found the clearance aisle and lo and behold, I found 10 perfect frames! They were exactly what I had in mind and they were marked down to only $8.00. I bought all the red, white, and black ones off the shelves.
Then, I went to get the bells and found that they were on sale for 50% off.
Now that’s what I call a successful shopping excursion!
Find the easy instructions below and then be sure to read to the end and hear (and see) my pitiful and sad bow story – that has a happy ending.
December 10, 2013 6 Comments
lamb shank recipe on 11/12/13
Hey, today is 11/12/13 – that’s all.
I just think it’s Cool!
Have you ever read a recipe that you wanted to make and noticed some ingredient or instruction that didn’t seem quite right?
You have a few options here:
You either decide to make the change or adjustments that you think will make it better.
Or you skip the recipe altogether.
Or… option 3 … you go against your better judgment and move forward with the original instructions.
That is the mistake I made when I found the main course recipe I wanted to make for the European Dinner Party. It was a Tyler Florence recipe I’d found on FoodNetwork.com.
I love Tyler’s food and have never found a recipe of his that didn’t turn out exactly as expected – so I went against my first instinct and made the recipe as directed.
That was a mistake.
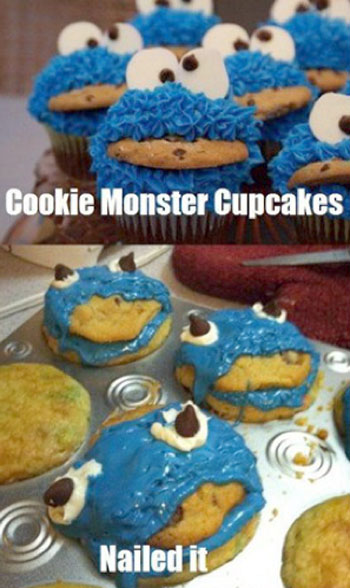
No, I wasn’t making Cookie Monster cupcakes as my main course, and it wasn’t as epic fail as that was! It was a delicious-sounding recipe for lamb shanks with a potato topping.

The problem was in the potato topping. The recipe read,
“Peel the potatoes and cut in half lengthwise.
After the shanks have been cooking for two hours, remove from the oven and arrange the potatoes on top to completely cover the shanks – you may have to cut some of the potato pieces smaller to fit…”
This didn’t make sense to me when I read it. Large potato halves on top of the shanks – just didn’t seem right. But I did it that way.
I was not at all happy with how it turned out. Slicing the potatoes thinly and then placing them on top of the shanks was my first instinct and would have made the difference in the dish. The potatoes would have cooked more evenly and the presentation would have been extremely pleasing!
The photos, of course, reflect how I made the recipe, but the way I’ve rewritten the recipe is how I think it should be made and how I’ll be making it the next time I serve it.
And there will be the next time.
It still is a delicious main course!
November 12, 2013 2 Comments