Category — Recipes
street corn
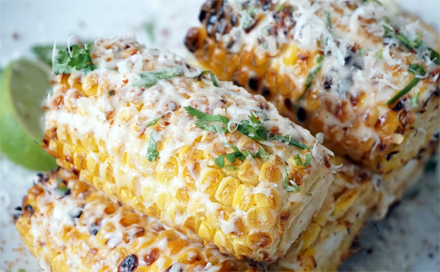
Mexican Street Corn was another of the side dishes for Chanté and Cody’s wedding in the woods over Mother’s Day weekend.
July 3, 2018 No Comments
cilantro sauce and flag food
Before we get to another recipe from Chanté and Cody’s wedding…
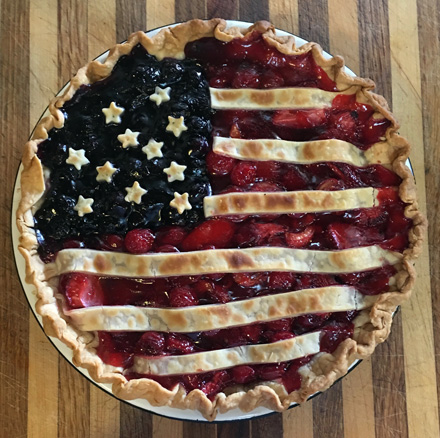
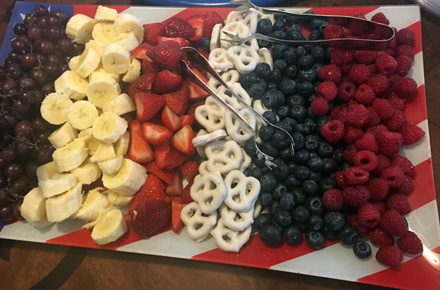
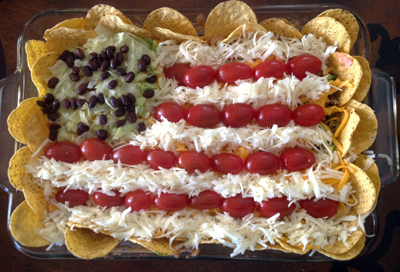
…I want to remind you that there are more than 2 dozen 4th of July recipes in the Complete Recipe Index under the Holidays – 4th of July tab.
So if you’re waiting until the 4th or the upcoming weekend to celebrate, get on over there and find something festive to make.
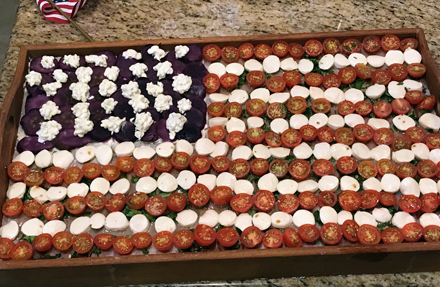
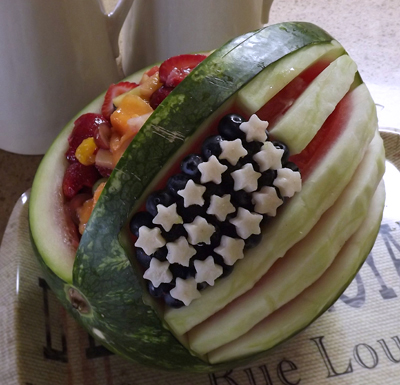
Several of them are in the shape or colors of the flag. FUN!
July 2, 2018 1 Comment
easy cheesy
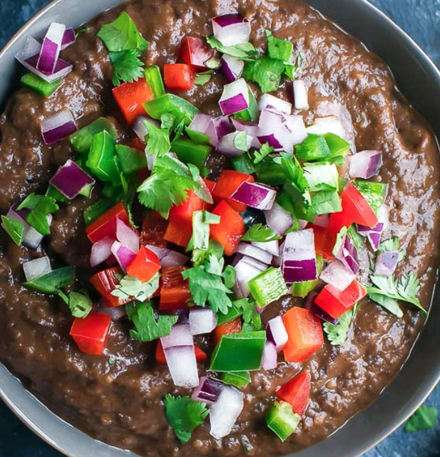
Easy Cheesy Refried Black Beans
- 2 cups refried black beans
- 2 teaspoons fresh lime juice
- 1/3 cup prepared salsa
- 1/4 teaspoon salt
- 1/4 teaspoon freshly ground black pepper
- 1 cup grated Monterey Jack
- 1/4 cup diced red onion, garnish
- 1/4 cup diced tomato, garnish
- 1 minced jalapeño, garnish
- 1/4 cup roughly chopped cilantro, garnish
June 29, 2018 No Comments
taco bar
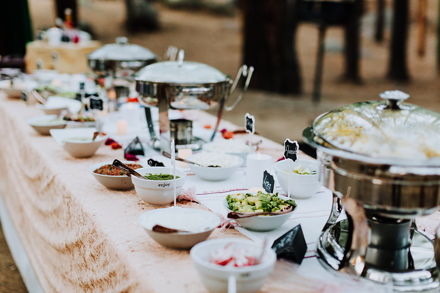 Photo courtesy of griffithimaging.com
Wedding Taco Bar
Fillings:
Toppings:
- Barrio Café Guacamole
- Creamy Cilantro sauce
- Pickled Red Onions
- Cilantro Chimichurri
- Peggy’s Blender Salsa
- diced tomatoes
- black beans
- sliced radishes
- sliced jalapeño
- sweet pickled jalapeño
- sliced black olives
- salsa roja
- salsa verde
- diced avocado
- sour cream
- queso fresco
- Mexican cheese blend
- Mexican crema
- cotija cheese
- chopped cilantro
- diced white onion
- green onion
- lettuce
- cabbage
Sides:
- Tomatillo Rice
- Refried Black Beans
- Mexican Street Corn
- Corn Tortillas
- Flour Tortillas
- White & Blue Chips
That is the list of 34 items that made up the Wedding Taco Bar.
 Photo courtesy of griffithimaging.com
There are very few recipes left to share with you from the wedding, since all the fillings have been posted and several of the sides and topping recipes are here in previous posts. Click on these links to find them:
So that only leaves the Creamy Cilantro Sauce, Refried Black Beans, Tomatillo Rice and Cilantro Chimichurri. Since the chimichurri is an easy “dump in the blender and turn on” recipe, we’ll start with it.
June 28, 2018 No Comments
best ever ground beef taco meat
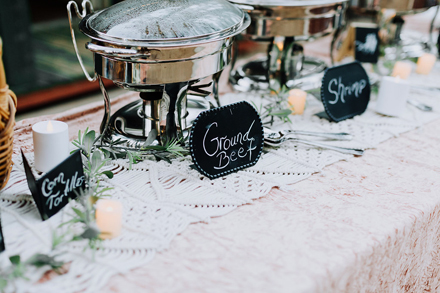 Photo courtesy of griffithimaging.com
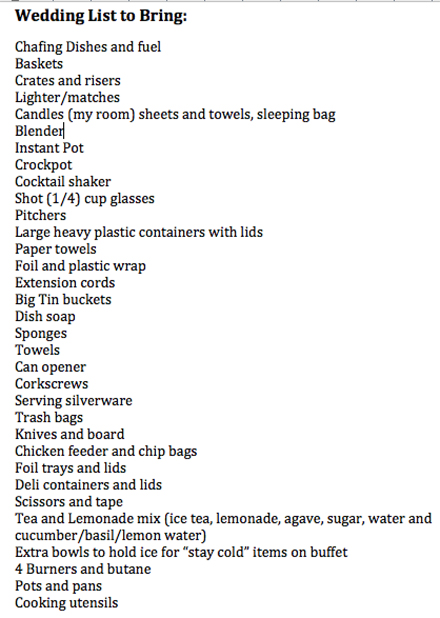
An Instant-Pot was part of my long “To Bring” list for the wedding. I also brought along a Crockpot and four individual butane burners. I knew that with all the cooking I had to get done in two days that I’d need more than the four-burner gas range and single oven that was provided in the kitchen. I used the Instant-Pot to make the taco meat.
It wasn’t until I got up there that I discovered the oven only had one rack. As you can imagine, that created a few challenges as well.
I used 73% lean beef instead of the 92% lean that I generally use. This made for the juiciest and most flavorful tacos. It was seriously the best ground beef for tacos that I’ve ever made. The recipe I’m giving you is a guess as to the proportions of seasonings and spices I used. I was tasting and tweaking this for about an hour while the juices cooked down. I then combined the two batches and continued to season it until I got it just right.
Another reason it’s impossible for me to guess exactly how much seasoning I added is that I was using 20 pounds of ground beef, 10 pounds at a time. That is 14x the quantity of the recipe below. This translates to fourteen onions, 28 bell peppers, 28 tomatoes, 1 ¾ cups of taco seasoning, etc.
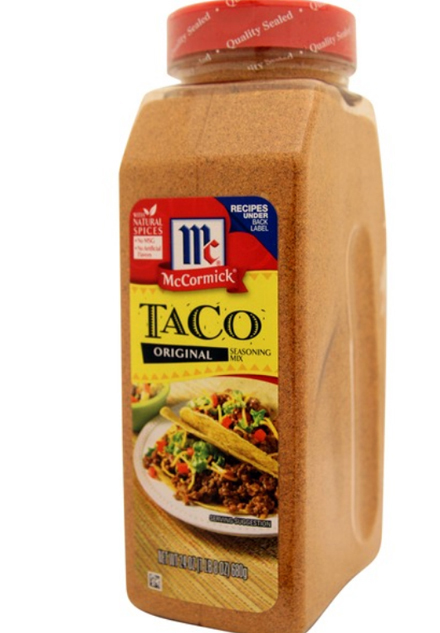
P.S. I buy the taco seasoning at Costco and if you don’t own an Instant-Pot, the recipe can be made in a large skillet. See “Note” at the bottom of this post for details.
June 27, 2018 1 Comment
The Fox Cocktail
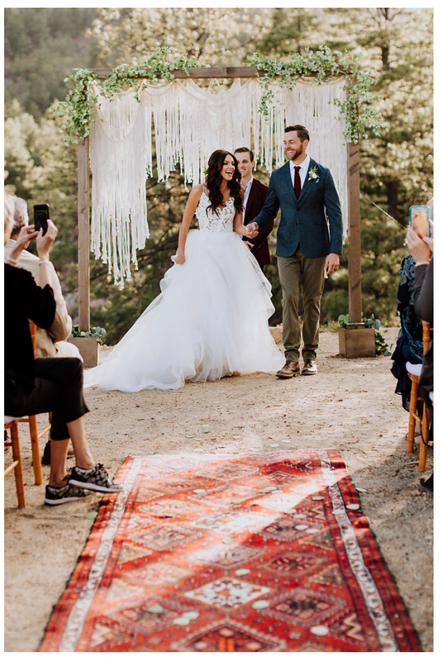 Photo courtesy of griffithimaging.com
The newlyweds!
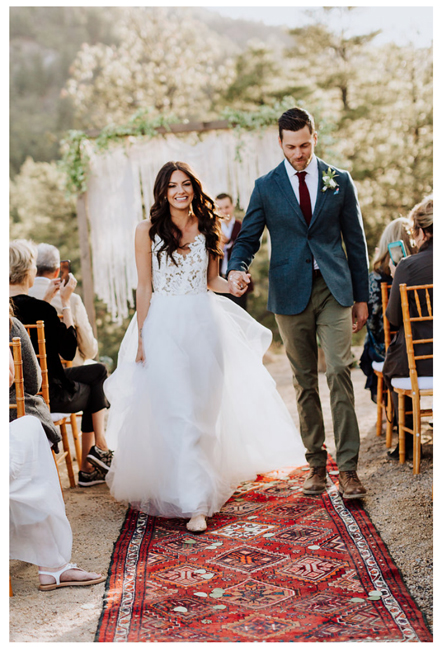 Photo courtesy of griffithimaging.com
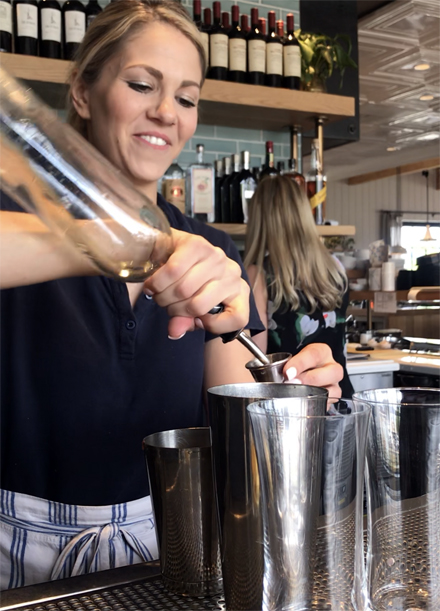
It’s the day many of you have waited for. Today I post several photos of the newlyweds. I also share Chanté’s Signature Cocktail. It is called “The Fox” because Fox is Chanté’s maiden name.
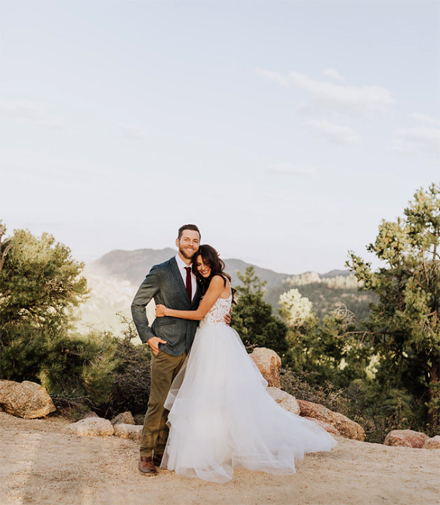 Photo courtesy of griffithimaging.com
Cody knew he wanted a skinny margarita for his signature cocktail from the beginning. Chanté knew she wanted a vodka-based drink but it wasn’t until about 2 weeks before the wedding that she, Kim, and I visited Culinary Dropout and Doughbird to figure out exactly what that drink would consist of.
After trying the “Between You & Me” at Culinary Dropout and “The Local” at Doughbird, we came to the unanimous decision on “The Local.”
I had gone up to the bar at each restaurant and taken a video of the bartenders making the specific cocktails. This made it much easier to recreate for the wedding.
Of course, they were making a single drink. You might think that basic multiplication would get you the exact drink when making 100 servings, but it’s not quite that simple.
There is more than math and science involved, you have to taste and adjust as you multiply. So I took it from one drink to 100 and now back down to 10 servings here for you.
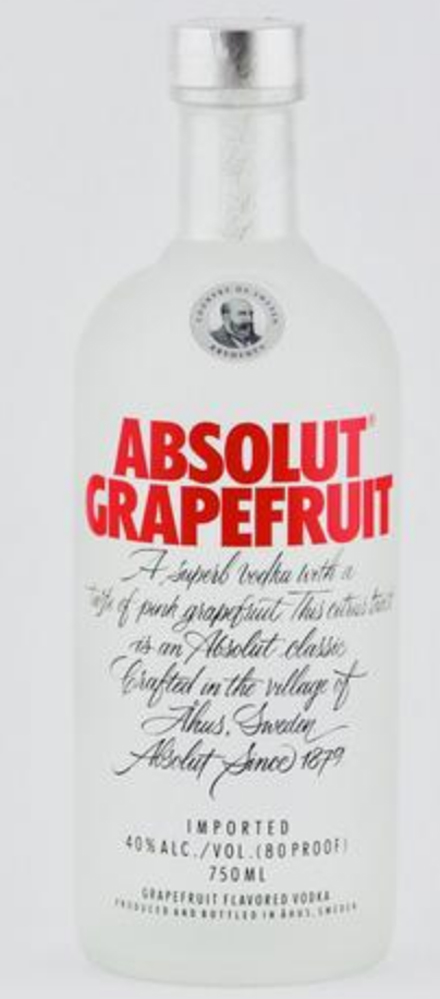
I used Absolut Grapefruit Vodka for the wedding cocktails because the drink is the perfect light pink shade. When I made the cocktail at home for this post, I only had Deep Eddy Grapefruit Vodka. It is already a darker color than the finished wedding cocktail was, so the end drink color is not as pretty. Tastes great, just not that subtle and inviting pretty pink.
Enjoy.
P.S. I saved my favorite photos of the gorgeous couple for the end of this post, so keep scrolling!
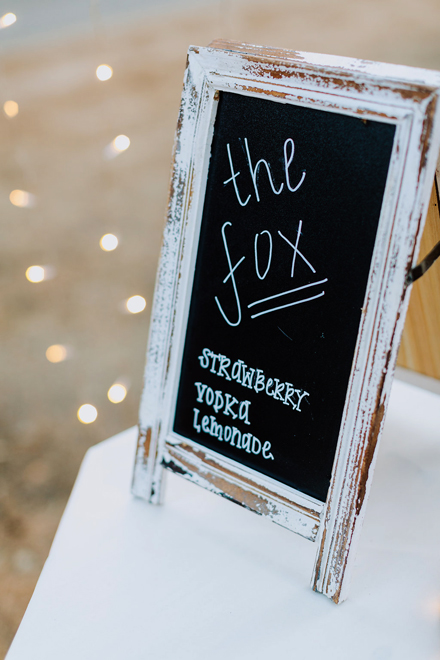 Photo courtesy of griffithimaging.com
June 26, 2018 1 Comment
The Chisel Cocktail
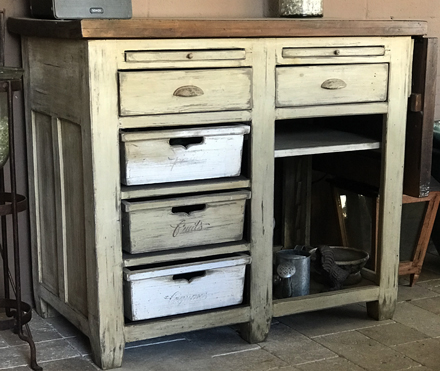
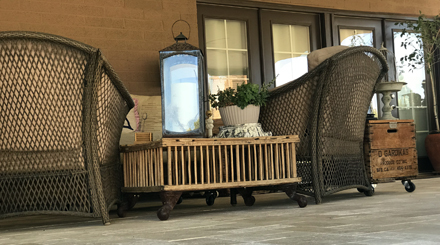
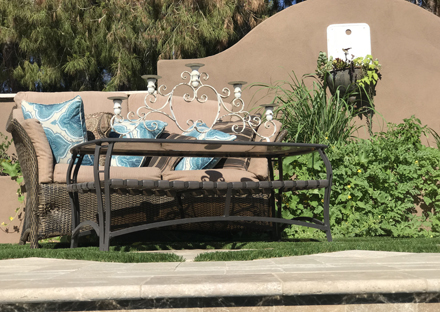
As mentioned in This Post, much of my patio furniture was hauled up for the wedding. The photos of my stuff on my patio, such as the photo above, were taken by me with my iPhone.
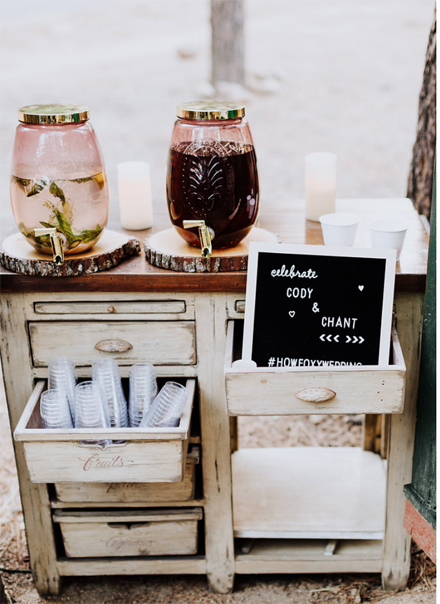 Photo courtesy of griffithimaging.com
The photos of my stuff at the wedding site were taken by the very talented photographer, Jen Griffith, with a camera that I’m guessing wasn’t anything remotely close to an iPhone!
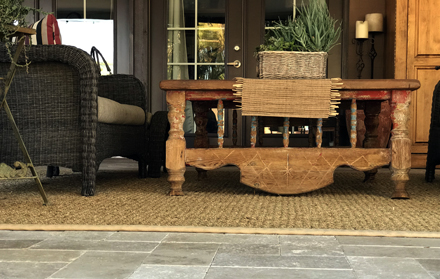
I thought you might enjoy a little side-by-side of the furniture to see what it looks like on a patio and what it looks like in a beautiful bohemian wedding in the forest.
 Photo courtesy of griffithimaging.com
For this one, I only wish Jen would have gotten the other side of this Mexican table, the side that still has some of the original paint on it.
 Photo courtesy of griffithimaging.com
My stuff never looked so good!
This is Chanté’s vision come to life.
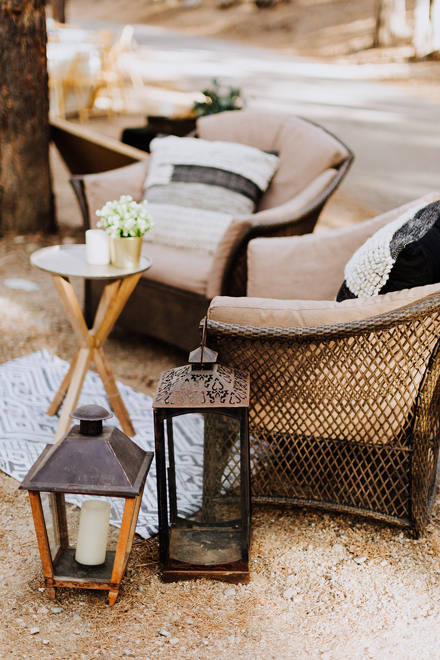 Photo courtesy of griffithimaging.com
For today’s recipe, I’m posting Cody’s Signature Cocktail which we named The Chisel in honor of his company, Chisel Built.
 If you haven’t already visited his Instagram page (from back when I posted about the fireplace remodel and barn door he did for me) then you really must go check it out NOW! Cody’s work is incomparable!
Tomorrow I’ll post Chanté’s Signature Cocktail along with photos of the newly married couple!
June 25, 2018 2 Comments
Mr. Elk
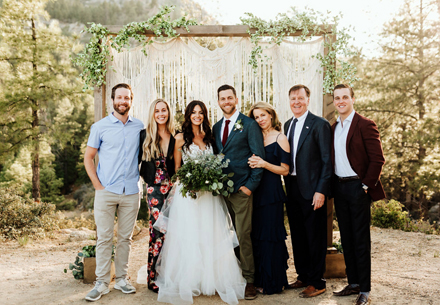 Photo courtesy of griffithimaging.com
For the last post of the week, I have another fun wildlife story to tell and Howard family photos to share. Plus a recipe for chicken tacos is thrown in for good measure. Rest assured, more wedding recipes will be posted next week along with beautiful photos of the gorgeous couple.
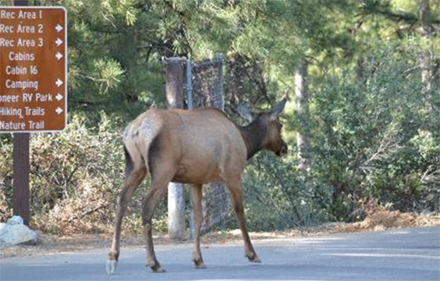
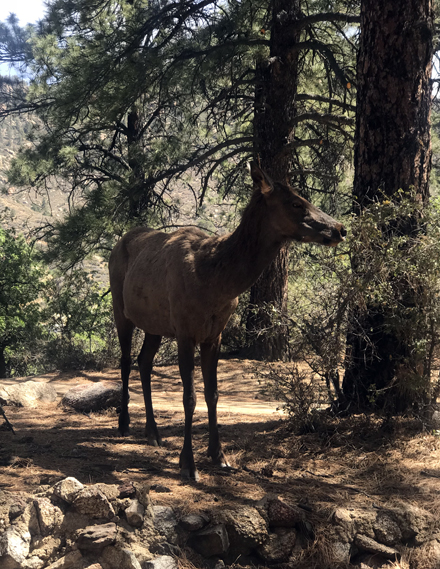
Late on Friday afternoon, while in the kitchen alone, another visitor came by. This majestic elk. He didn’t seem to care about the food, he was just walking by. No harm, no foul.
 Paul and Kim’s fabulous four. Photo courtesy of griffithimaging.com
Fast forward to Saturday. Kim had hired three servers for me for Saturday night, two women and a man. They were all in their late 20’s.
While the ceremony was happening on the hill above the kitchen, the four of us were busy loading my car to take down the hill to the reception site, which was in front of the three camping cabins on level ground.
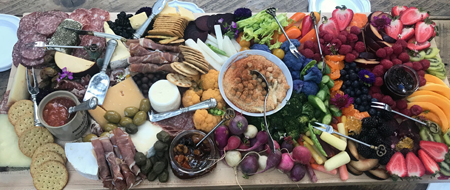
First, we loaded up the signature cocktail mixtures, a huge stock pot full of boiling water that would be used to fill the seven chafing dishes, along with the nearly four-foot-long Harmony Board I created for the appetizer/cocktail start of the reception. As you might imagine, it was slow and steady driving down the hill with the boiling water in the front, between the male server’s feet, and the fully assembled Harmony Board in the back.
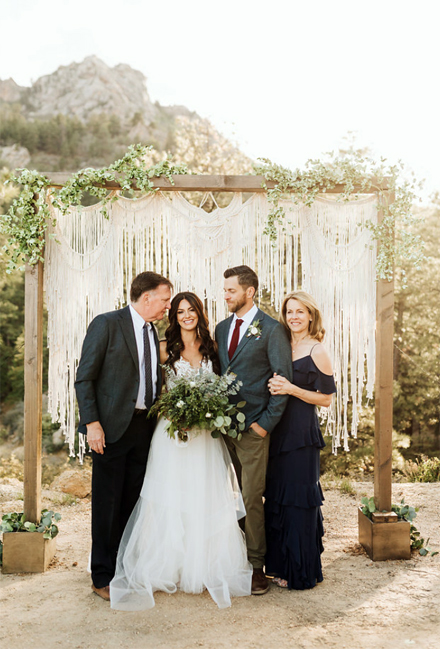 Photo courtesy of griffithimaging.com
Chanté had a long table set out in front of the “Bar Cabin” for me to place the board on.
It was on the far edge of that area and just behind it were two pine trees that had a curtain of twinkle lights strung between them. I was busy setting up the board while the servers unloaded the cocktail mixtures and filled the chafing dishes with boiling water.
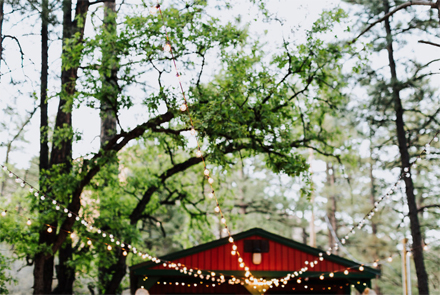 Photo courtesy of griffithimaging.com
We were just about to hop back in my car and go up the hill to load all the taco bar food when one of the band members, who was on the porch of the cabin next to the Bar Cabin, alerted us to the elk.
The same elk that I had seen the day before was now standing on the other side of the curtain of twinkle lights between the two pine trees with his eyes dead set on my Harmony Board!
I instructed the male server to stay behind to guard the food and reception area. I was too busy to ask how that went or how he scared him off but it easily could have been one of those horrible wedding stories that get told over and over … “Yeah, remember that time when the huge elk destroyed the food at our wedding reception.”
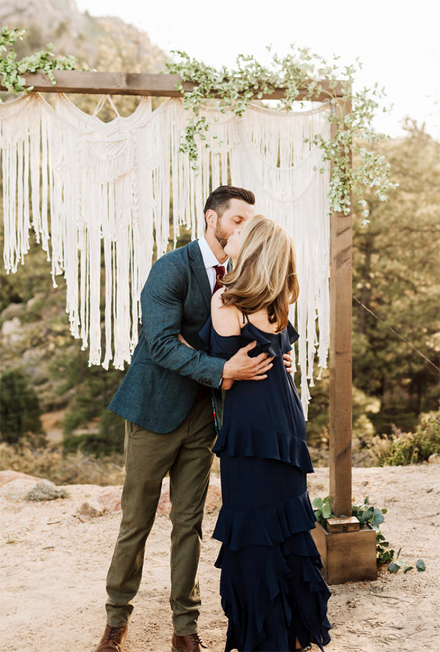 Photo courtesy of griffithimaging.com
June 22, 2018 6 Comments
cooking day 2 – Saturday
Yesterday I posted the recipe for the Vegetable Tacos. That post was titled “cooking day 1”. Today we have the recipe for the Shrimp Tacos and I’m calling this post “cooking day 2.” That makes it sound as though the only thing I cooked on Friday was veggies and that the only I cooked on Saturday was shrimp. Far from it!
 Photo courtesy of griffithimaging.com
On Friday, I also cooked up the seasoned ground beef in the Instant Pot. I shredded and put together the chicken for the chicken tacos, which I had grilled at home before we left on Thursday morning. I also made all sorts of fresh salsa, cilantro chimichurri, roasted peppers, onions, etc.
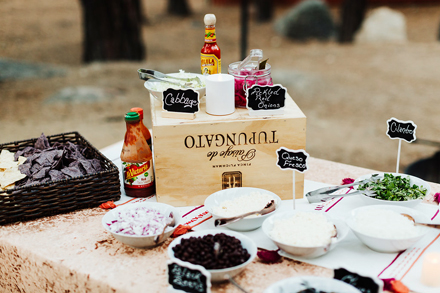 Photo courtesy of griffithimaging.com
And on Saturday, I not only made the shrimp but also chopped and diced all the toppings for the tacos, made the guacamole, and cooked the side dishes; beans, tomatillo rice, and the Mexican corn.
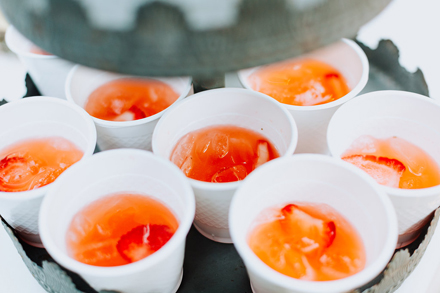 Photo courtesy of griffithimaging.com
Plus there were the signature cocktails to make; Cody’s Skinny Margarita and Chanté’s Strawberry Vodka Lemonade.
Many of those recipes will be posted in the days to come.
Plus I have to tell you that I did have help from the family in the kitchen throughout. Kim and Paul each helped with prep, including chopping onions and cutting corn cobs into quarters. Thank you both for the much-needed and much-appreciated grunt work.
 Photo courtesy of griffithimaging.com
On Friday, Cody’s Aunt Barbara squeezed so many pounds of limes. More limes than any human should ever have to squeeze! Kim’s long-time BFF, Sandy, used her artistic flair to write out all the chalkboard signage for the buffet table. There were more than 30 little signs to make. Thank you, Sandy!
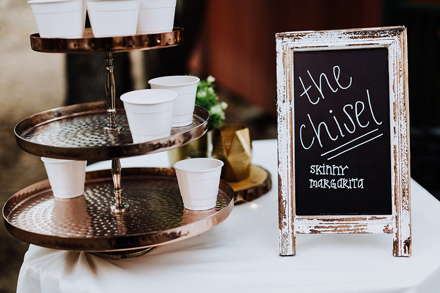 Photo courtesy of griffithimaging.com
On Saturday, I realized I had a few more chalkboards that needed making, including the boards for the signature cocktails. My writing is awful, so that is one job I always want to farm out! Cody’s youngest brother, Trevor, has a gorgeous girlfriend, Clair.
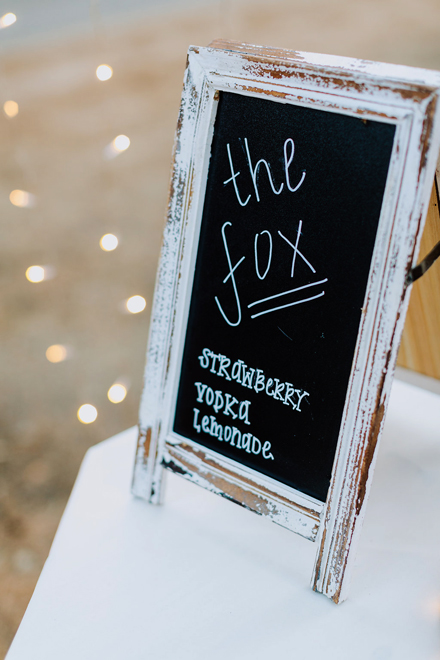 Photo courtesy of griffithimaging.com
As you can plainly see, Clair also has gorgeous handwriting and chalkboard flair! Many thanks to the friends and family of the Howard clan for pitching in! xoxo
June 21, 2018 3 Comments
Connor’s birthday pie
Connor asked for Banana Cream Pie for his birthday this year. He’s always been a chocolate sort of guy, but I’m thinking he gets enough chocolate at his job. Funny thing is, I love pie. I prefer it 100% over cake. But I don’t care for Banana Cream Pie. Any other cream pie, and I’m game, but banana, no thanks. Thing is, it wasn’t my birthday, so banana cream pie it was!
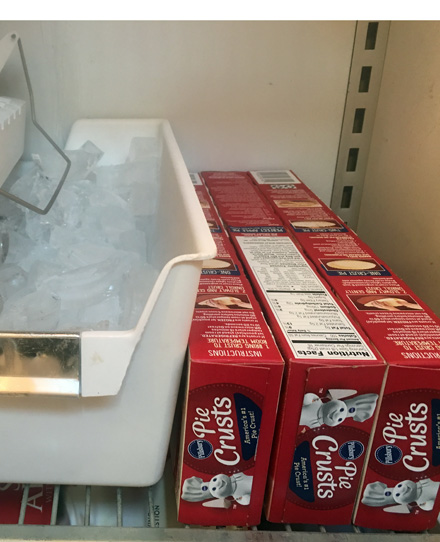
I used a Martha Stewart recipe. I think the only thing I changed was I did not make my pie crust. Instead, I used a Pillsbury refrigerated pie crust. It is my recent go-to and can be found in the refrigerated section of the grocery store, near the “pop and fresh” rolls and such.
I intended to add shaved chocolate to the top before serving but forgot. It would be a nice touch if you’re so inclined.
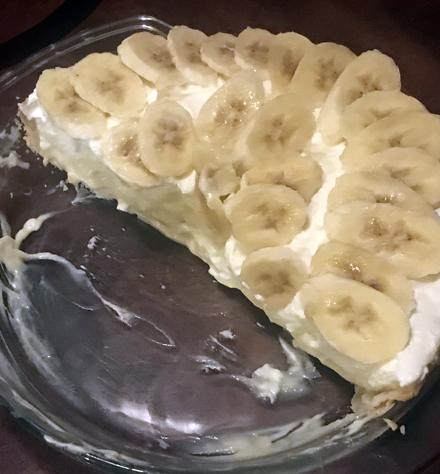
Unfortunately, in the rush to get the candles on the pie and serve it, I forgot to take a photo of the finished product.
Instead, please enjoy this photo of a half-eaten pie. 🙁
Banana Cream Pie
- 1 Pillsbury refrigerated pie crust
- 1 large whole egg, lightly beaten, plus 4 large egg yolks, divided
- 8 medium ripe bananas
- 3 cups whole milk
- 2/3 cup sugar
- 1/4 cup plus 1 tablespoon cornstarch
- 1/4 teaspoon salt
- 1 cup heavy cream
- 2 tablespoons powdered sugar
- Shaved chocolate, for garnish, optional
Preheat oven to 375 degrees.
Unroll refrigerated pie crust and fit into a 9-inch pie pan. Fold under the overhang so it extends slightly beyond the edge of the pie plate. Crimp edge as desired. Prick dough all over with a fork. Brush the rim of the dough with a beaten egg. Chill pie shell until firm, about 30 minutes.
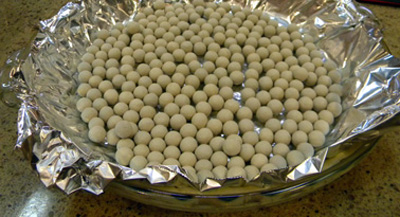
Line the chilled pie crust with foil and fill with pie weights or dried beans. Bake until edges of crust turn golden, about 25 minutes. Remove foil and pie weights. Return crust to oven, and continue baking until golden all over, 15 to 20 minutes more. Place on a wire rack to cool completely.
Prepare an ice bath; set aside. In a medium bowl, lightly whisk egg yolks; set aside. In a saucepan, whisk together milk, granulated sugar, cornstarch, and salt. Bring to a simmer (do not boil), and cook, whisking constantly, for 3 to 4 minutes.
In a slow and steady stream, whisk about a quarter of the hot milk mixture into egg yolks; whisk in the remaining milk mixture.
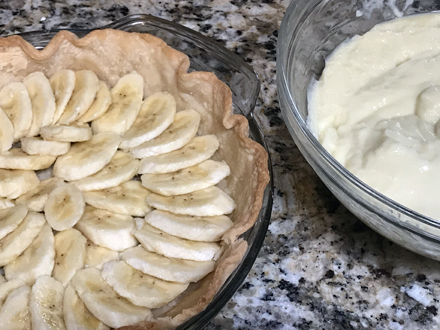
Strain into a clean saucepan, and cook over medium-high heat, whisking constantly, until custard is thick and bubbles appear in the center, 2 to 3 minutes. Transfer to a medium bowl, and cover with plastic wrap, pressing it directly onto the surface to prevent a skin from forming. Set in an ice bath until completely chilled, 30 to 35 minutes. (Filling can be kept in the refrigerator, covered with plastic wrap, for up to 1 day.)
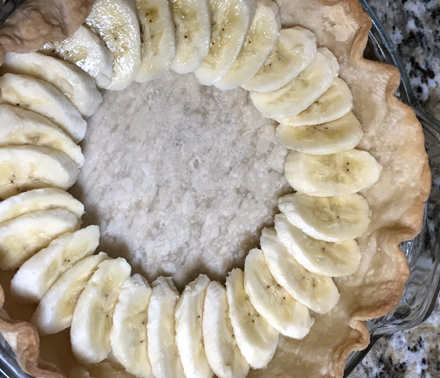
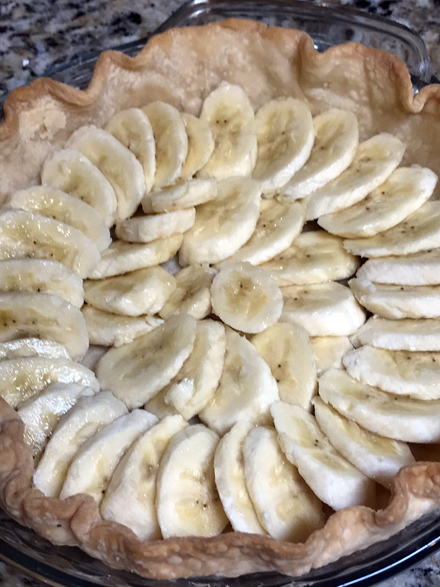
Cut 4 of the bananas into 1/4-inch slices, slightly on a diagonal. Beginning on the outside edge of the pie crust, arrange the slices, slightly overlapping.
Make another circle inside the outside circle and a few more in the very center.
June 11, 2018 1 Comment

