Category — Recipes
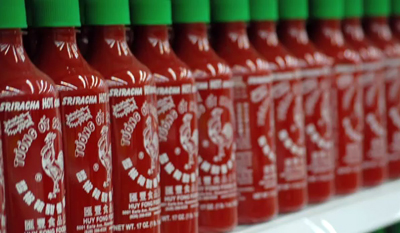
Connor’s Sriracha Cauliflower
I found the inspiration for the final recipe of “Connor Week” on one of my favorite cooking blogs, White On Rice Couple.
Connor requested Roasted Cheesy Cauliflower which I also happily made. I figured, if one head of cauliflower is good, then two must be better!
The major change I made from the original White On Rice Couple recipe was to simmer and soften the cauliflower before roasting.
The Result?
Delish!
May 29, 2014 No Comments
Connor’s Summer Salad
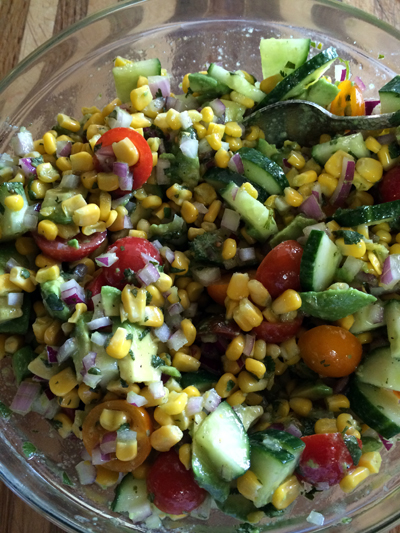
Connor did not request this salad for his birthday dinner, but I needed something cool, refreshing, colorful, and healthy to add to the menu that was heavy with ribs and BBQ sauce.
I’d be happy eating this all summer long! Add some feta or goat cheese if you’d like. I left it out because those aren’t Connor’s favorite things, and on your birthday, you should never have to eat something you don’t like!
Summer Corn, Cucumber & Tomato Salad
Cilantro Vinaigrette
1 tablespoon rice wine vinegar
1 tablespoon champagne vinegar
1 teaspoon garlic powder
1/2 teaspoon salt
1/2 teaspoon freshly ground black pepper
1/3 cup olive oil
2 tablespoons chopped cilantro
Salad
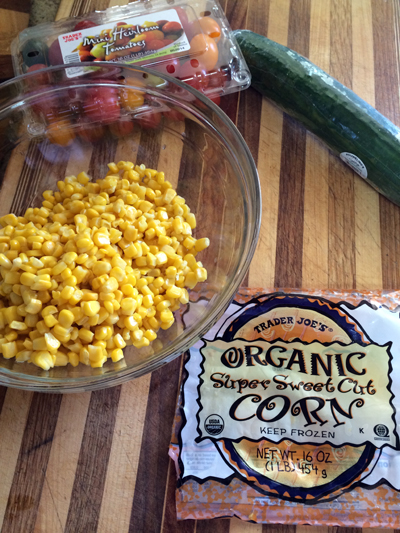
16-ounce package frozen corn, thawed
2 cups cherry tomatoes, halved
1/2 English cucumber, diced
1/2 red onion, peeled and diced
2 avocados, diced
May 28, 2014 2 Comments
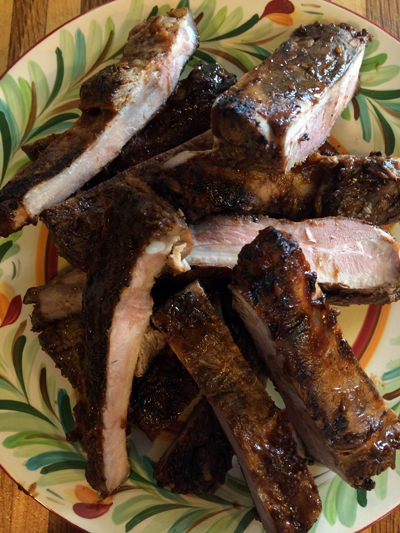
Connor’s Baby Back Ribs
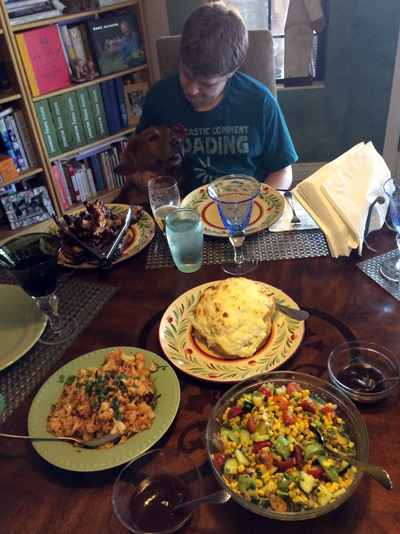
This is going to be “Connor Week” where I share with you the recipes I made for Connor’s birthday dinner. Yesterday was Connor’s Cake, a beautiful “candy cake,” today the main course is the star.
This is the second year in a row that Connor has requested baby back ribs for his birthday dinner. Last year’s recipe focused on the homemade BBQ sauce and the slow dry cooking of the ribs. This year, I slow-cooked the ribs in liquid and used the purchased sauce. Although this recipe is less labor-intensive, we all agreed, that both methods produced delicious results.
We had a “special guest” at the dinner this year. Connor has been house-sitting for nearly two weeks at Kim’s house while she and her family are in Machu Picchu. Connor wanted to spend the entire day here at home, so he brought along Kim’s adorable pooch, Charlie. Charlie LOVES Connor. Coincidentally, Connor loves Charlie too, and so do we!
May 27, 2014 4 Comments
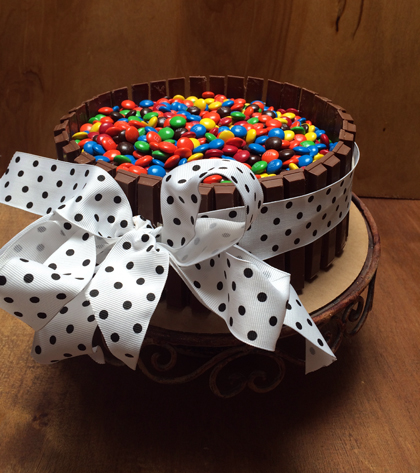
Connor’s Cake
Connor worked on Saturday night, so we celebrated his birthday on Sunday. Marissa is in town for a wedding, which was also on Saturday, so it worked out perfectly since she could then celebrate with her brother too.
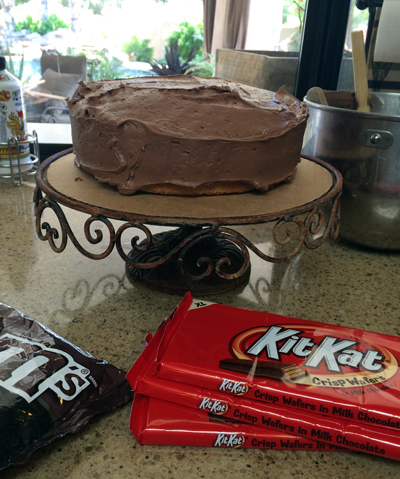
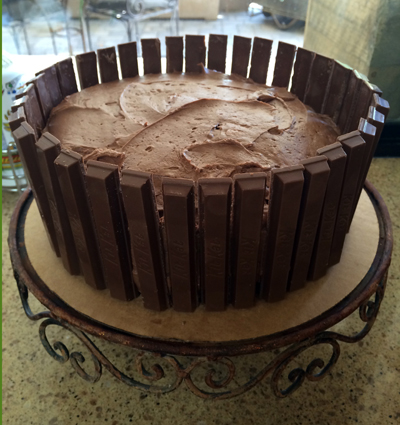
This is the cake I made for him. I found the image on Pinterest, of course. No need for an actual recipe. Use your favorite cake recipe or a box mix. Frost with your favorite icing, I used a chocolate buttercream, recipe included. Then decorate and trim with KitKat bars, M&M’s, and a ribbon. That’s all there is to it!
Connor’s Candy & Cake Birthday Cake
Chocolate Butter Frosting
1 stick (1/2 cup) unsalted butter, room temperature
1 teaspoon vanilla extract
1/3 cup unsweetened cocoa powder
3 to 4 cups powdered sugar
1/4 cup milk, half-and-half, or cream
Two 9-inch round cakes (from 1 box cake mix)
Three 4.5-ounce Giant Kit Kat Bars
One 12.6-ounce bag of M&M’s
Kitchen string
Ribbon
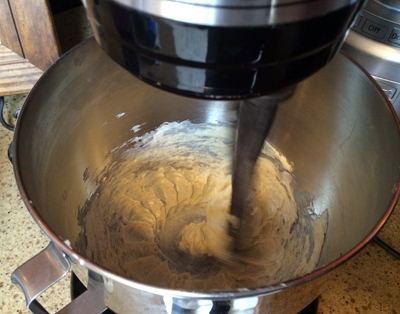
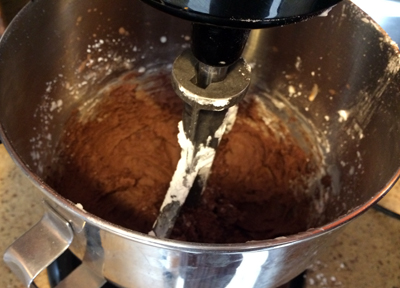
Chocolate Butter Frosting: In the bowl of a standing mixer, cream together the butter and vanilla.
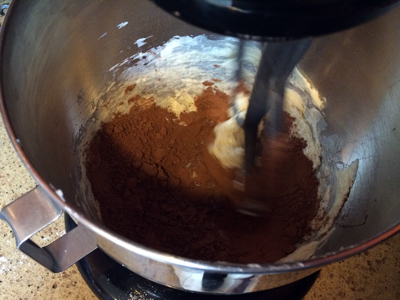
Mix in the cocoa powder.
Add the powdered sugar alternately with the cream. Beat until light and fluffy. If necessary, adjust the consistency with more milk or sugar.
Place one of the cake layers on a cake stand or platter and frost the top with the frosting. Place the second layer on top and frost the top and the sides.
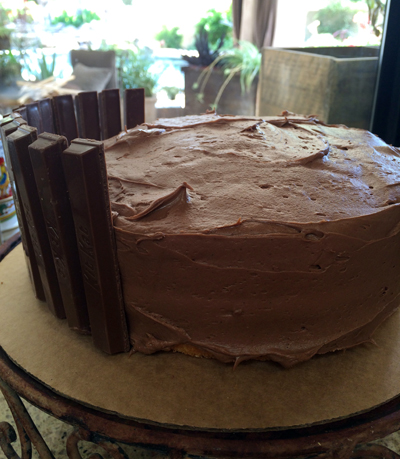
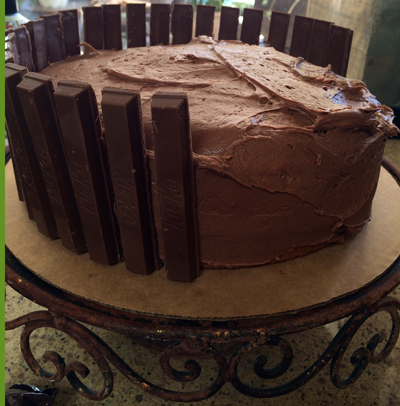
Immediately after the cake is frosted, begin placing the individual Kit Kat sticks to the sides of the cake, leaving a very small space in between each Kit Kat (you need to do this before the frosting has time to dry and set up.)
Three giant packages is the exact amount you need to completely surround the cake.
May 26, 2014 3 Comments
Mama Mai
Yesterday I had the pleasure of spending the afternoon and lunch with Tram, Zak and Zoey. Tram’s beautiful mom is in town and she made Tram and me lunch. How loving and generous is that?!?
Isn’t this photo so sweet and doesn’t Tram look absolutely gorgeous? Mama Mai took the picture of her three loves. What beauties they are!
Mama Mai made one of her classic Vietnamese dishes for us, bún thit bo (beef noodles), and the recipe she shared with me (and now I’m sharing with you) includes recipes for three fabulous components that are a treat to have on hand at all times. You’re really getting four recipes for the price of one with this post!
- Tram’s mom’s special salt & pepper spice mixture, a Mai family favorite.
- A fish sauce vinegar that is an excellent dipping sauce for any and everything, from pot-stickers to egg rolls, lettuce wraps to spring rolls… you name it! The sauce recipe can be increased to any amount you would like and kept in the fridge, so you’ll always have it on hand.
- And pickled daikon radishes that are addictive. I could sit down and eat a bowl full as an afternoon snack.
May 22, 2014 3 Comments
quick shrimp skewers
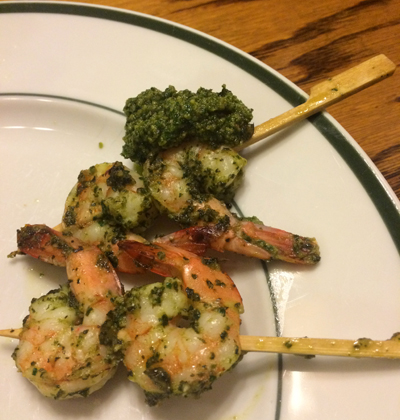
Here’s another great appetizer for summer. If you don’t want to heat up the kitchen, use a grill basket and cook the shrimp outside.
Mixed Herb Pesto Shrimp Skewers
Pesto
3 cups fresh basil leaves, packed
1 cup pine nuts, toasted
1 cup freshly grated Parmesan cheese
1/2 cup fresh Italian parsley leaves, packed
1/4 cup fresh tarragon leaves
1/4 cup fresh mint leaves
4 garlic cloves, peeled
2/3 cup olive oil
Skewers
2 pounds frozen uncooked peeled and deveined medium shrimp, about 60 total, thawed
1/2 teaspoon red pepper flakes
Pesto: Place basil, pine nuts, Parmesan, parsley, tarragon, mint, and garlic in a food processor. Blend until herbs are finely chopped. Add oil with the machine running, through the feed tube, and blend to a coarse puree. Season pesto to taste with salt and pepper. Transfer to a small bowl.
May 21, 2014 No Comments
my most elegant appetizer… ever!
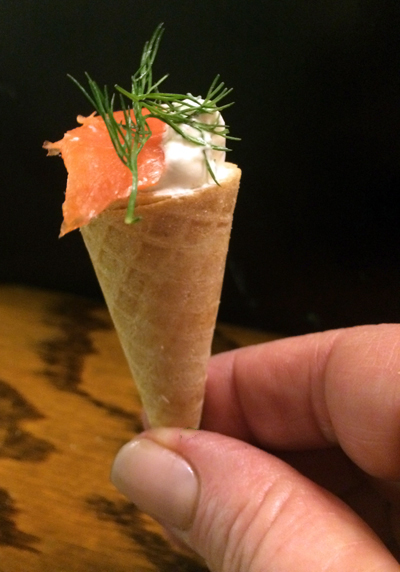
How completely adorable and at the same time, sophisticated, is this? It’s the picture perfect elegant appetizer.
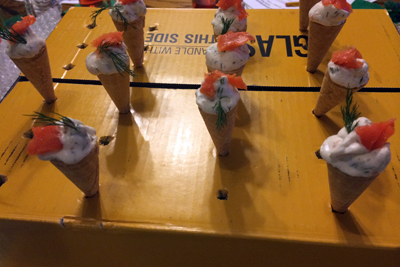
A cute and savory Smoked Salmon Mini “Ice Cream” Cone.
It is eaten in a bite or two. It is a flavor explosion in your mouth, a combination of creamy, sweet, smoking … perfection!
Believe it or not, it is also a breeze to make. Really, it could not be more simple.
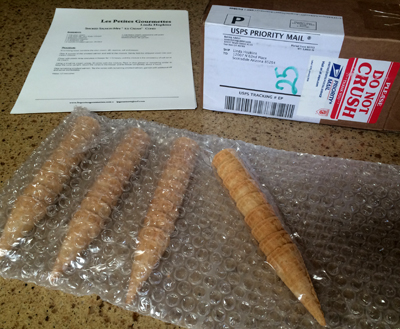
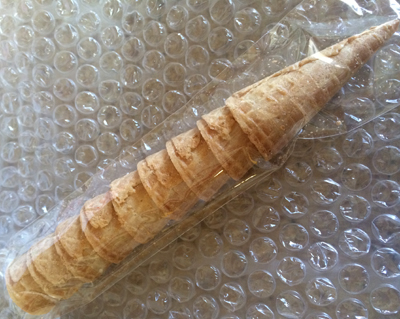
I purchased the mini ice cream cones on Amazon HERE. They came perfectly wrapped and not one was cracked or broken.
I made these for my last week of cooking classes at Les Gourmettes. We served them as they were made during the class, so there was no need for a beautiful table presentation.
In fact, I made a “cone holder” with a heavy-duty cardboard box, an ice pick and, a chopstick. I made the first hole with the ice pick then made it large enough to hold a cone, using the larger end of the chopstick.
You could do the same, even for a more presentable presentation. Just wrap the box in some colorful fabric or simple butcher paper. Or you can buy a holder HERE.
These would be perfect for any entertaining event… say a Christmas Open House, a cocktail party or, maybe even … a wedding.
May 20, 2014 18 Comments
Summer Treat!
The last day of school is quickly approaching, in fact it’s Thursday around these parts! The kids are going to be home and will be looking for treats to cool them off. That’s what I’ve got for you today.
My dad has a good friend who did some much needed repair work around his house as a favor. This friend is taking his grand-kids to Disneyland in a couple of weeks and my dad wanted to get him a little something as a thank you. I picked up some Disneyland gift cards for him to enclose in the thank you card … and that reminded me that I had yet to post the recipe for this Disneyland all-time-favorite cool treat.
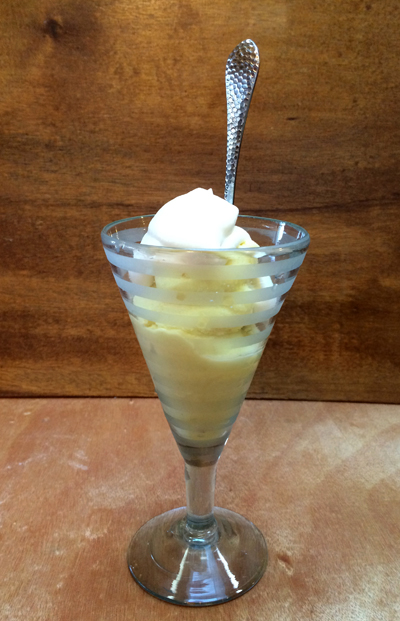
Dole Whip!
The Dole Whip is so popular that the lines to get one are often longer than the lines at some attractions. On average, 1.3 million Dole Whips are purchased per year at Disney Parks and Resorts. At Disneyland alone, 600,000 Dole Whips are sold each year.
If you are the first person in line when the stand opens and you order a Dole Whip, you receive a “First Dole Whip of the Day” button to wear with pride as you walk around the park. Everyone will be envious! Yeah, they’re that popular.
I’ve got a homemade version for you to make. You won’t get a button but…
No lines!
Instant delicious gratification!
Pineapple Whip
1 large fresh ripe pineapple
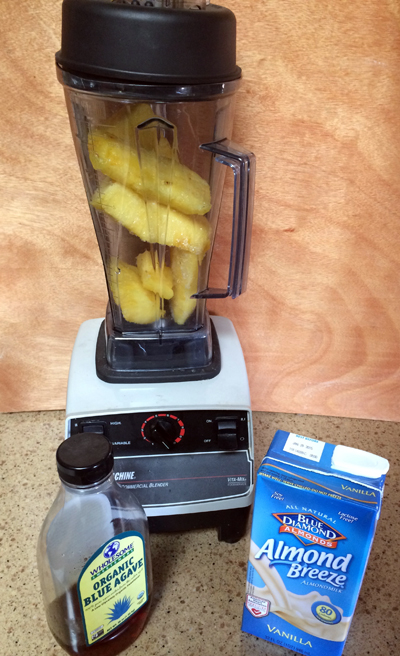
1 cup cold almond milk
1 tablespoon agave nectar
1 ½ cups whipped cream, divided
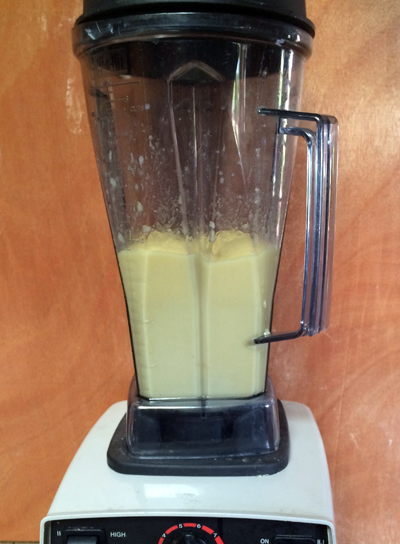
Peel, core and cut the pineapple into cubes. Place in a freezer-safe container and freeze the pineapple cubes overnight. Combine the frozen pineapple, almond milk and agave nectar in a Vitamix blender or food processor.
Blend until completely smooth.
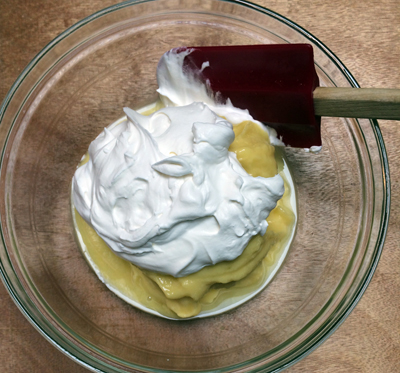
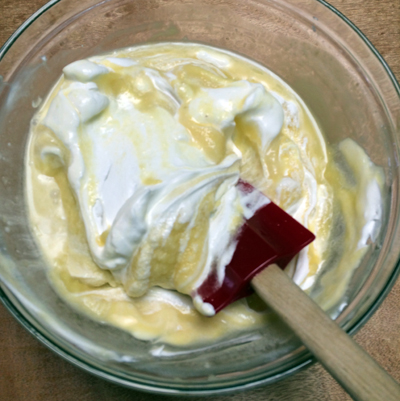
Transfer the mixture to a large bowl and fold in 1 cup of the whipped cream.
May 19, 2014 2 Comments
not just any old gazpacho
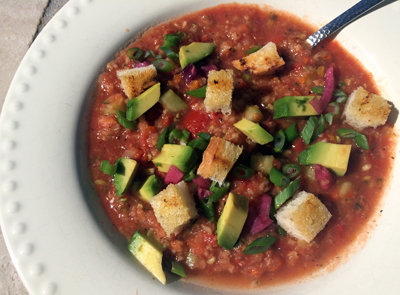
This was the “main course” for my Pool Party class at Les Gourmettes. It’s a bit chunky, a sorta soupy, kinda spicy, and really good!
Fire-Roasted Gazpacho
1 large onion, peeled and cut into 3 thick rounds
2 zucchini, trimmed and cut in half lengthwise
1 each red, yellow, orange bell peppers
2/3 cup olive oil
3 thick slices fresh sourdough bread
4 garlic cloves; 1 of the cloves peeled and cut in half and the 3 remaining cloves peeled and minced
8 large tomatoes, cored, seeded, and diced
2 English cucumbers, peeled, seeded, and diced
1/2 cup Sherry or red wine vinegar
2 cups tomato juice
1/2 teaspoon ground cumin
1/4 teaspoon cayenne pepper
Salt and freshly ground black pepper
Garnish
2 green onions, green tops only; thinly sliced on the bias
1/4 cup finely diced red onion
1 avocado, diced
Preheat the grill to high heat.
May 12, 2014 No Comments
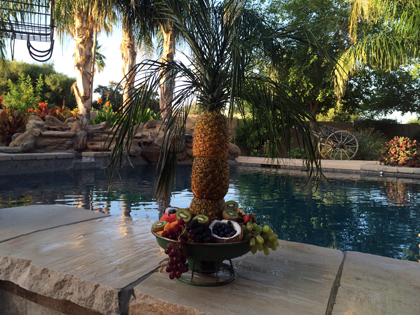
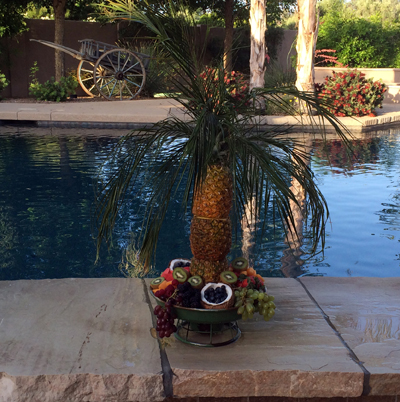
pineapple-palm tree fruit bowl
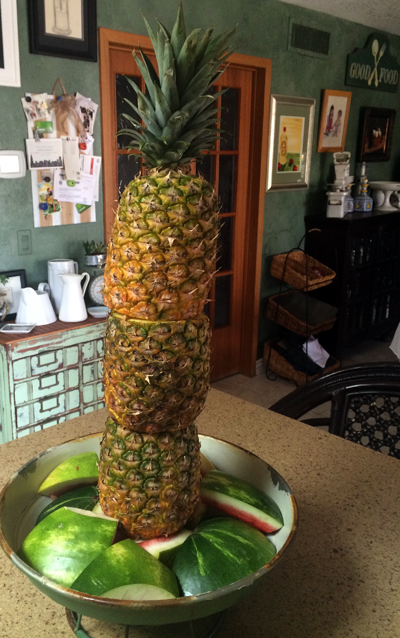
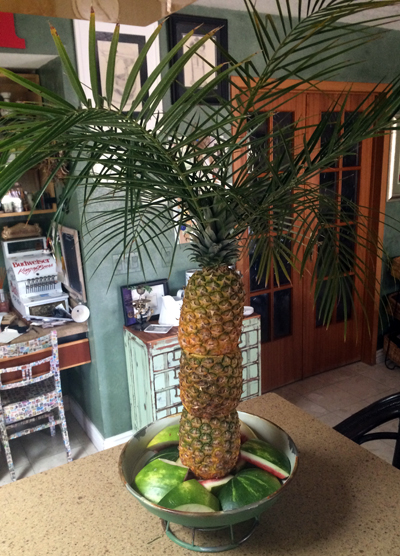
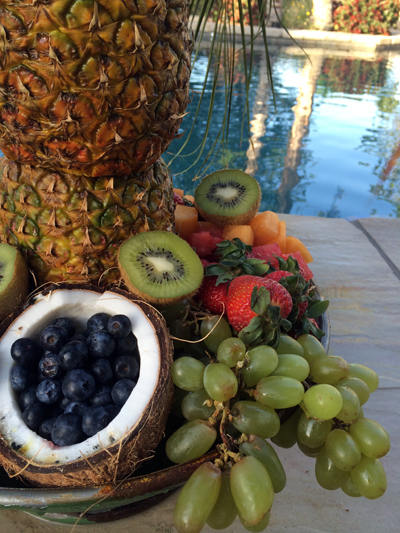
The menu for the second of my three-week series of cooking classes at Les Gourmettes was Pool Party. This Pineapple-Palm Tree Fruit Bowl was the centerpiece.
When we have an actual pool party at home, one of the best things about this presentation is that not only is it eye-catching, but it looks beautiful from all sides and can be enjoyed by those in the sunken kitchen or those chilling at the swim-up bar.
It is not difficult to create, the only hard thing is finding the right thing to “impale” the pineapples onto. Three pineapples stacked atop one another is precarious, so you need a sturdy pole. A broom hand or dowel, nailed into a round wooden base would work well.
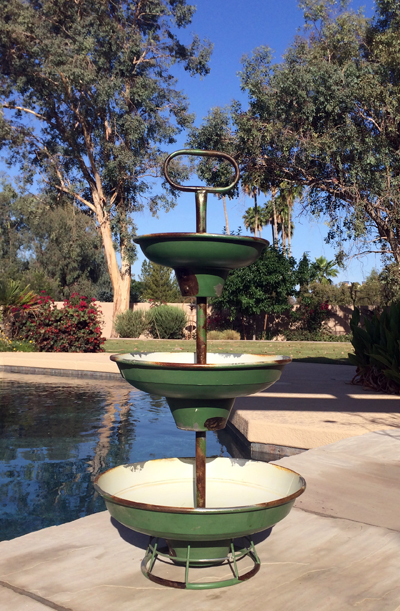
I happen to have a three-tiered server that screws apart. I was able to remove the center and top tiers and use the bottom tier as the base for the fruit.
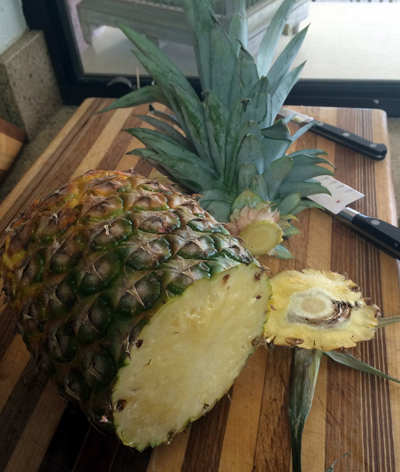
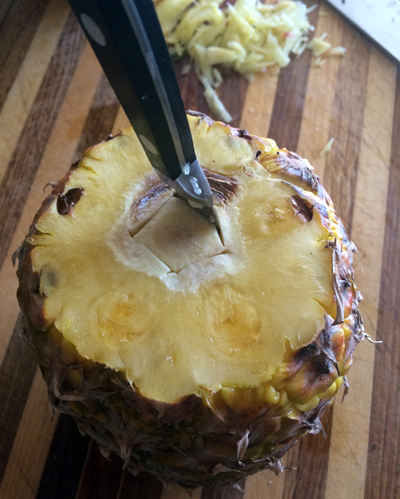
The first order of business is to hollow out the pineapples. To do so, cut off both ends of two pineapples and only the bottom of the third. This third pineapple will be the top.
Next, use a sharp knife to score and cut out the center cord of each pineapple.
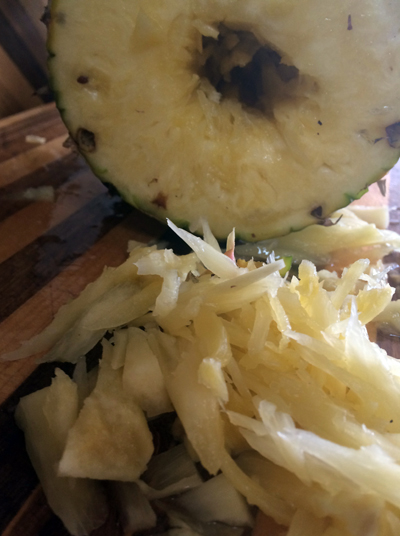
Continue to dig and whittle away at the center core of each pineapple until you have hollowed it from one end through the other. It’s not hard to do, it just takes a little time and patience.
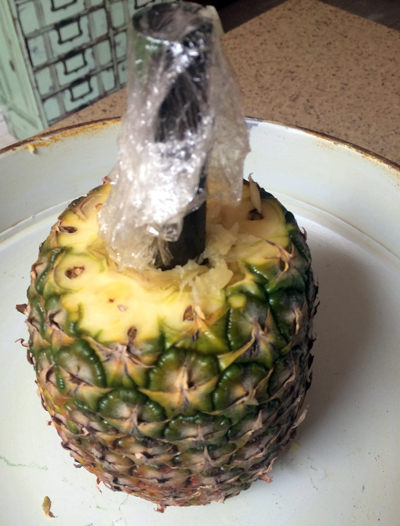
Slip one pineapple onto the pole. Since my pole was threaded, I placed a piece of plastic wrap over, so the pineapple flesh wouldn’t get caught up in the threads.
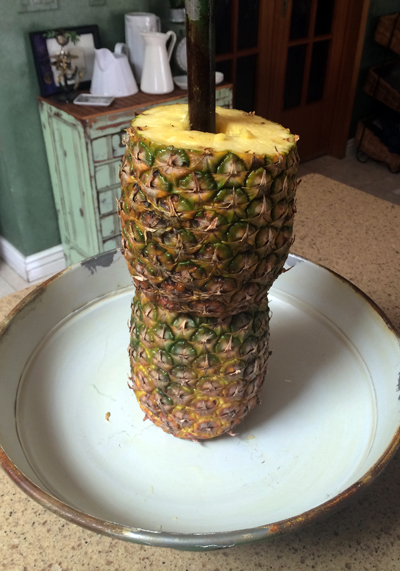
Slide on the second pineapple.
And finally the third, with its top still attached. Since I had a large bowl as my base, I filled it with watermelon rind to “fill it up” so I wouldn’t have to use so much fruit to make it look full and lush. If you’re using a flat wooden base, you will skip this step.
If you live in an area with palm trees, go out and cut off about a dozen small palm fronds. If not, these can be ordered through any florist. Use stick pins or florist pins to attach the fronts to the top of the pineapple.
May 8, 2014 2 Comments

