Fall craft #1
The first craft we made at the 2013 Fall Craft Party has a bit of a back-story attached to it.
(*For the full list of crafts links – scroll to the bottom of this post)
Like all the crafts, I found the idea for this first one on Pinterest.
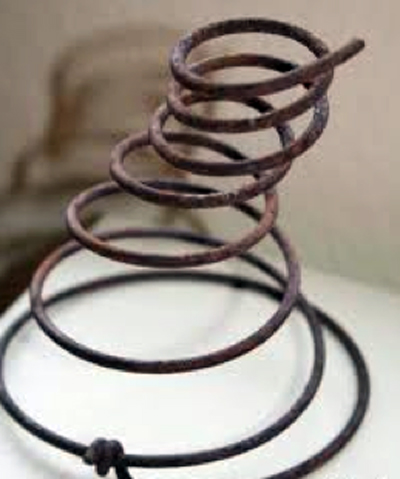
It uses a rusty spring. Which is fine and dandy, but exactly where does one find a bunch of rusty springs? Hmm?
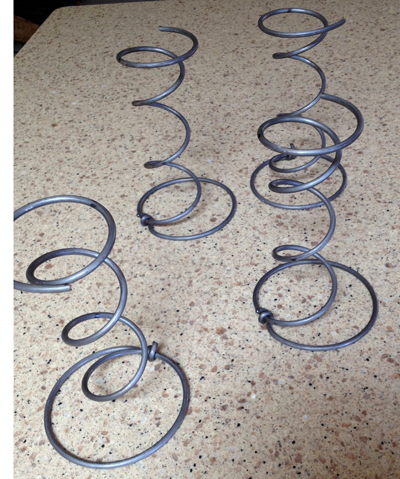
Coincidentally … Dave and I had talked about getting a new mattress set for our bed. Hey, box-spring mattresses have springs! Maybe I could buy that new mattress set, sooner, rather than later and pull apart one of the old box springs and rip out its springs!
The new mattress set arrived the afternoon before we left for San Francisco, back in early October. I had the delivery guys haul away the old mattress and one of the box springs (king beds take two half-king-size box springs.)
As for the remaining one – yep, I went to town on that thing!
Maybe I should not say that I “went to town on it” because that makes it sound as if it was an easy task.
It was not!
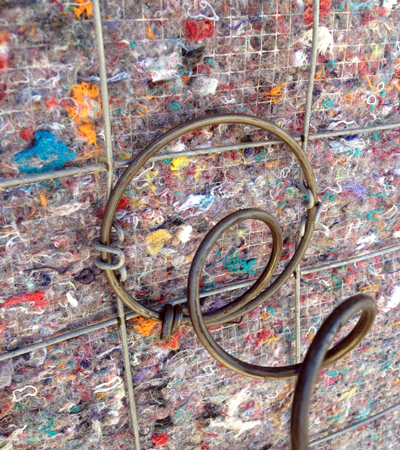
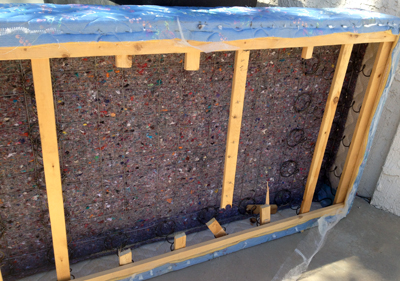
The springs are attached to a stiff wireframe with very strong wire doohickeys. I had to pry each one off the wireframe with pliers – it took forever and resulted in some pretty scratched-up hands!
On the other end, the springs are attached to the plywood with very strong staples. I had to cut the wood slats off the frame to get to the underside and be able to take out the staples.
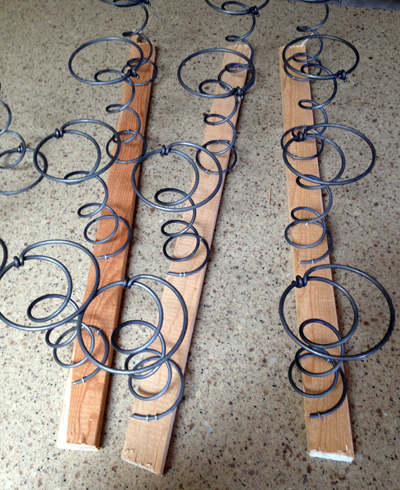
So, once I’d gotten the entire row of springs disconnected from the wireframe, I then took a saw to the wood and cut out an entire section at a time.
Next, I used a screwdriver to pry up the staples and then used needle nose pliers to yank the stubborn staples out.
Yeah, it took hours, but I prevailed!
Next problem was, that the springs were too wide at the bottom and overall they were too large for what I needed them for.
Luckily for me, the masons were building my firepit (the 8th AND Absolutely FINAL firepit of this house!) in the front yard. I placed all the springs in a box, put on my best “damsel in distress face” and took them out to the guys.
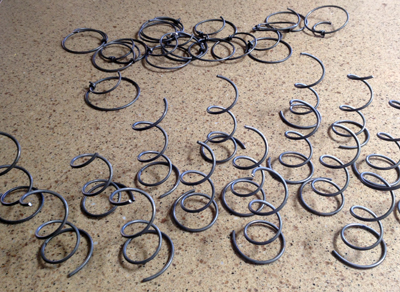
They were super kind and cool about it and used a tool to cut off the large end of each spring for me.
They may have figured out they’d been duped and tricked to think I was helpless when, only moments later, they witnessed me hauling the torn up box-spring out to the construction dumpster which currently resides at the end of my driveway, and tossing it in like it was an empty box or something.
No Matter! Eighteen perfectly sized springs later … Victory is MINE!
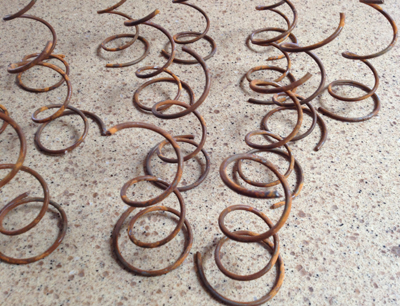
Now, what to do about the need for rusty springs!?!? No problem, I just threw them in a flower bed, out back, where the sprinklers come on twice a day.
When we came back from San Francisco, a mere five days later…
Absolute Perfection! Now about that craft…
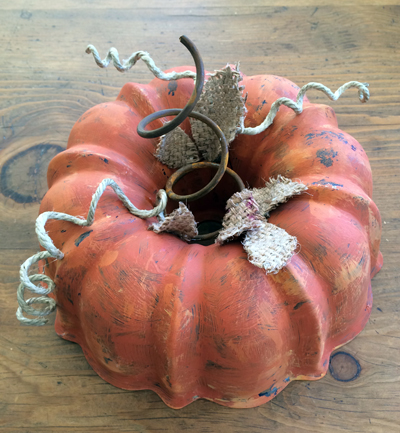
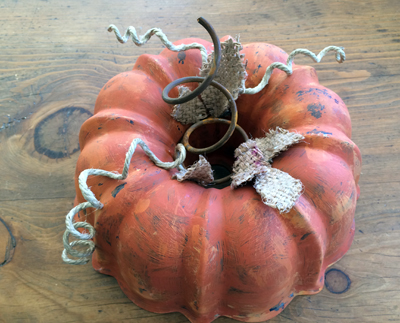
Bundt Pan Pumpkin
I love everything about this craft. The fact that it uses a beloved kitchen item and turns it into a beautiful yet rustic holiday item, is just too good to be true.
It is even quicker and easier (once you have a rusty spring) to make than an actual Bundt cake!
I charge for each craft at the party separately so that guests could make as many or as few as they wanted. I joked that the price for this project should have been much more than the mere $8 I was charging, since I had to buy a new, nearly $1,000.00 mattress set, in order to get the springs out of my old one.
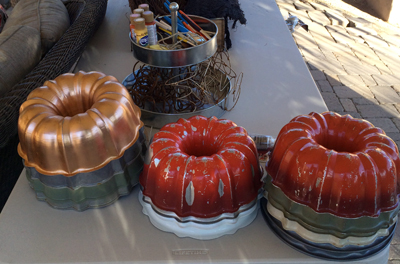
I found the variety of old Bundt pans while frequently visiting 3 different area Goodwill stores. They ranged in price from $3.99 to $5.99, depending on the day and the store – no rhyme or reason to the pricing.
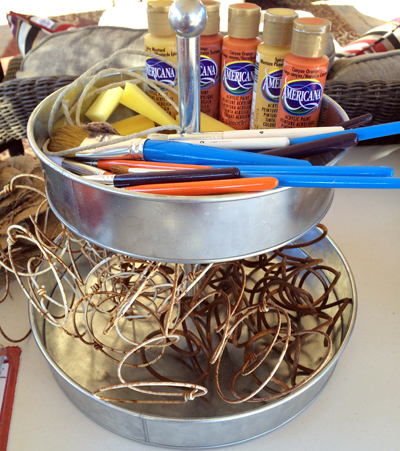
I bought the paint at Hobby Lobby, along with the twine, Mod Podge, and brushes.
The burlap is from coffee bean bags given to me by my dear friend, Tram Mai, and her husband, Stephen. They own Press Coffee Roasters, so they were very generous to me, with their bag donation! Thanks, you two!
How to make a Bundt Pan Pumpkin
Supplies:
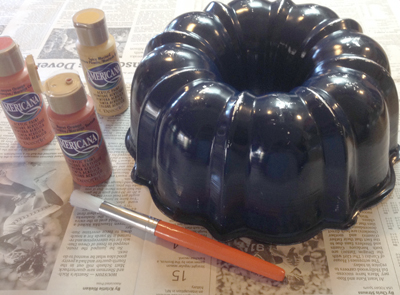
1 old or thrift store Bundt pan
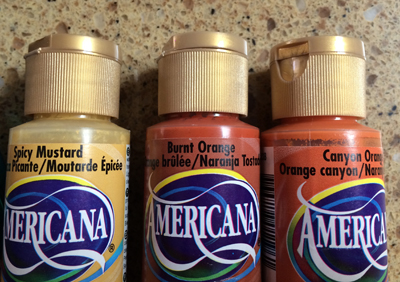
Americana acrylic paint in Canyon Orange, Burnt Orange, and Spicy Mustard
Paintbrush or sponge
Burlap or other fabric for leaves
Twine for tendrils
Mod Podge
1 pencil or dowel
1 rusty spring
E6000 glue or other strong adhesive
Glue gun and glue sticks or tacky glue
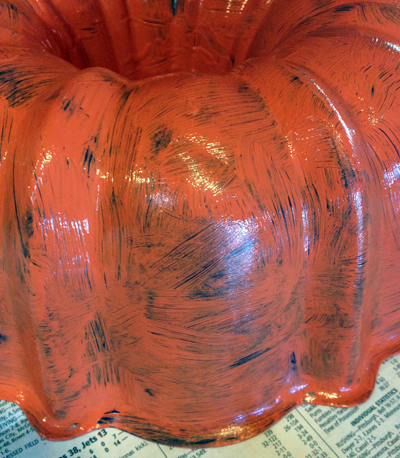
Use a brush or a sponge to paint your pan with Canyon Orange paint. It doesn’t take much to cover the pan.
You don’t want to wait all night for it to dry, so don’t go crazy with the paint.
Allow to dry for at least 30 to 40 minutes.
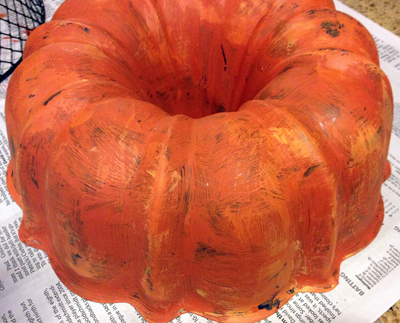
Next, lightly “distress” the painted pan by dabbing it randomly with the Spicy Mustard and Burnt Orange paints until you get the rustic look you want.
While that layer dries (it won’t take as long, since you’re just dabbing, not covering the pan with paint) you can make your leaves and tendrils.
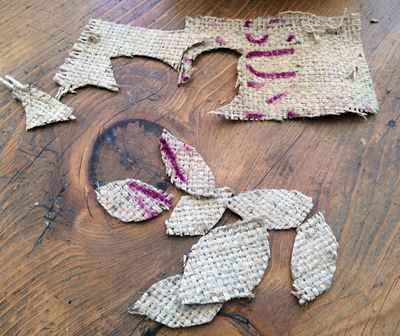
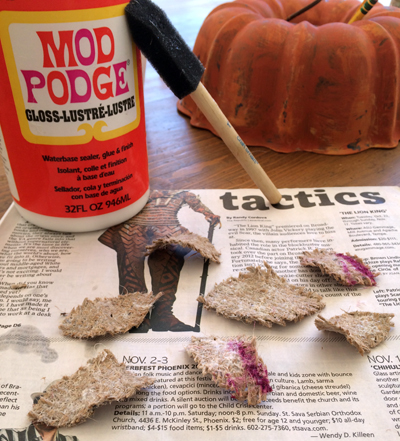
Cut out leaf shapes from the burlap scraps.
Coat them with Mod Podge and move them around a bit to give them some dimension, they will stiffen into the shape you give them as they dry.
Now take some twine and coat that in Mod Podge. Next, wrap it tightly around a pencil, tape down the ends, and let dry slightly, moving it around on the pencil every few minutes to keep it from drying and sticking onto the pencil. When it is somewhat dry, slip it off the pencil and loosen the coils as you see fit.
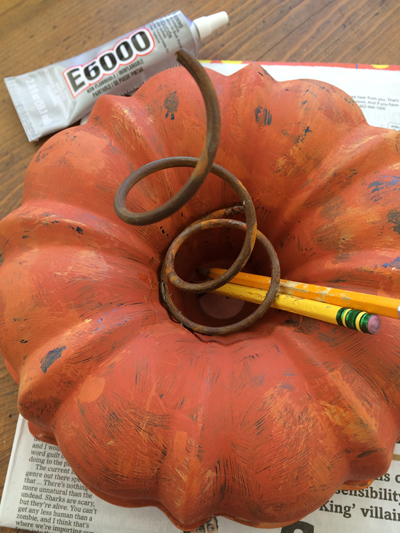
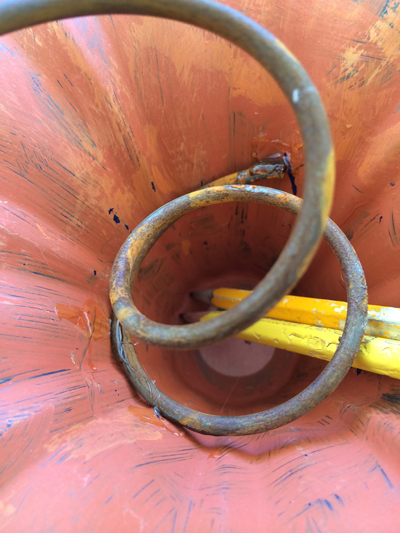
Once your paint is dry on the pan, pick out a rusty spring and use a few dabs of E6000 to secure your spring into the center of the pumpkin.
I used a couple of pencils to hold it in place while the glue dried, to prevent it from slipping down deeper in the pan than I wanted.
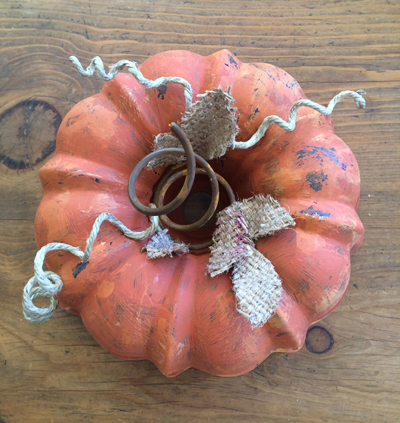
Use Tacky Glue or a glue gun to finish decorating your pumpkin with the leaves and tendrils.
I think the Bundt Pan Pumpkin is about as cute as can be and not only looks adorable on a kitchen counter throughout the fall but also fits right in!
2013 Craft Party Project Links
Burlap and Lace Flatware Sleeves
Mercury Glass Pedestal with Wire Cloche
Rustic Planter with Succulents






10 comments
I cannot believe the lengths you go to for your projects! This bed spring thing is really something. HAPPY HALLOWEEN!
It was so much fun!
Those look way cooler than I was imagining them. I love it!
You went to SOOO much work for our Fabulous Craft Class. You are amazing!
If I am ever stranded on a deserted island, I want you and your MacGyver skills with me!
Wow- this craft is so cute! But the best part of the story was YOU! This is such a classic Linda story . . . .and “damsel in distress”, please!!!! Those guys had no idea what hit them or who exactly they were dealing with. I agree w/Tram- in a crisis- I want you on my team! So great- can’t wait to see what comes next! oxox
I love this craft and everything about it!
[…] Source/Tutorial: lespetitesgourmettes […]
[…] Bundt Pan Pumpkin – This is a fun easy craft that upcycles an old bundt pan. With a few materials and a little time, you can have these bundt pan pumpkins around the yard or even in the house. […]
[…] GET FULL TUTORIAL HERE […]
Leave a Comment