not perfect, but still perfectly beautiful
I spotted this cake all over the Internet in the weeks leading up to Easter and I knew it was the dessert for me. It has so many things I love!
- Coconut – check
- Malted milk – check
- Malted milk balls – check
- Cuteness Overload – check and Yes Please!
Now, I could just send you to the LINK at Country Living from where the recipe came. But then I couldn’t tell you all of my little trials and frustrations with it and pass along a few hints and tips that might make it easier for you in case you decide to make it.
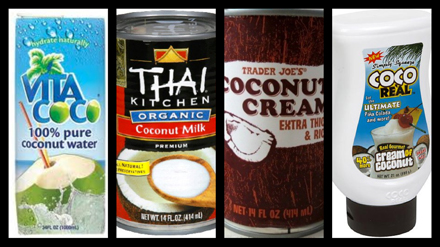
First, let’s review the differences between the various liquid coconut products available:
- Coconut water is the clear natural juice found when you crack open a coconut.
- Coconut milk has the consistency of dairy milk and is made by simmering one part shredded coconut with one part coconut water.
- Coconut cream is much thicker and much richer than coconut milk. It is made by simmering four parts shredded coconut in one part coconut water. If there is a bit of cream that rises to the top of a can of coconut milk – it is also considered coconut cream.
- Cream of coconut is sweetened coconut cream. It has a thick almost syrupy consistency and is most often used in desserts and mixed drinks, such as a Piña Colada.
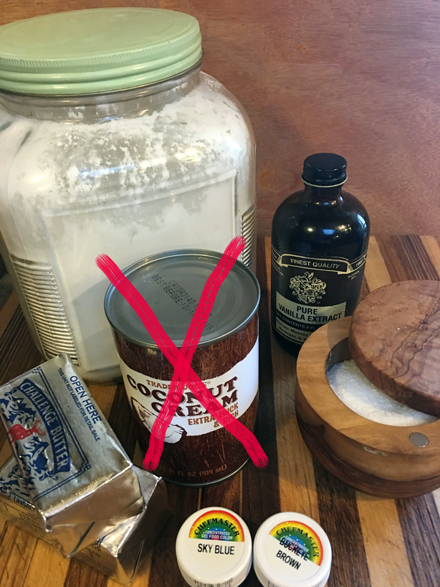
The frosting calls for cream of coconut. I accidentally pulled out a can of coconut cream, took photos with it along with the rest of the frosting ingredients, opened it, and only then realized I had grabbed the wrong product.
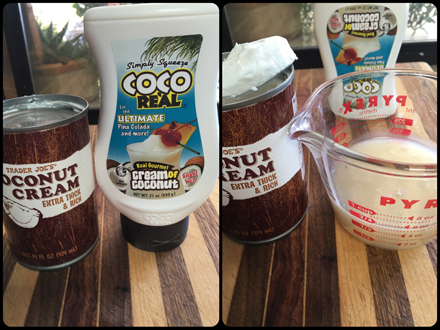
Here you can see the difference in the look and consistency of coconut cream vs. cream of coconut. Happily, once opened, coconut cream will keep, transferred to another container, covered and refrigerated, for about a week, so I used it to make a chicken curry a few days later. If you can’t find the cream of coconut in the baking section of the grocery store, look in the liquor area or just ask.
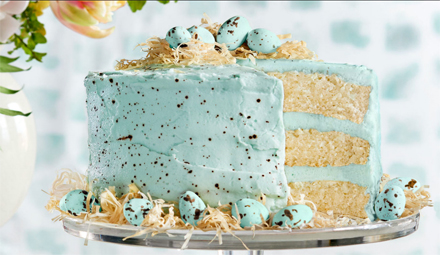
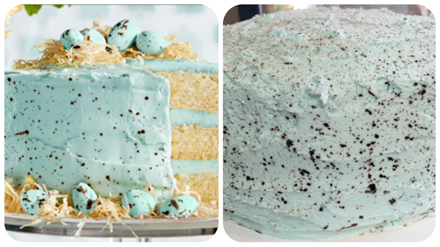
Next, let’s once again look at the lovely photo from the Country Living website for this beautiful cake. My frustration in trying to get my frosting to look like my robin eggs was tremendous. Just look at how perfectly their frosting coloring and speckling match their eggs. Seriously, it’s as if they are cut from the exact same cloth.
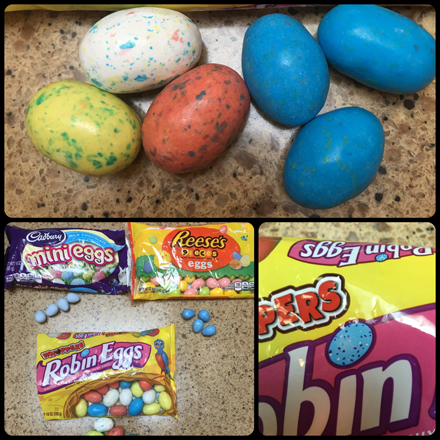
I bought every kind of robin eggs package I could find and not a one had that lovely speckle. Even though the Whoppers bag showed a lovely blue speckled egg … they were not lovely speckled! The pink, yellow and white clearly have speckles – but not the blue. What the heck!?!
And trying to match the frosting and egg color (for any of the three egg samples I had) yeah, forget it! Honestly, it makes me wonder if the baking experts at Country Living didn’t just make their own eggs to perfectly match their frosting. No Fair! (See note at bottom of post)
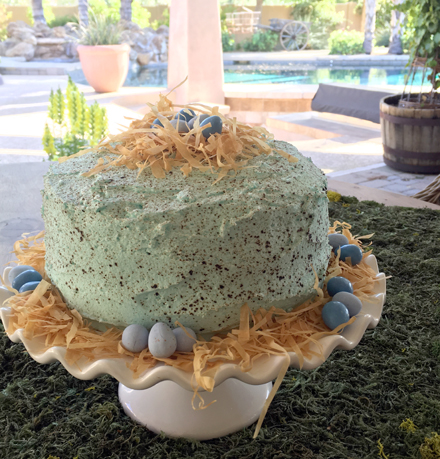
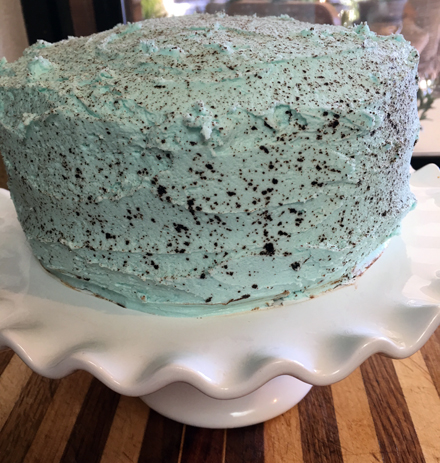
Lastly, the speckling on the cake! Theirs is absolute perfection. Mine, um, not so much. Granted, I should have practiced on a paper towel or something before I went directly at it on the cake, but darn it! So yeah, do that, practice before you start splattering all over your perfectly frosted cake.
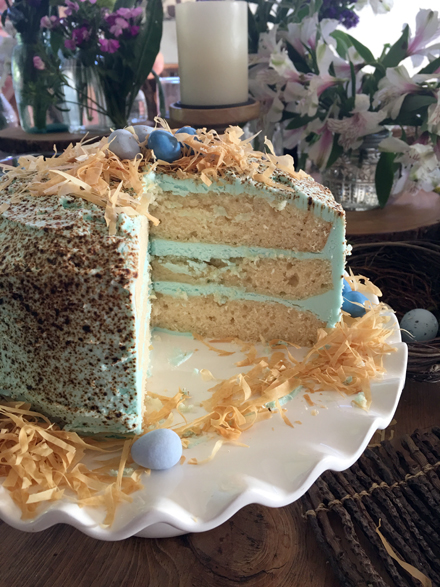
That’s it. I’m done being a frustrated and ranting baker-wanna-be. The cake was still cute and it tasted good and my family didn’t know any better, because I DID NOT show them the original photo, and everyone was happy!
Speckled Malted Coconut Cake
Cake
- Cooking spray
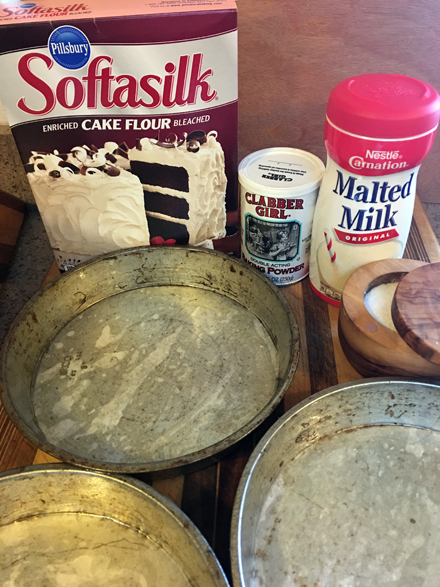
- 3 cups cake flour
- 1 ½ teaspoons baking powder
- 1/4 cup malted milk powder
- 1 teaspoon salt
- 1 cup vegetable oil
- 1 cup half-and-half, at room temperature
- 1 cup sugar
- 1 teaspoon vanilla extract
- 1 teaspoon coconut extract
- 1 large egg plus 2 large egg whites, at room temperature
Coconut Buttercream
- 1 cup (2 sticks) unsalted butter, at room temperature
- 1/2 cup cream of coconut
- 6 cups powdered sugar
- 1 teaspoon vanilla extract
- Pinch of salt
- Blue gel food coloring
Phyllo Nest
- 6 sheets of phyllo dough
- Cooking spray
Assembly
- 1/8 teaspoon brown gel food coloring
- Robin egg blue candies
Cake: Preheat oven to 350 degrees. Lightly grease three 8-inch cake pans and line bottoms with parchment paper rounds. Whisk together the flour, baking powder, malted milk powder, and salt in a bowl.
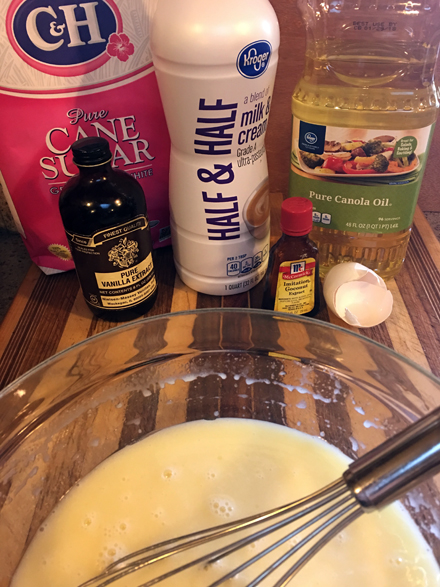
In another bowl, whisk together the oil, half-and-half, sugar, vanilla, coconut extract, and the whole egg until smooth.
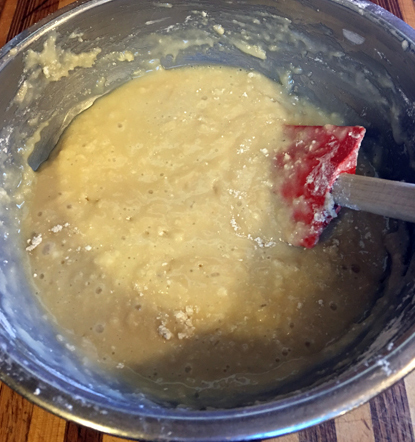
Fold the dry and wet mixtures together just until incorporated.
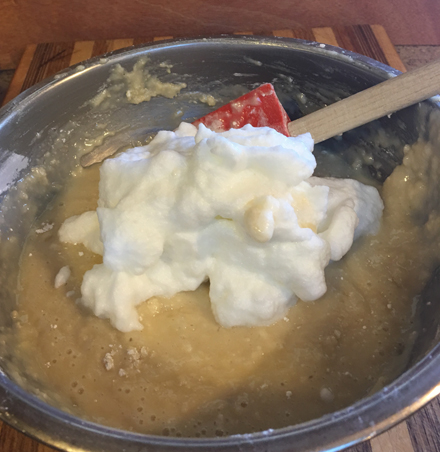
Beat the egg whites with an electric mixer on medium-high speed until stiff peaks form, 1 to 2 minutes. Fold the egg whites into the batter just until combined.
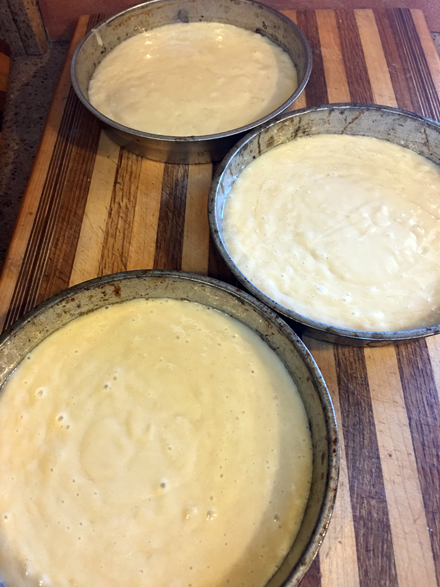
Divide batter evenly between the prepared pans. Bake until a toothpick inserted in the center comes out clean, 18 to 22 minutes.
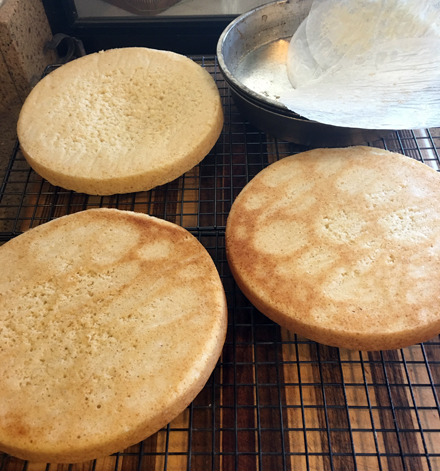
Cool in pans on a wire rack for 15 minutes, then invert onto racks and remove the parchment paper rounds and then cool completely. Make buttercream while the cakes cool.
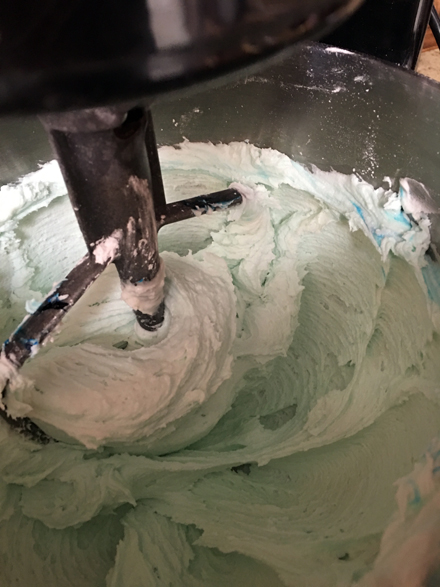
Coconut Buttercream: Beat the butter and the cream of coconut together with an electric mixture on medium speed until smooth, 1 to 2 minutes. Gradually beat in the powdered sugar, one cup at a time. Beat in vanilla extract and a pinch of salt until combined. Beat in blue gel food coloring, one drop at a time, to the desired color.
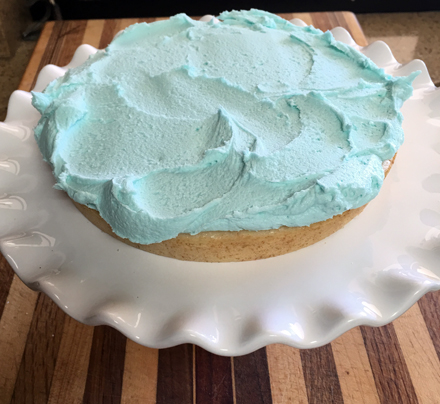
Place one layer on a cake plate and frost the top with 1 cup of buttercream.
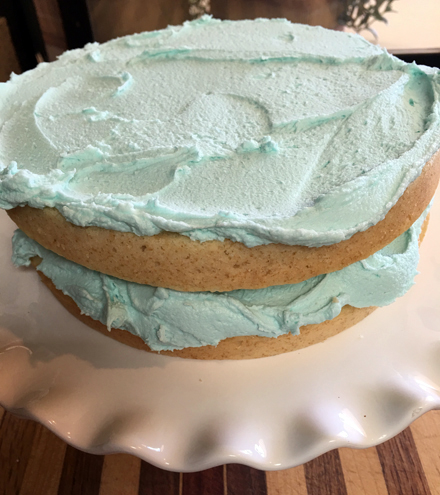
Place another layer on top and frost the top with another cup of buttercream. Place on the last layer and frost the top and sides with the remaining buttercream.
In a small bowl, stir together the brown gel food coloring and 2 drops of water. Dip the tip of a wide stiff paintbrush into the mixture. Holding the brush 6 to 8 inches from the cake, gently fling the mixture onto the iced cake. Repeat for the desired effect. (First test and practice on paper towels or napkins to get the look you want.)
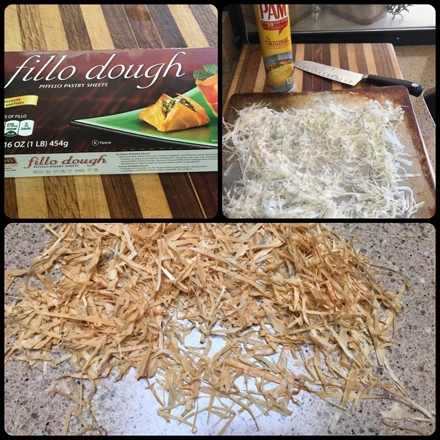
Phyllo Nest: Tightly roll 6 sheets of phyllo dough lengthwise. Very thinly sliced.
Transfer to a baking sheet, loosely separating the strands. Spray with cooking spray. Bake at 350 degrees until golden-brown, 10 to 12 minutes. Cool completely.
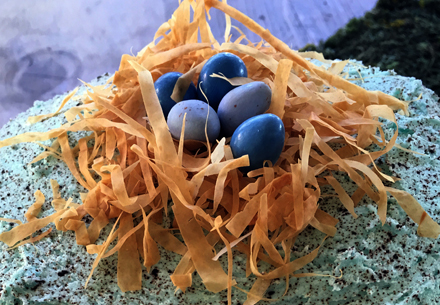
Arrange the phyllo strands around the base of the cake, make a nest on top in the center of the cake and nestle the robin eggs in the nest.
Serves 12
Note: So, about 20 minutes after this post went out, I got an email from a reader who asked, “How could they have ‘made’ their own robin eggs?”
I went in search of how and THIS is something I found on another blog. I suppose if you want to try to match your cake color and your egg color and get those great speckles on both… this is the way to go!




9 comments
This cake is so beautiful! 🙂
OMG I SOOOOO want to make this!!!!!!!!!!!!!!!!!!!
Amazing!
So… Looks like you are a baker now too!!!
It’s perfect in my book 🙂 Looks great!
Aw, thank you to each and every one of you for commenting! Shelley, Peggy, Kelly and Tram on this post and also to Betsy, Sheila, Anne and Amy for the comments these last couple of weeks. And most of all to my beautiful and ever-thoughtful daughter, Marissa, for leaving me a comment on nearly every single post! You have no idea how much it means to know that you’re out there and you read and appreciate what I put out in the world. Sending you all lots of love and much gratitude! xoxo
Those are painted eggs…blue robin eggs, paint brush, food dye, and one monocle.
Could you just dip the whoppers eggs in candy melt to change the color to match the frosting?
Great idea, Mary!
Leave a Comment