another DIY weeeknd
Last weekend I shared with you my two projects – the porch curtains and some interesting gardening ideas.
BFF, Peggy, had a birthday on February 26th. Anne and I took her out to dinner the Thursday before her big day. We first went to Barrio Queen for appetizers and margaritas (so dang good!) and then walked across the street to FnB, where we had an amazing dinner. Sadly we did not get a picture of the three of us together, so the photo above is one I have not yet shared. It is from several years ago, taken in my kitchen, before heading out for a night on the town.
Anyhow… after our dinner, we “acquired” some seriously awesome wood crates. One of my boards on Pinterest is dedicated to the cool stuff you can do with wooden crates and pallets… so I already had my eye on these specific crates for some time. We each ended up with two crates and there was one more left over. All seven crates have been stored in my garage since that night.
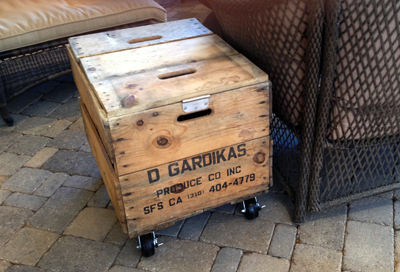
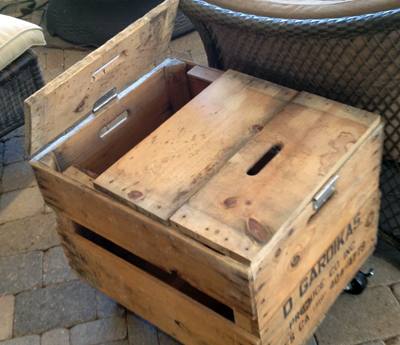
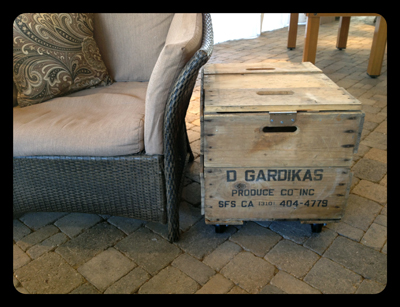
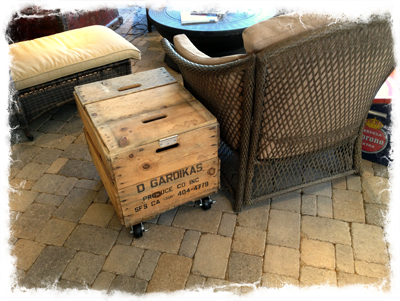
I had a large crate with printing on it and a smaller crate. I used the large one, along with parts of that extra seventh crate, and turned it into a side table on wheels. Yeah, I pretty much l-o-v-e, LOVE it!!!
Here is a step-by-step of what I did, with plenty of assistance from my husband, Dave.
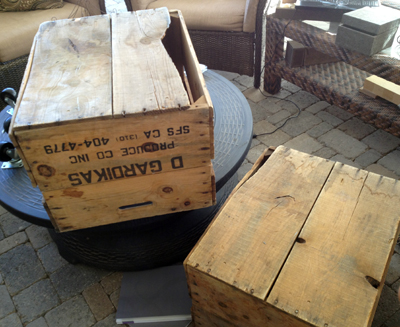
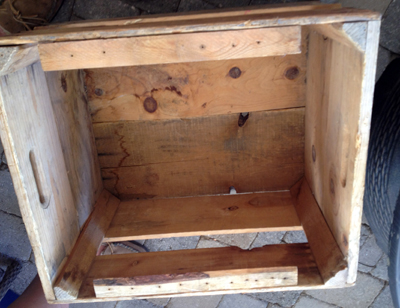
The cool crate with the writing on it had a bad board on the bottom. Since I was going to be attaching wheels in the corners, that board was replaced with the best board from the bottom of the extra crate.
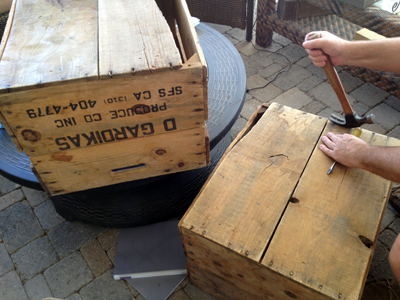
This was the hardest part of the entire project and where I needed the most help. The nails were long and these are super-duper sturdy crates, so it took patience and muscle to get the nails out and still fairly straight. That was important because I wanted to use the same nails when putting the crate back together and attaching other pieces from the extra crate to make a lid… or the tabletop. This was Dave’s job, he possesses patience in spades and I have… yeah, pretty much none!
Once we got off all the pieces we needed from the “cadaver” crate – it was time to get to work on the table. First, the “fresh” bottom replaced that bad board.
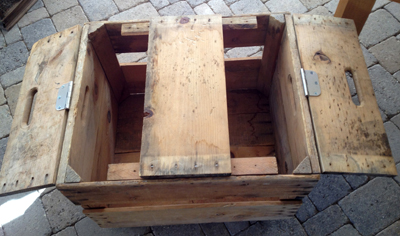
Next, we realized that we needed some little ledges on the inside of the crate for the center and side pieces of the top to sit on… these too were harvested from the cadaver crate.
We attached three short sides from the extra crate as the top, using hinges for the two outside pieces so the table top can be opened for storage.
We also harvested and nailed down two more long pieces to make the bottom side thicker – so that the screws attaching the wheels (casters) wouldn’t punch through the bottom. Then the wheels went on, two of which have brakes, to keep the table secure once it is rolled to the desired location.
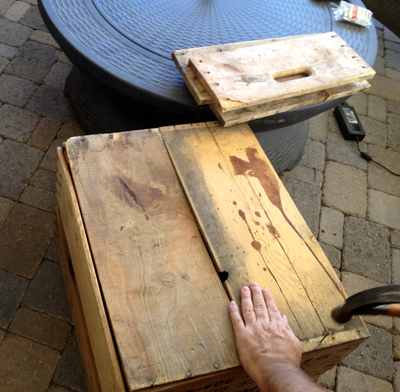
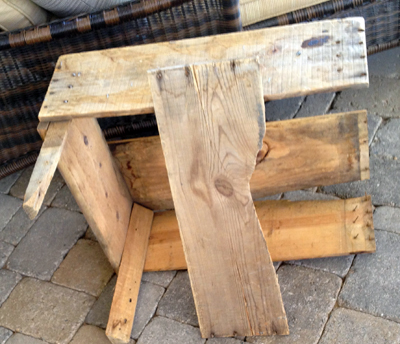
This is all that remains from that “cadaver” crate.
How cool is this?!?
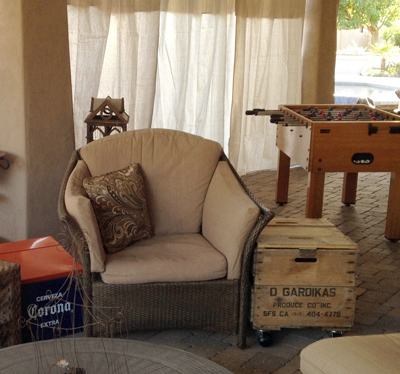
A couple more views, including this one showing the curtains from last weekend too.
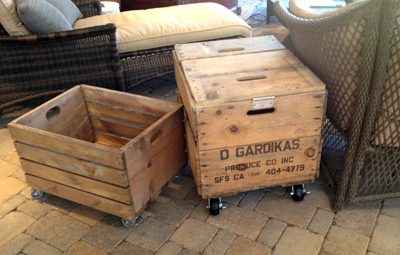
Oh, and here is what I did with my smaller crate… just put some casters on that one and it is ready to roll to wherever it is needed. So… what do you think? I’ll tell you what… I am feeling very proud of my DIY projects. Wait until you see what I’m going to do with the pallets I recently “acquired”! Stay tuned. 🙂





6 comments
Love it!
Very cool! I missed however, your DIY on the patio drapes and can’t find it. Can you tell me where to look please, Lovely Linda? xoxo
Here is a link to the post Karen. https://lespetitesgourmettes.com/random/a-pintrest-weekend/
xoxo
Yep I saw these in person and they are very cool indeed! Hope I get something this cool for my birthday! wink~
No pressure, Sloane!
tearing things apart with a crowbar, and hammering stuff together – is there a better way for a guy to spend the day!
Leave a Comment