Final “Surprise Me Thursday”
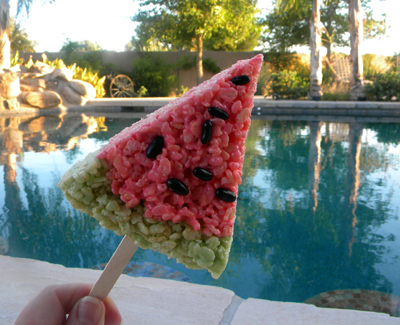
Today is the last day of the 2012 Summer Kid’s Cooking Classes – meaning yesterday was the last “Surprise Me Thursday” – which is the day we make cool stuff I found on Pinterest. How darn cute is this?
Rice Krispies Treats are one of my favorite things in the whole wide world, always have been, always will be. It takes all kinds of stupid willpower to avoid them at the ballpark when those vendors come down the aisles with a tray full of them. I am proud to say that I have never paid for a Rice Krispies Treat at Chase Field. Why pay for such a thing when they are the easiest things on earth to make at home? That being said, somehow I still have to fight the temptation to pay big bucks for one. I can tell you one thing if they sold Rice Krispies Treats that look like this, I’d buy one for sure!
Watermelon Krispies Treats
The Rind green outer ring
4 cups Rice Krispies cereal
4 cups mini marshmallows
3 tablespoons unsalted butter
Green food coloring
The Watermelon red center
5 cups Rice Krispies cereal
5 cups mini marshmallows
4 tablespoons unsalted butter
Red food coloring
Chocolate-covered sunflower seeds, or mini chocolate chips
Grease two 8 or 9-inch cake pans with butter.
The Rind green outer ring: Place 4 cups of rice cereal in a large bowl, and set aside.
Melt 4 cups marshmallows and 3 tablespoons butter in a large bowl in the microwave for about 2 minutes, or until very puffy. Carefully remove from microwave, stir, and mix in green coloring.
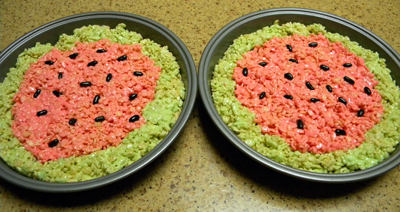
Pour the green marshmallow mixture over the bowl of rice cereal. Stir the mixture together, quickly, using a buttered spatula. Working quickly, divide the mixture between the two prepared cake pans, and press along the sides of the pans, creating a ring about 1 1/2 inches tall and about 1 1/2 inches thick. Rub a bit of butter on your hands, as needed, to prevent the mixture from sticking to your fingers.
The Watermelon red center: Repeat as above, using the ingredients listed.
Press the red mixture into the center of the two cake pans, and press down, smoothing the top surface with a buttered spatula. If there is any space between the two colors, pinch and press them together. (We do not want the rind falling off our fruit!)
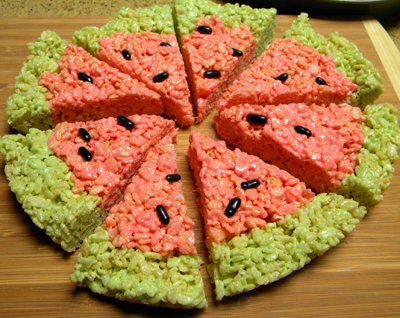
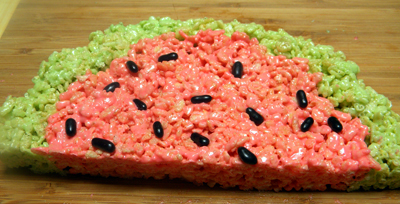
Add the watermelon “seeds” by just pressing them into the red watermelon center as you see fit to make it look “natural”. Slice into wedges and serve, inserting a popsicle stick in the center of each, if desired.
Makes 18 slices


5 comments
These are so cute!
You made it!
Thanks Lisa, Yes I did make it, barely – by the skin of my teeth! xoxo
Those are so cute! Congrats on another year of summer classes! You are amazing!
Thanks Patti, now we need to connect and find a time when we’re both in town and get together. xooxo
Leave a Comment