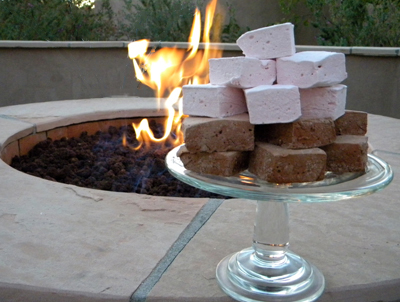
brown and pink fluff
Before I get to today’s recipe I want to send out birthday wishes to a very special woman in my life. Happy Birthday to my mother-in-law, Pat Hopkins, in Rockton, Illinois. Happily, all four of us flew to Illinois last weekend and spent fun times with Mom at Katie and Eddie’s wedding. Happy Birthday, Mom, we’re looking forward to your visit in February. I love you! xoxo
What in the world would possess a person to even think of making homemade marshmallows? What or who could make me consider doing it? Tram Mai, that’s who! Tram called a couple of weeks ago and asked if I’d like to do a story for Valley Dish about a S’Mores Party. Sure, sounds fun – gourmet S’mores – a party – cool entertaining idea- I’m all in! Immediately I start thinking of all the wonderful alternatives to plain old milk chocolate squares and graham crackers. How to really “kick it up a notch”, as Emeril would say. The filling alternatives are the easy part, then I wonder how to do something different with the real star of the show – the marshmallow. OK, honestly, I have made homemade marshmallows once before; in a cooking class with my summer children’s series, years ago. But those were still plain vanilla marshmallows, I needed something more than that. So I did my usual research – meaning, I “googled” it – and found a chocolate-flavored marshmallow recipe. Cool! The chocolate marshmallow recipe provided here is adapted from a site called GlobalGourmet.com. Sadly that site is no longer around, you may read about it and find their 10 most influential articles HERE.
I then went a step further and decided that we needed a third flavor, so I created up a raspberry version too. (that recipe is just below the chocolate version… so keep scrolling). Tomorrow I will post all the gourmet S’mores recipes I created and pictures from our shoot with the entire pretty spread.
Before you scroll down to the actual recipe, let me preface it by saying, “Please don’t be intimidated by the massive length of the recipe!” There are only 9 ingredients… and one is water; some of the others are non-intimidating salt, vanilla, sugar, etc. It’s just a bunch of really long descriptions, explanations, and directions, plus more than a dozen photos to help you visualize it all. The process itself is not hard! Really! Read through the whole thing and you’ll see what I mean. Because now that I’ve made and tasted and drooled over these homemade marshmallows, I am wondering what took me so long to make homemade marshmallows again. Seriously!
Homemade marshmallows are tender and delicate and they taste amazingly fresh. You don’t know what you’re missing until you taste one! Do not attempt to make these on a humid day, and be sure to start them in the morning or make them the day before you need them. Fresh marshmallows keep for about 1 week in an airtight container at room temperature; they are perfect for about 3 days but will lose their tenderness and delicacy as they age. Do not store homemade marshmallows in the refrigerator or try to freeze them. Trust me, it doesn’t work – I tried!
I specifically recommend using a standing mixer in the equipment section because it is much more powerful than a hand mixer and because the mixture needs to be beating at high speed for a long time. You can use a hand mixer, but it will be more difficult and take longer, plus you will need to add up to 5 or 6 minutes to the mixing time. Most hand mixers will burn out if used for 17 or 20 minutes straight, so be sure to give it a rest a few times during the process if using a hand mixer!
And a candy thermometer is a Must! They are inexpensive and can be found at most grocery stores or Target and, of course, at kitchen stores.
Chocolate Marshmallows
Pam
1 1/4 cups plus 2 tablespoons cold water, divided
1/3 cup sifted unsweetened cocoa powder
3 envelopes unflavored gelatin (Knox)
2 cups granulated sugar
3/4 cup light corn syrup
1/8 teaspoon salt
2 teaspoons vanilla extract
Coating
1/2 cup powdered sugar
3 tablespoons unsweetened cocoa powder
1 tablespoon cornstarch
Equipment
Electric standing mixer with a whisk attachment
Candy thermometer
13 x 9-inch baking dish
Heavy-duty foil and waxed paper
Line the inside of a 13 x 9-inch baking dish with heavy-duty aluminum foil, shiny side up. Fold the overhang back against the outside of the dish. Lightly spray the foil with Pam. Set aside.
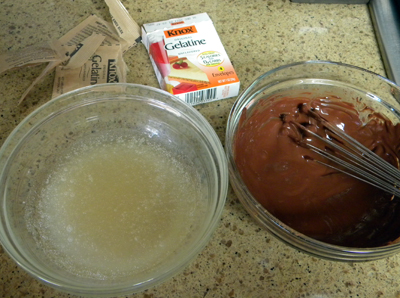
In a medium saucepan, with a tight-fitting lid, bring 1/4 cup plus 2 tablespoons water to a boil over high heat Meanwhile, sift the cocoa powder into a small bowl. Pour the boiling water over the cocoa and whisk to dissolve. Cool until warm, whisking occasionally.
While cocoa cools, pour 1/2 cup of the remaining cold water into a small bowl. Add all 3 packs of gelatin and allow to stand at least 5 minutes to soften. While the gelatin softens, combine the remaining 1/2 a cup of cold water, sugar, corn syrup, and salt in that same spot with the tight-fitting lid.
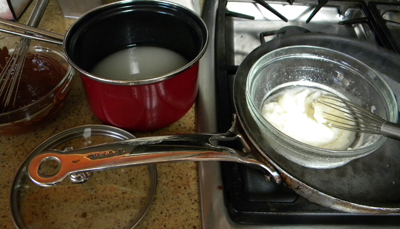
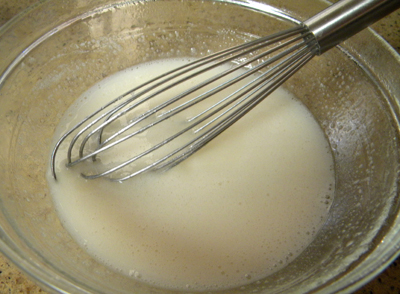
Dissolve gelatin by placing the bowl in a small skillet of hot water over low heat, do not allow water to come more than halfway up the side of the bowl. Stir often with a clean whisk, until completely melted and liquefied, the mixture will look foamy or milky, not clear.
Remove from hot water; allow to stand at room temperature for about 3 minutes, then use a rubber spatula to transfer into the bowl of the standing electric mixer. Add liquid cocoa mixture. Beat at a low speed until the two are completely combined.
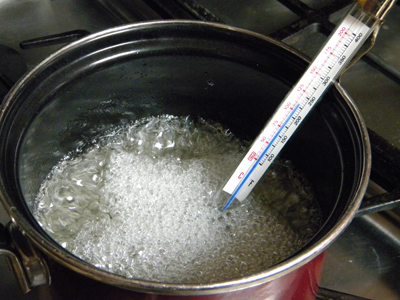
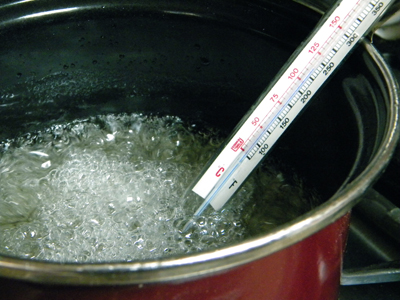
Place the saucepan with sugar-corn syrup mixture over low heat. Stir well to dissolve sugar. When sugar is dissolved, increase heat to medium-high; bring syrup to a boil. Cover with a lid and boil for 3 minutes.
This will create steam, which will fall down the sides of the pan and dissolve any sugar crystals that may be clinging to the pan. Uncover and boil until a candy thermometer reaches the soft ball stage, which is 240 degrees, without stirring.
While syrup boils, stir the cocoa-gelatin mixture at low speed once or twice to keep the gelatin from setting.
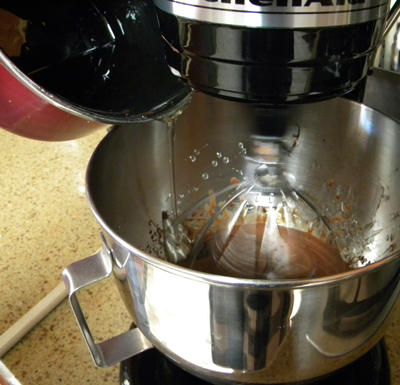
When the syrup reaches 240 degrees, remove it from heat. Wait until the bubbling stops and then add a very small stream of syrup to the cocoa-gelatin mixture, with the mixer running at the lowest speed, incorporating the syrup.
Continue to add the hot syrup gradually in the slow steady stream, beating on low speed until all the syrup is incorporated. Scrape down the mixing bowl with a heat-resistant rubber spatula about halfway through adding the syrup. The bowl and the mixture will be very hot, so take caution.
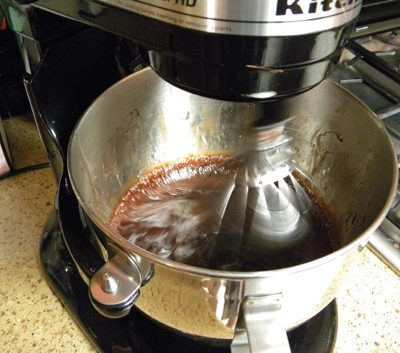
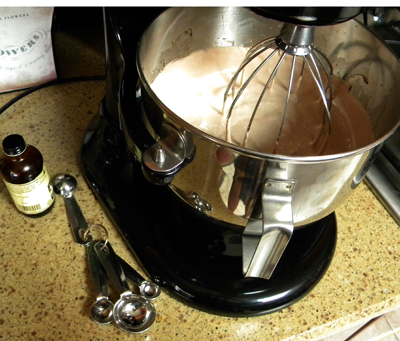
When all syrup has been added, scrape down the bowl once more. Begin beating at medium speed. As the mixture cools, it will thicken and increase in volume, about triple the original volume. Gradually increase speed to high. Beat the marshmallow mixture for about 10 to 12 minutes, adding vanilla during the last minute of beating. Stop the mixer once about halfway through to scrape down the bowl. The marshmallow mixture will be room temperature, thick, and shiny, and will resemble marshmallow fluff.
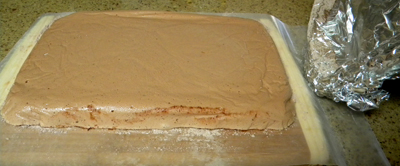
Spray a clean large rubber spatula with Pam and transfer the marshmallow mixture into the prepared pan, quickly spreading level with the spatula. Allow marshmallow mixture to stand uncovered at room temperature for at least 8 hours or overnight before cutting.
When ready to cut, make the coating: In a medium bowl sift together powdered sugar, cocoa powder, and cornstarch. Whisk until completely combined.
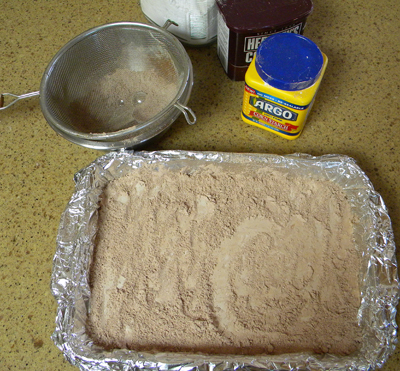
To cut into marshmallows: Sift a generous amount of the coating directly onto the surface of the marshmallows. With your fingertips, gently spread the coating so the surface is covered.
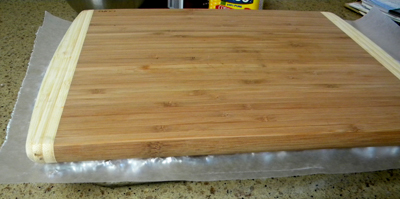
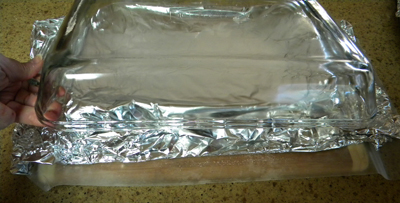
Place a piece of wax paper on top of the baking dish, covering completely. Top with a cutting board. Grasp the cutting board and the pan with both hands and invert.
Remove the pan, then carefully and gently peel back the foil from the sides and bottom of the marshmallows.
Sift a generous amount of the coating all over the top of the uncut marshmallows.
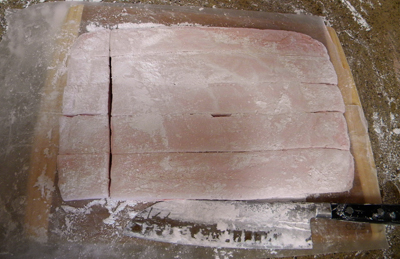
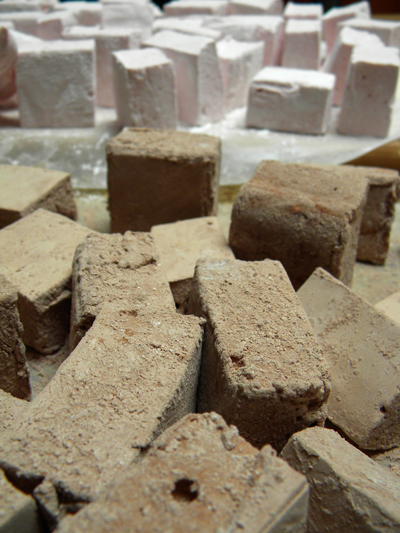
Spray a long sharp straight-edged knife lightly with Pam on both sides. Then cover both sides of the blade with the coating. (after the first cut, there will be no need to re-spray the knife, just keep the blade covered with the coating). Trim off the edges if you want perfectly square marshmallows if it doesn’t matter to you, no need to waste those edges. Cut marshmallows into squares. Remember to keep covering both sides of the knife blade with Pam between cuts! Roll each individual marshmallow in the coating on all eight sides.
Save any extra coating so that the marshmallows can be re-rolled if they need it in a few days. Store at room temperature in an airtight container.
Makes about 30 fresh, delicate, lovely homemade marshmallows
Raspberry Marshmallows
Pam
1 cup cold water, divided
3 envelopes unflavored gelatin (Knox)
2 cups granulated sugar
1/2 cup light corn syrup
1/8 teaspoon salt
1/4 cup seedless raspberry jelly
4 or 5 drops red food coloring
1 teaspoon vanilla extract
Coating
1/2 cup powdered sugar
1 tablespoon cornstarch
Equipment
Electric standing mixer with a whisk attachment
Candy thermometer
13 x 9-inch baking dish
Heavy-duty foil and waxed paper
Follow the directions above except for a few omissions and additions :
- Eliminate the recipe’s second paragraph regarding the cocoa.
- Once the gelatin is dissolved (in the recipe’s paragraph 5 above), place the gelatin in the bowl of the standing mixer (but obviously, without the cocoa mixture).
- After removing the tight-fitting lid on the saucepan, during the boiling of the sugar syrup, add in the raspberry jelly (do not stir) and continue to boil as described, until the mixture reaches 240 degrees.
- When adding the vanilla extract, additionally mix in the red food coloring (on low speed, so it doesn’t splatter!).
- Finally, the coating is just minus the cocoa powder.
Not sure if anyone has made it this far down in this- the longest wordiest (1,776-word count!) post with the most pictures I’ve ever done, but if so, you most certainly deserve a prize! So, leave me a comment complimenting me on another milestone – that being that today is not only my mother-in-law’s birthday but also the 26th anniversary of the day that my husband, David, proposed to me. So congratulate me on that and you’ll be entered into a drawing for a prize. Don’t know what it is yet, but you deserve a chance for reading so much! Good luck!




7 comments
I must have the same crazy brain as you do…read through the entire post and LOVED it!! I made homemade graham crackers (heart shaped) for the “s’more love” packages for Lizzy’s wedding. Lots of guests sat by the bon fire and made their smores. I should of had your marshmallow recipe for those….would have made them amazing!
Aw Patti, you make me so happy. Wow, homemade graham crackers! I skipped that step for our s’mores bar…. I should have called you, if I’d only known beforehand! Thanks for reading it all and thanks for the comment! xoxo
Linda, THANK YOU SO MUCH for my birthday greeting! You are so great to me. Love you Lots. Mom
Linda, I love your website!! I found the pigs in a blanket recipe from that wonderful brunch you made us last week and this marathon of a recipe. Wow!! I’m not sure if I will cook anything but your website is addicting to read. Happy Birthday to Grandma H. from the B’s in KC!! And Happy Proposal Anniversary to you and Dave.
Thanks Mary, so glad you like it and amazed that another brave soul read to the end! Good luck!
Linda,
Thanks for the pictures with the recipe, I always feel better knowing what it’s supposed to look like. Beating the marshmallows as I type and taking to a Coronado Reunion party late tonight (yes, I am going for the 8 hr set time :}) Can’t wait!
OK…well this was a life-changing blog post recipe for us. Really! David made the raspberry version the day you posted it, and it has become part of our Christmas tradition. The neighborhood always waits for these. He has also made a big pink sheet of them to give to certain precious little girl friends of ours along with a heart shaped cookie cutter. I really should send pictures. 🙂
Leave a Comment